Showing posts with label rhinestones. Show all posts

April 03, 2016

HB2U Card

Hello, hello!

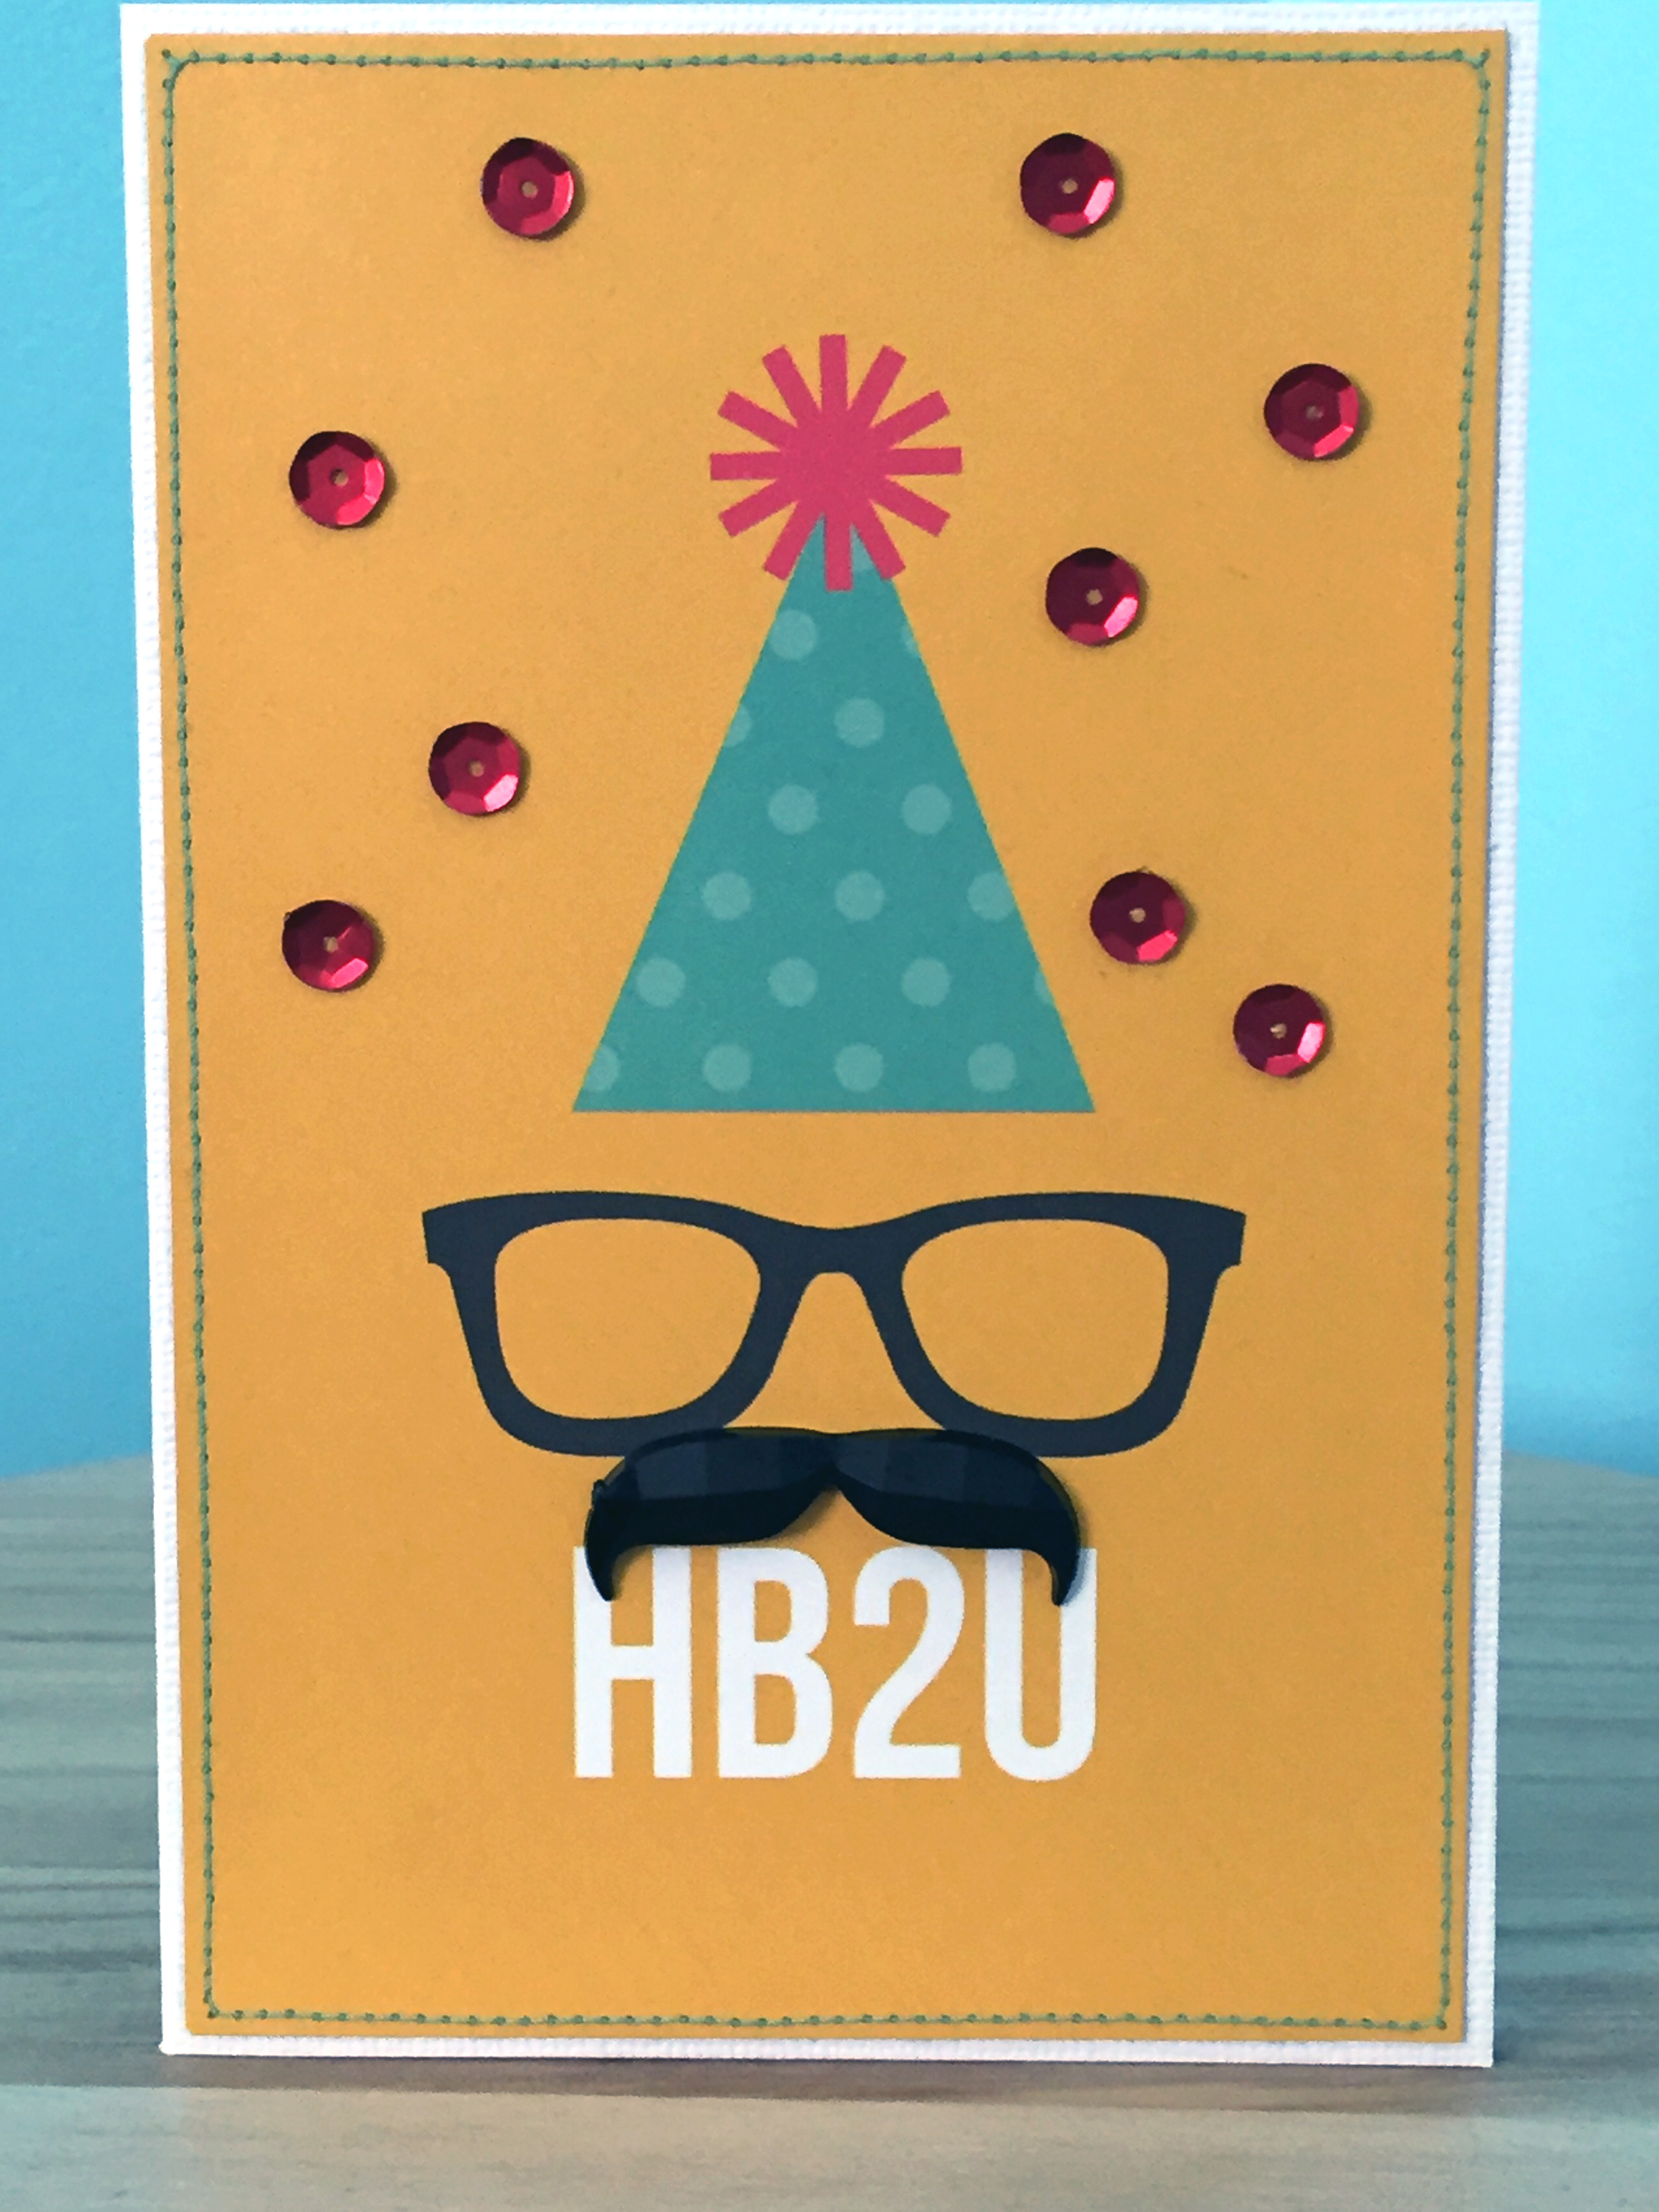
I'm terribly behind on birthday cards this year, which is bad enough but especially so with so many people turning milestone birthdays this year.  Anyway, I'm working on catching myself up, starting with a card for a male friend who turned 40 the end of January.


He's certainly not the Hipster type, but I couldn't resist this Simple Stories 4x6 card with the text speech and the opportunity to play with the fab mustache rhinestones I found at the local craft store - how cool is that 'stache?

Just kept it simple with the mustache, a sprinkling of sequins and I ran a line of turquoise stitching around the outside edge, then trimmed it down to show a bit of the white card base underneath.

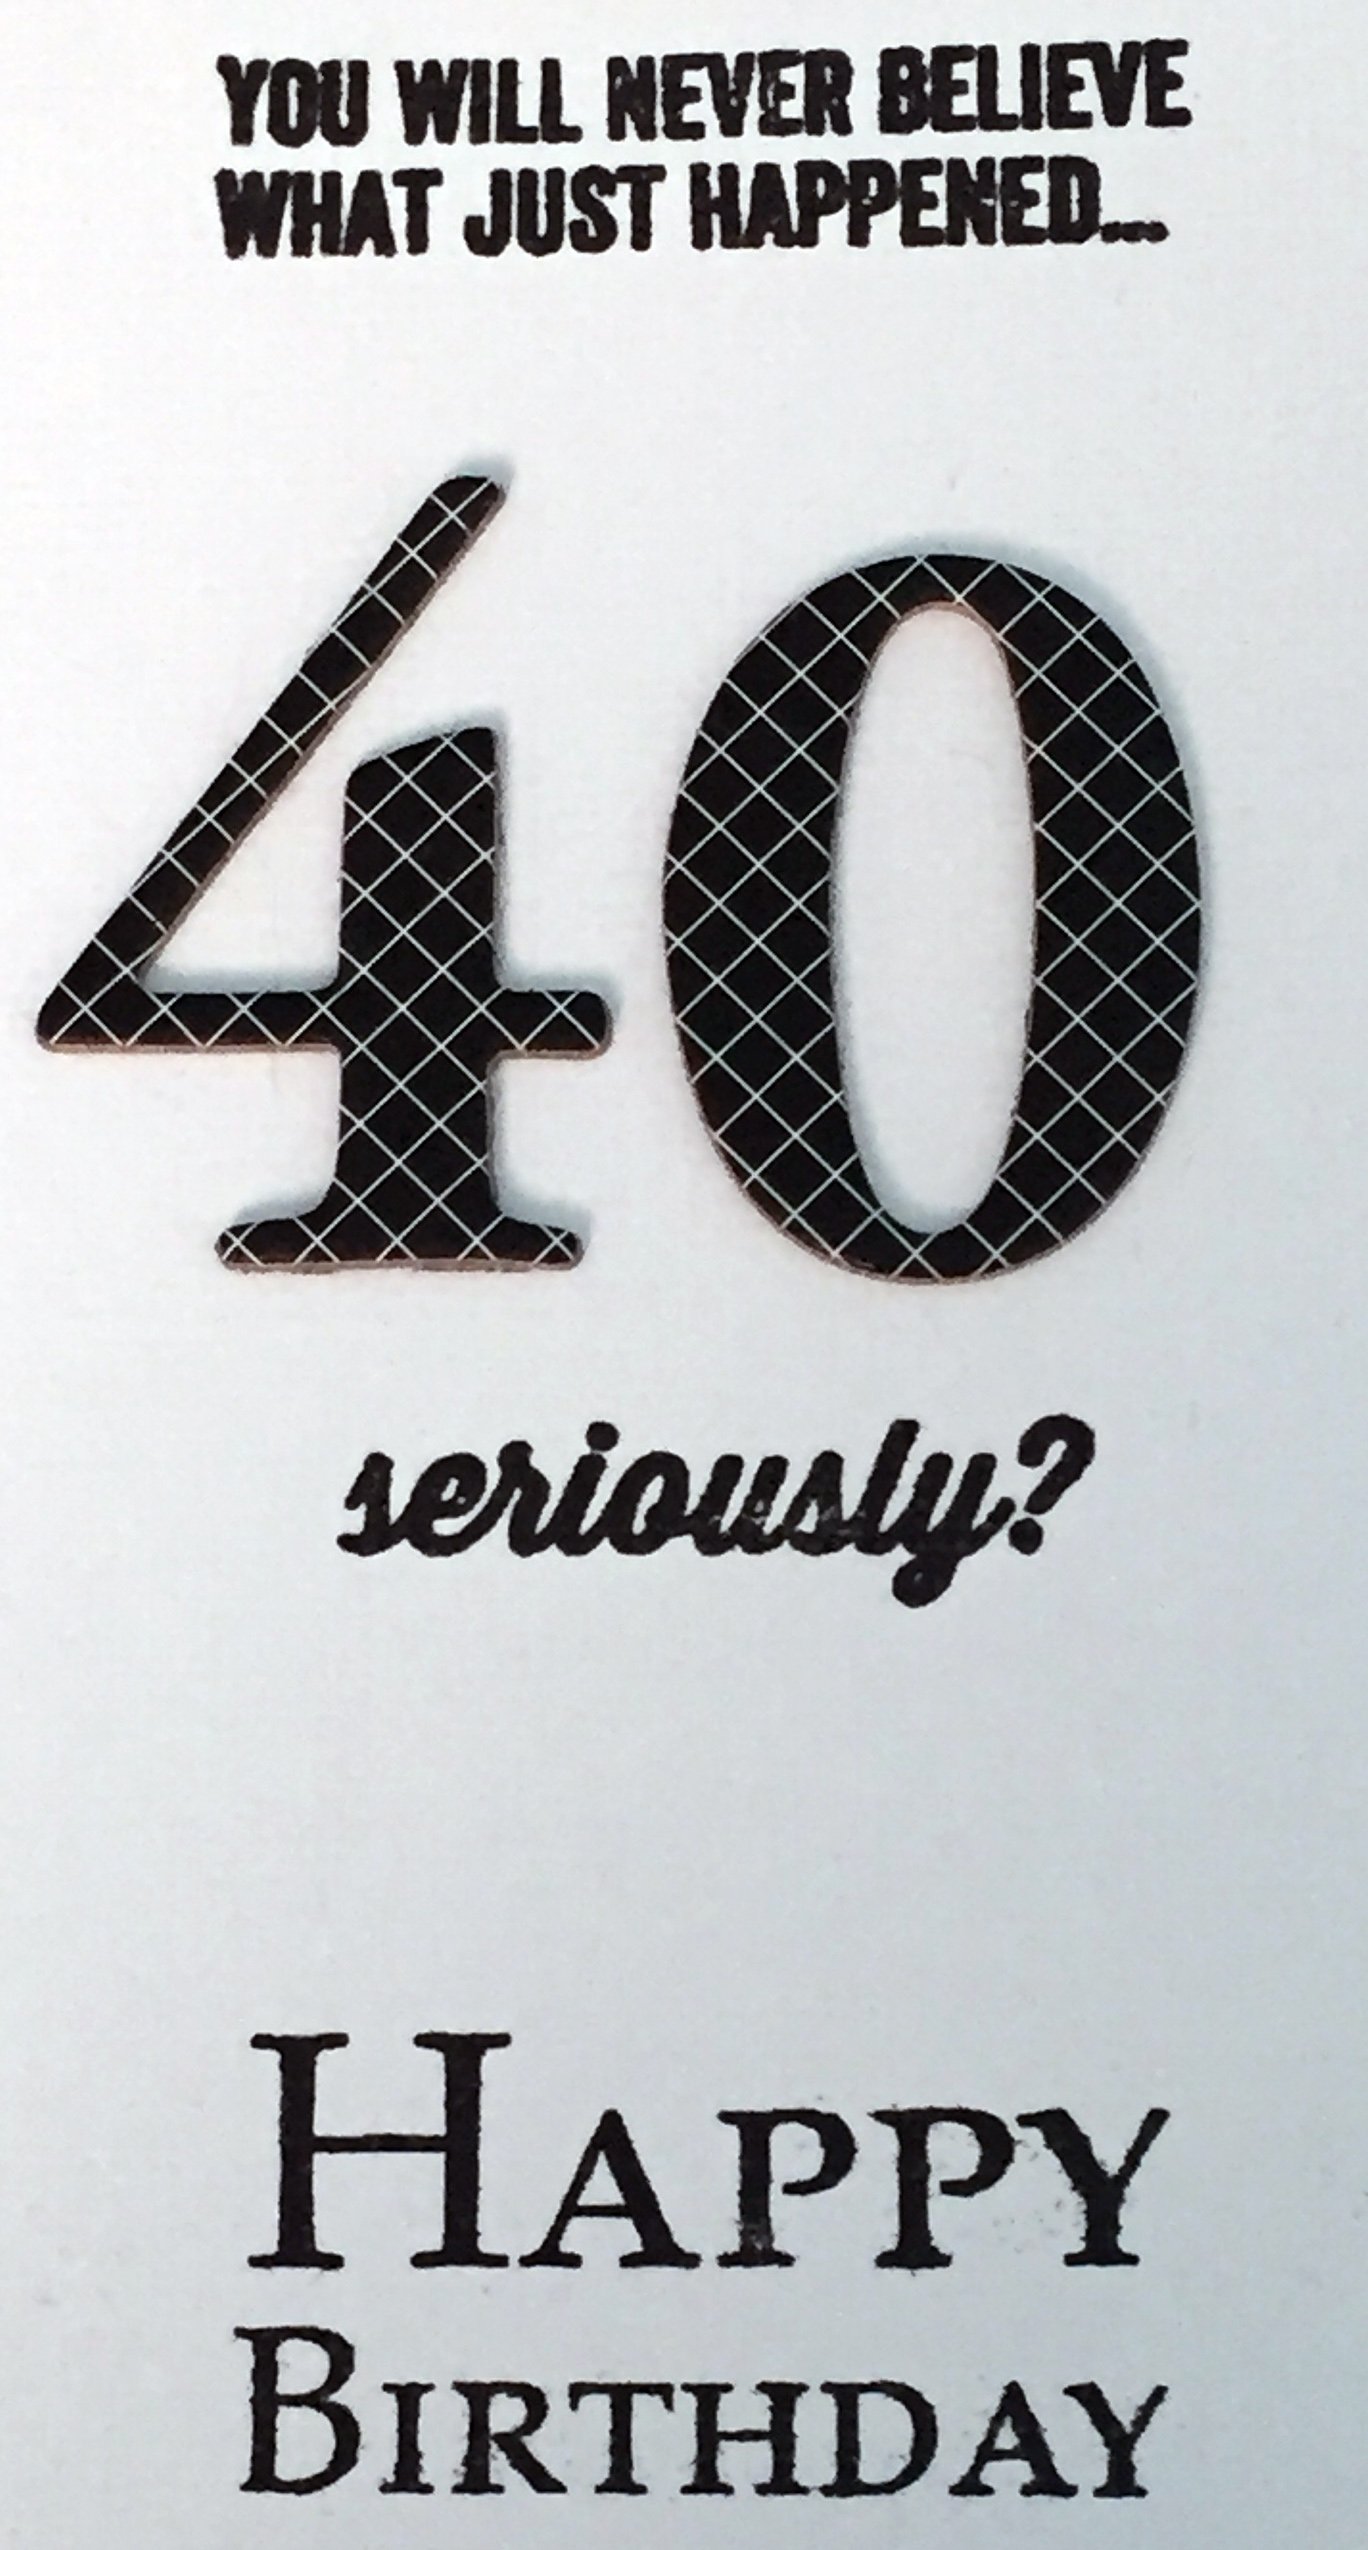
Then I got a bit cheeky on the interior for the sentiment, putting Shimelle's first stamp set to some fun use.


Hehe, you have to have a little fun with these things, after all.

That's it for today - short and sweet - but stay tuned for some more recent makes again soon.

January 31, 2016

Sympathy Card

Hello again!

Today I'm sharing a very quick card I made for a friend who unfortunately lost her mum just before New Years.  I've not made a sympathy card previously and I wasn't sure what from my stash would be suitable, considering that most of my style and thus supplies are bright and cheerful and clearly that wasn't the appropriate tone for such an occasion.  Instead, I decided to just keep it simple and let my letter inside speak for itself.


The paper was recently given to me from a friend.  It's not card weight paper and not a colour or design I would have chosen myself but it was perfect for this project.  If you look very closely, you can see there is a very subtle mottled pink tone running through the blue, which helps to give it a hint of warmth, which I felt was important here.

I stamped the flowers using an Ali Edwards stamp set and set rhinestones in their centers.  The 'thinking of you' sentiment came from another stamp set of about 20 or so different cards sentiments.  I honestly didn't have anything else fitting for a sympathy card but I liked how this was not only accurate (I have been thinking of her and her family) but not directly sad.

Finally, I added the bird sticker, which is from a My Mind's Eye chalkboard sticker collection.  The space needed an embellishment there for balance, even though I wanted to keep the overall design simple, and I liked how it felt dove-like.  As a final touch, I popped the little pink heart into the sentiment, inked the edges in blue and called it done.

December 09, 2015

Heritage Photo - Familjen

Hello, hello!

Welcome back to the final installment of my friend's heritage photo project series.  If you've missed the first two layouts in the series, you can find them here and here.  Today we're checking out the last layout, which features a fabulous photo of Bertil with a handmade toy bow and arrow, a portrait of him and the family together.  I have to say, I absolutely adore that bow and arrow photo!


Background is again from Webster's Pages.  This teal woodgrain paper has long been a favourite of mine so it's pretty special that I'm giving the last I have of it away but it was just too perfect with these photos to not use.  This LO also used up the last of that cute ruler washi tape but I managed to eek it out across the bottom.


That little gap in the title between the l and j was the perfect opportunity to add a little embellishment.  I unfortunately hadn't brought my heart punch with me and after many failed attempts at drawing a symmetrical heart the right size with which I was happy, I decided to go for a funkier heart style instead.


Embellishment cluster above that awesome bow and arrow photo - just look at the expression on that adorable face!  The cork star on the right had been an embossing attempt that I wasn't thrilled with on another project but I liked the look of for this one - you have to love when that happens.


And a bit of embellishment at the bottom of the photo to tie it all together.

And that's it!  My friend will be giving these to her brother as a belated birthday gift and I'm eager to hear what his reaction to them is.  Birgitta is thrilled with them at any rate.  Next year we'll work on the lock of hair and photos for her sister.

December 04, 2015

Heritage Photo - Syskon

Hi again!

Today I'm sharing the second layout in my friend's heritage photo project.  If you missed the first LO, you can see it here.

This second LO features photos of the three siblings together.  The original photo of Bertil holding their baby sister was very small, dark and a bit damaged but the photo development company did a lovely job at scanning, enlarging and reprinting it and in such a way that the lighting now helps to draw your eye into the two children.


The background papers are from Webster's Pages by Adrienne Looman.  The embellishment clusters feature arrows and hearts and I purposely put down the washi tape so that it counted up to three to reflect the number of siblings.  I also used some stamping on this LO, even though it's in English it fitted the theme well.  Birgitta may go back and write on the journaling card so I've left it open for her, should she decide to do so.


Pink chevron arrow is from Crate Paper; which I chose because of the aged look and the weathered cello tape accents.


The stamping for the arrows was done on a branding strip, which was the perfect size.  Hearts and rhinestones with gold lame spatters are layered up on the embellishment clusters.


The bottom embellishment cluster features three arrows, again symbolising the three siblings, and a little stamping with a roller stamp that fitted well with the photo of brother and baby sister together.

Thanks for stopping by; be sure to come back for the final LO installment.

December 01, 2015

Heritage Photos - Bertil

Welcome back!

Earlier this year a friend asked me if I could help her with a special heritage project for her brother and sister.  Having saved for decades some childhood locks of hair from her siblings, my friend Birgitta wanted to preserve them with some photos into a special scrapbooked layout as gifts, but not being a scrapbooker herself, she enlisted my help.

We got the original photos (some of which were a bit damaged) professionally re-printed and the company did a fantastic job resorting them.  Then, not really knowing what supplies I should bring with me, I packed up a hodge podge collection of papers and embellishments and spent a day at hers busily playing with paper.

Luckily, the remaining collection of Webster's Pages papers by Allison Looman I'd brought with me were a perfect choice for the project and breathed new life into the beautiful black and white photography.  They also matched well with one of the papers Birgitta already had and which I decided upon for the background of the first layout.


This first LO features Bertil, aged 1, along with the lock of his hair and a handwritten note from their mother.  All three LOs feature elements of the same papers and gold lame mist spatters for a sense of cohesion, along with brown accents and lettering, twine, wood veneer or cork embellishments for that masculine feel and a narrow ruler washi tape for that hint of vintage.  I had hoped to also use some old fashioned black or cream photo corners but sadly, couldn't find any so opted for a very narrow mounting on dark black/brown patterned paper instead.  It was decided that the embellishing could be a bit more simplistic, as this would likely appeal more to Bertil.


Handwritten note from their mother.  Yes, it is the original.  It was a bit nerve-wrecking adding adhesive to such a precious piece of memorabilia but it was important to Birgitta that we use the original and we did take copies.


Small letter stickers for the years, by Glitz Designs.  The twirly twine is always a bit tricky to get right and glue down well but looks fab once it's done and it helps to reinforce the curliness of that lock of hair...


The original tie around the lock of hair wasn't very attractive or sturdy so I wrapped twine over top to help secure the hair further.  I also didn't want to risk applying adhesive to the hair directly so the wrapped twine gave me a good place to attach the lock without damaging the hair itself.

For the frame, we bought open-fronted art canvas frames that are 12" square and they work perfectly for scrapbooking layouts and the black wood make the B&W photograph pop nicely.

Stay tuned for the next two LOs in the series shortly (LO #2 - Syskon).

May 14, 2015

Happy Birthday to You - Birthday Boy

Welcome back!

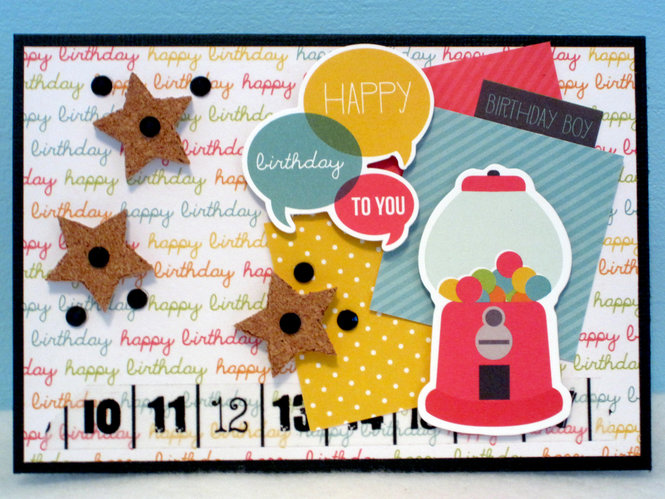
Have you ever had a situation where it dawned on you that a friend's birthday was sometime this month - but you weren't sure when - and then Facebook kindly reminds you that the birthday is that very day?  Well, that happened to me recently so I whipped up this quick little card.


I once again turned to my Simple Stories SNAP! birthday kits and it wasn't long before the basic design started to take shape.  I really liked this script 4x6 card and thought it would pop nicely on a black card blank.  I added a white interior inside so that I could easily stamp in black ink.


I layered up some 2x2 cards on top of a numbered washi tape line and popped this cute gumball machine die cut on top with some foam pads and the same with the little speech bubbles.  I also added in the little 'birthday boy' sticker.


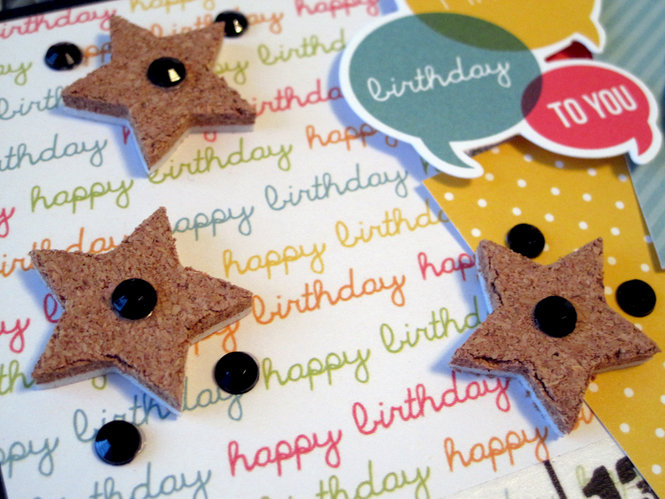
Finally, a few cork stars and black rhinestones to balance out the design.  Signed, sealed and delivered!

March 14, 2015

Mini Album: Sweden - Part IV

Hi again!

Welcome back to my little tour of a mini album I made for my friend, Adam, who visited me over the summer.  If you've missed the previous chapters, you can find them here: chapter 1, chapter 2 and chapter 3.  And now moving on to chapter 4: vikings!

Chapter 3: Vikings

Handmade Viking costume & fittings

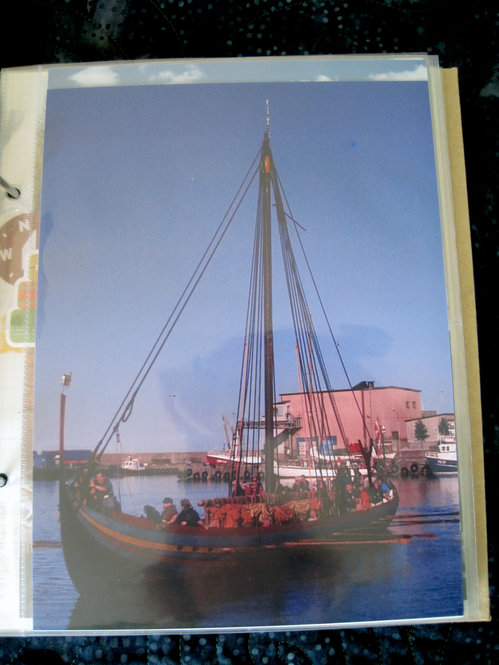
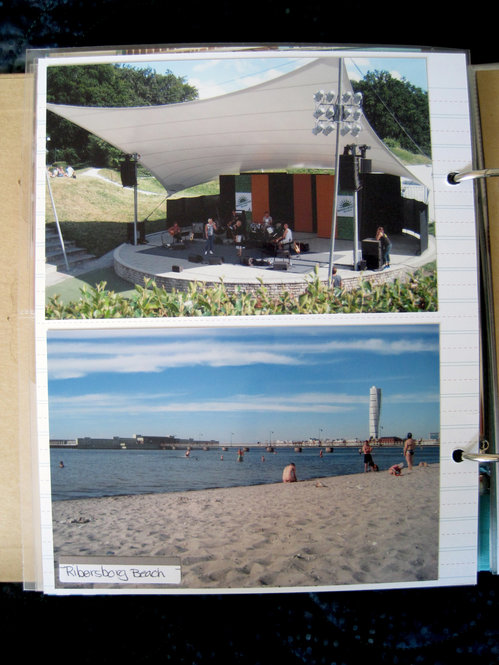
And during our day in Simrishamn while paddling in the Baltic, we turn around to find a Viking longship sailing by.  You know, as you do when living in Sweden in the 21st century...  It docked in the harbour.

Longship in Simrishamn

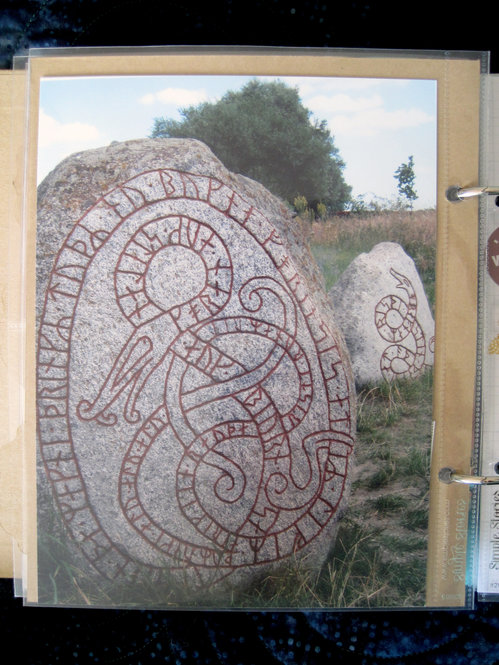
Rune stones

Foteviken historical Viking museum

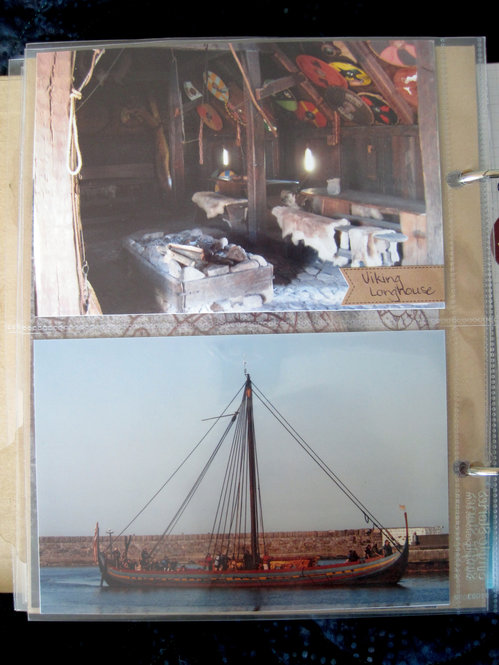
Viking longhouse and longship

Viking life

Viking ships with the Öresundsbro in the far distance

Viking attack!

Here there be dragons...

Eat your heart out How To Train Your Dragon fans.  ;)

One more installment left - see you soon!

March 11, 2015

Mini Album: Sweden - Part III

Hello, hello!

If you haven't seen the first two installments of this mini series on my mini album of my friend Adam's visit to Sweden, you can find the first two chapters here: Chapter 1 and Chapter 2.  Today we're moving on to chapter 3: fun and silliness!

Chapter 3: Fun

Selfie time!

Adam is a total gear head so we couldn't pass up the opportunity to tour the technical museum, which features a number of different vehicles and even a cool submarine!

Geeking out in the sub

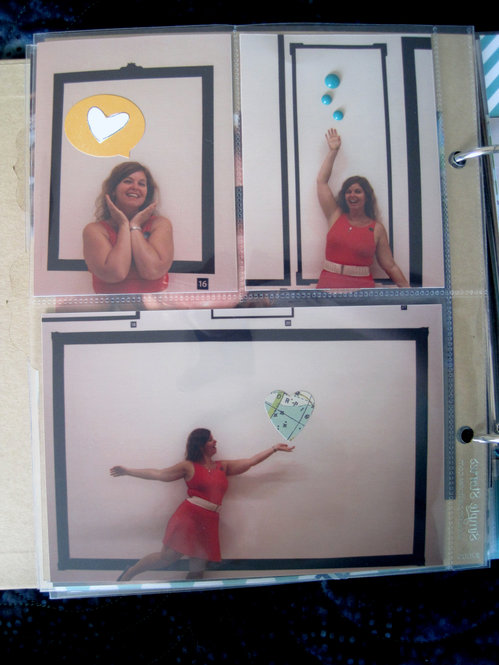
Photo frame exhibition silliness

More photo frame silliness.

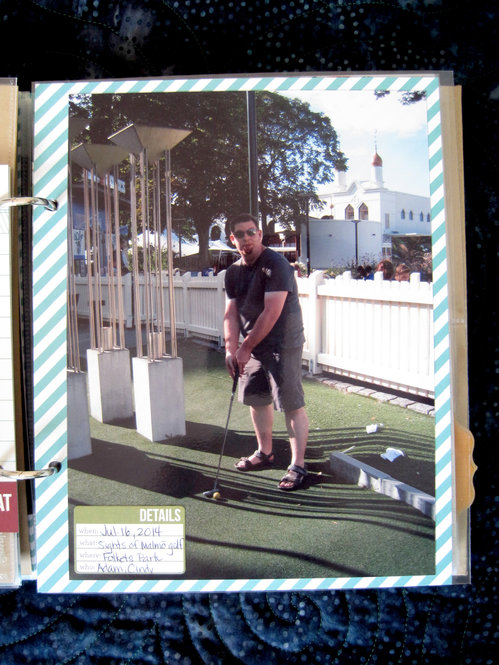
We enjoyed a day at the mini golf course, which features famous historical sights throughout Malmö.

Mini golf

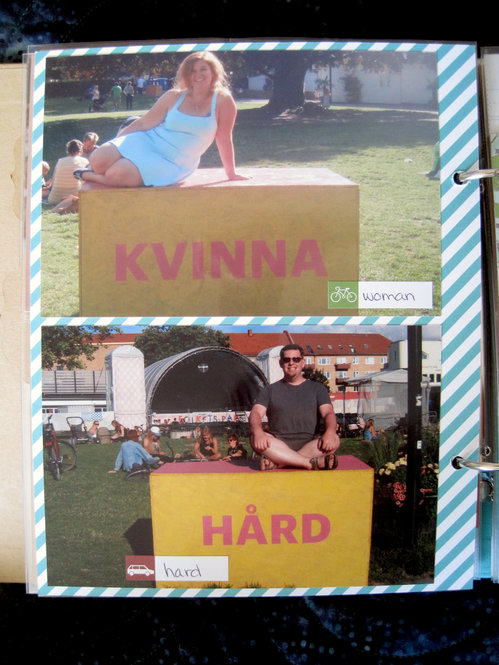
Having fun playing on words in the park.

Playing on words

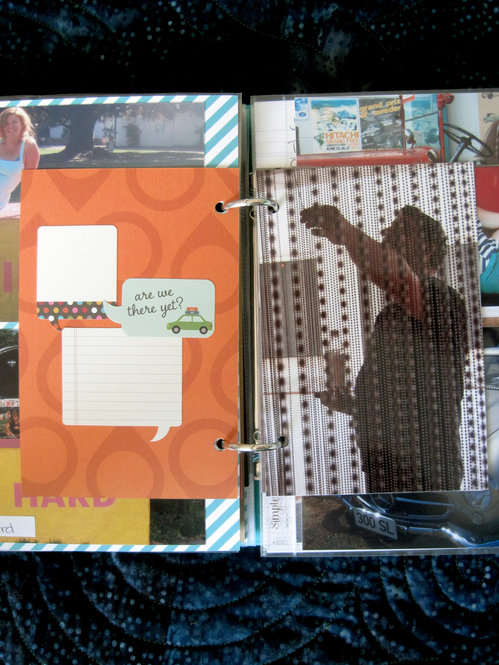
Accent card

Another little space for Adam to write some notes himself:

Note bubbles & interactive art

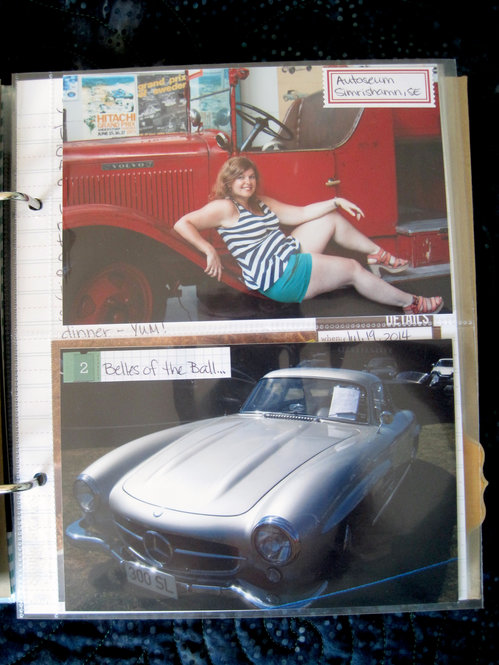
It turned out there's a big car museum in Simrishamn and they were even having a rally day so we had to go to it.  We jumped on the train and spent the whole day there and it was great fun.

Autoseum

Creepy mannequins & Ronald Reagan's car

Strangely, there is something about this photo and page that I also really love; perhaps it's the simplicity of it:

Paddling in the Baltic Sea

Random snippets

And that's chapter 3 all wrapped up!  Just two more chapters to go so be sure to come back soon.

February 26, 2015

Christmas Cards 2014

Okay, try not to panic at the mentioning of 'Christmas' already.  The truth is, I'm a wee bit backlogged in posting so despite the fact that it's nearly March, I still wanted to share my 2014 Christmas cards with you, for inspiration purposes if nothing else.  And let's be honest, I know there are a few of you out there already working on this year's Christmas cards and presents (you know who you are).

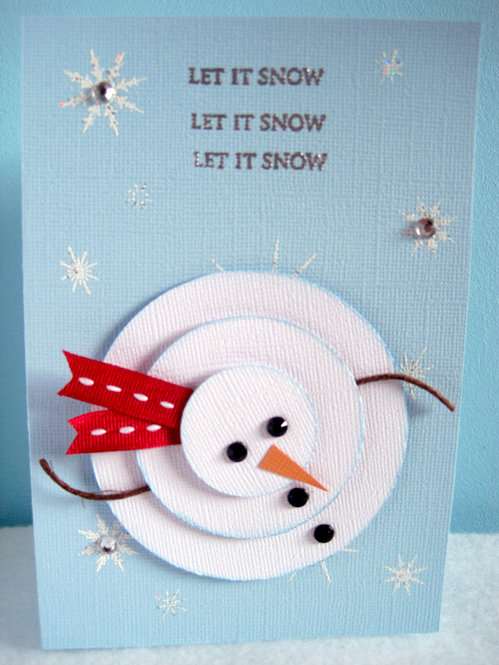
Now, having started a job at a new school this academic year, I was feeling slightly more swamped than usual coming up to the holiday season and I was having a hard time coming up with card ideas.  Luckily there's always Pinterest for just such occasions!  I've always loved this card since first seeing it and so used it for my inspiration:


So I set about planning how I could recreate it.  For the circles, I invested in a Martha Steward circle cutter, which (personal feelings concerning Martha Steward aside) is pretty darn awesome and much better than my old and crude circle cutter tool.  I have plenty of ribbon so the scarf wouldn't present a problem but the die cut arms would, as I don't have a die cutter to hand...  And finally, while I could certainly use paint and the circular tip of a paintbrush to stamp out the charcoal bits, I really wanted to ideally use some sort of black rhinestones for dimension but that would require a lot of rhinestones and where would I find those in quantity for a good price?

Happily, it all worked out:

My version

I would have liked to have made them square like in the inspiration card but I make 40-50 cards each year and so I need to buy envelopes in bulk and unfortunately, the dollar store equivalent over here doesn't stock square envelopes in bulk so I went with the traditional A6 sized format instead, which admittedly isn't as nicely balanced but there you go.  Sometimes you just have to think practically.

You can see how nicely the circles turned out using the new circle cutter.  I also decided to ink my circles in a light blue tinge instead of the grey of the inspiration card (which I felt looked a bit dirty and I like my snow pristine looking).  For the background, I stamped a variety of snowflakes and then heat embossed them with a 'snowflake' powder, which is essentially a white with silver flecks mixed in.  I also popped a few clear rhinestones on for a bit of sparkle.

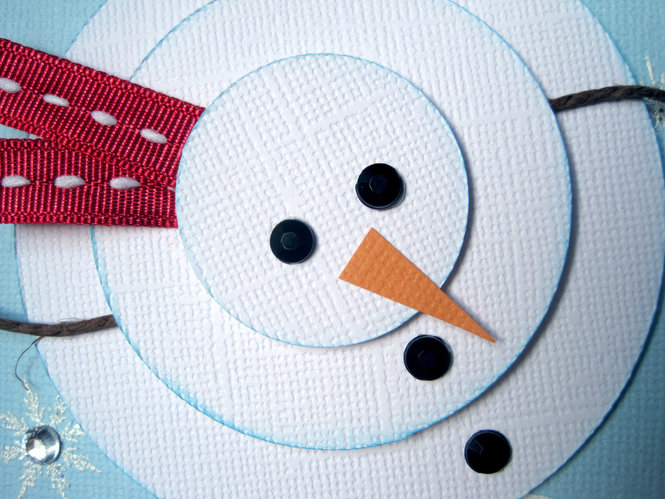
Detail view

A nice bright red ribbon made this little fellow's scarf but I had about five different ribbons that I used so there was a little variety to the set.  For the arms, I decided some dark brown twine would look suitably like branches and add another textural element, which I liked.  And I totally lucked out at the dollar store when I stumbled over massive sheets of colour self-adhering rhinestones, including black!  They were like perfect little chunks of charcoal just waiting for a snowman to adorn!  Serendipity, I tell you.

September 08, 2014

Happy B-Lated B-Day Card

Hello, hello!

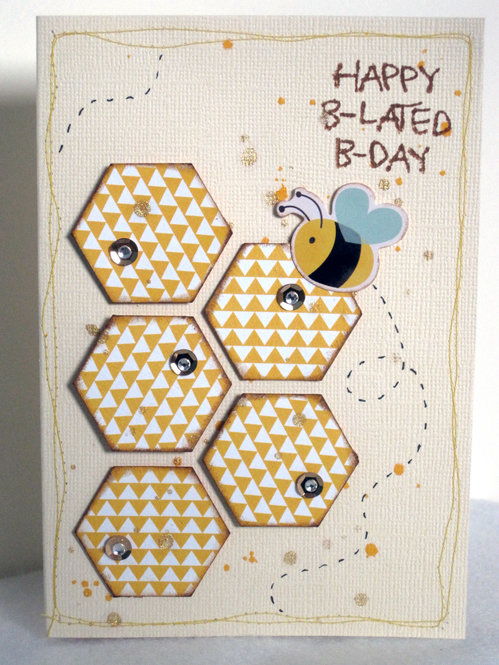
I recently bought a fantastic new punch - Fiskars' large hexagon punch, which was the inspiration for this rather belated birthday card.  I knew I wanted to have some fun playing around with my new toy and naturally when one thinks of hexagons, one tends to think of honeycombs.  A little play on words with the bee theme and I was off!


I kept the background a simple cream with some mist and gold lame spatters and a machine stitched, wobbly border.  For the hexies I used a bold geometric print paper.  Next I stamped the sentiment directly onto the background and finally layered up my bee sticker plus some gold sequins and rhinestones to suggest glittering honey.  And of course the little bee needed some whimsical flight lines.

Oh, and I couldn't resist adding in a little 'Hope you had a 'sweet' birthday' in the sentiment.  ;)

July 12, 2014

Vintage Bliss Cards

Welcome back!

In my last post I shared a new kit I made from my stash supplies, called 'Squeeze' - a collection of bright citrus oranges, yellows, lime greens and a few hot pinks with kraft and wood grain neutrals.

Now, despite having pulled this yummy new kit, I sort of went in a different direction with some very long over-due cards I've been putting off making.  While going through my stash, I pulled out this Simple Stories Vintage Bliss sticker sheet:

Vintage Bliss

I've barely touched it so far and decided it was high time I started using it so I grabbed some card bases and got to work and whipped up two cards.

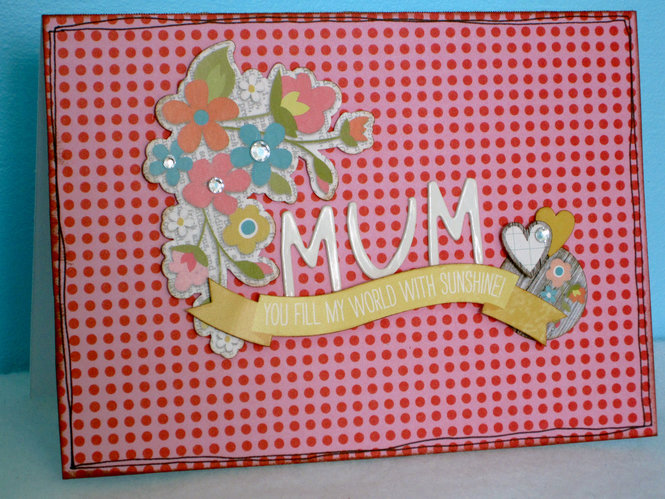
The first card is a very belated Mother's Day card for my mum.  Originally I had started this card months ago - can't even remember what for now - but didn't get any further than adhering the patterned paper to the card base, then just couldn't seem to decide on a direction for it and set it aside.  Having been on a crafting hiatus for a while now, I decided to keep things a bit simple.

Mum - You Fill My World with Sunshine

Sometimes it's nice to have non-conventional sentiments, which is why I chose the banner.  I added the flowers and played with where to place them until I discovered how nicely the 'M' fit into a gap in them.  Then added the circle at the end of the banner and clustered a few little hearts there.  Finally, I added rhinestones to the centers of three of the flowers and then balanced those with a single rhinestone on the topmost heart.  As a finishing touch, I doodled some lines around the edges to ground the design.

Now, if you thought Mother's Day back in May was bad for being behind, you'll absolutely cringe when I tell you that this next card is an extremely belated birthday card for my Granny - whose birthday was in April!  Eek!  Bad granddaughter!  I know she won't have minded and she'll like getting a card regardless so I made one anyway.

So this second card combines the Vintage Bliss sticker sheet with some October Afternoon products - a journaling card, which I had thought to use on another project a while back, inked the edges and then changed my mind, and some mini market letter stickers.  I also threw in a MME label sticker.

Oh So Happy Birthday

I found the yellow gingham paper in my scrap basket, then noticed that the blue label would fit perfectly inside the journaling card (and that the colours worked well with the sticker sheet) but I decided to off-set the card and label for more visual interest and to keep a more playful feeling.  A little washi tape to ground the grouping, added the vase of flowers sticker and wrapped a bit of embroidery floss into a bow around it.  Layered on the phrase label sticker and the letter stickers for the sentiment and finished it off with a little tab and a cluster of flowers and rhinestones.  I really enjoyed working with the pink, orange and turquoise colour palette and I like how the gingham is reminiscent of a country table cloth with a vase of flowers centerpiece (or is that just me?)...

Now, just another seven more cards I'm behind on making left to go!