Showing posts with label flowers. Show all posts

April 09, 2016

Hello 50th Birthday

Hello there!

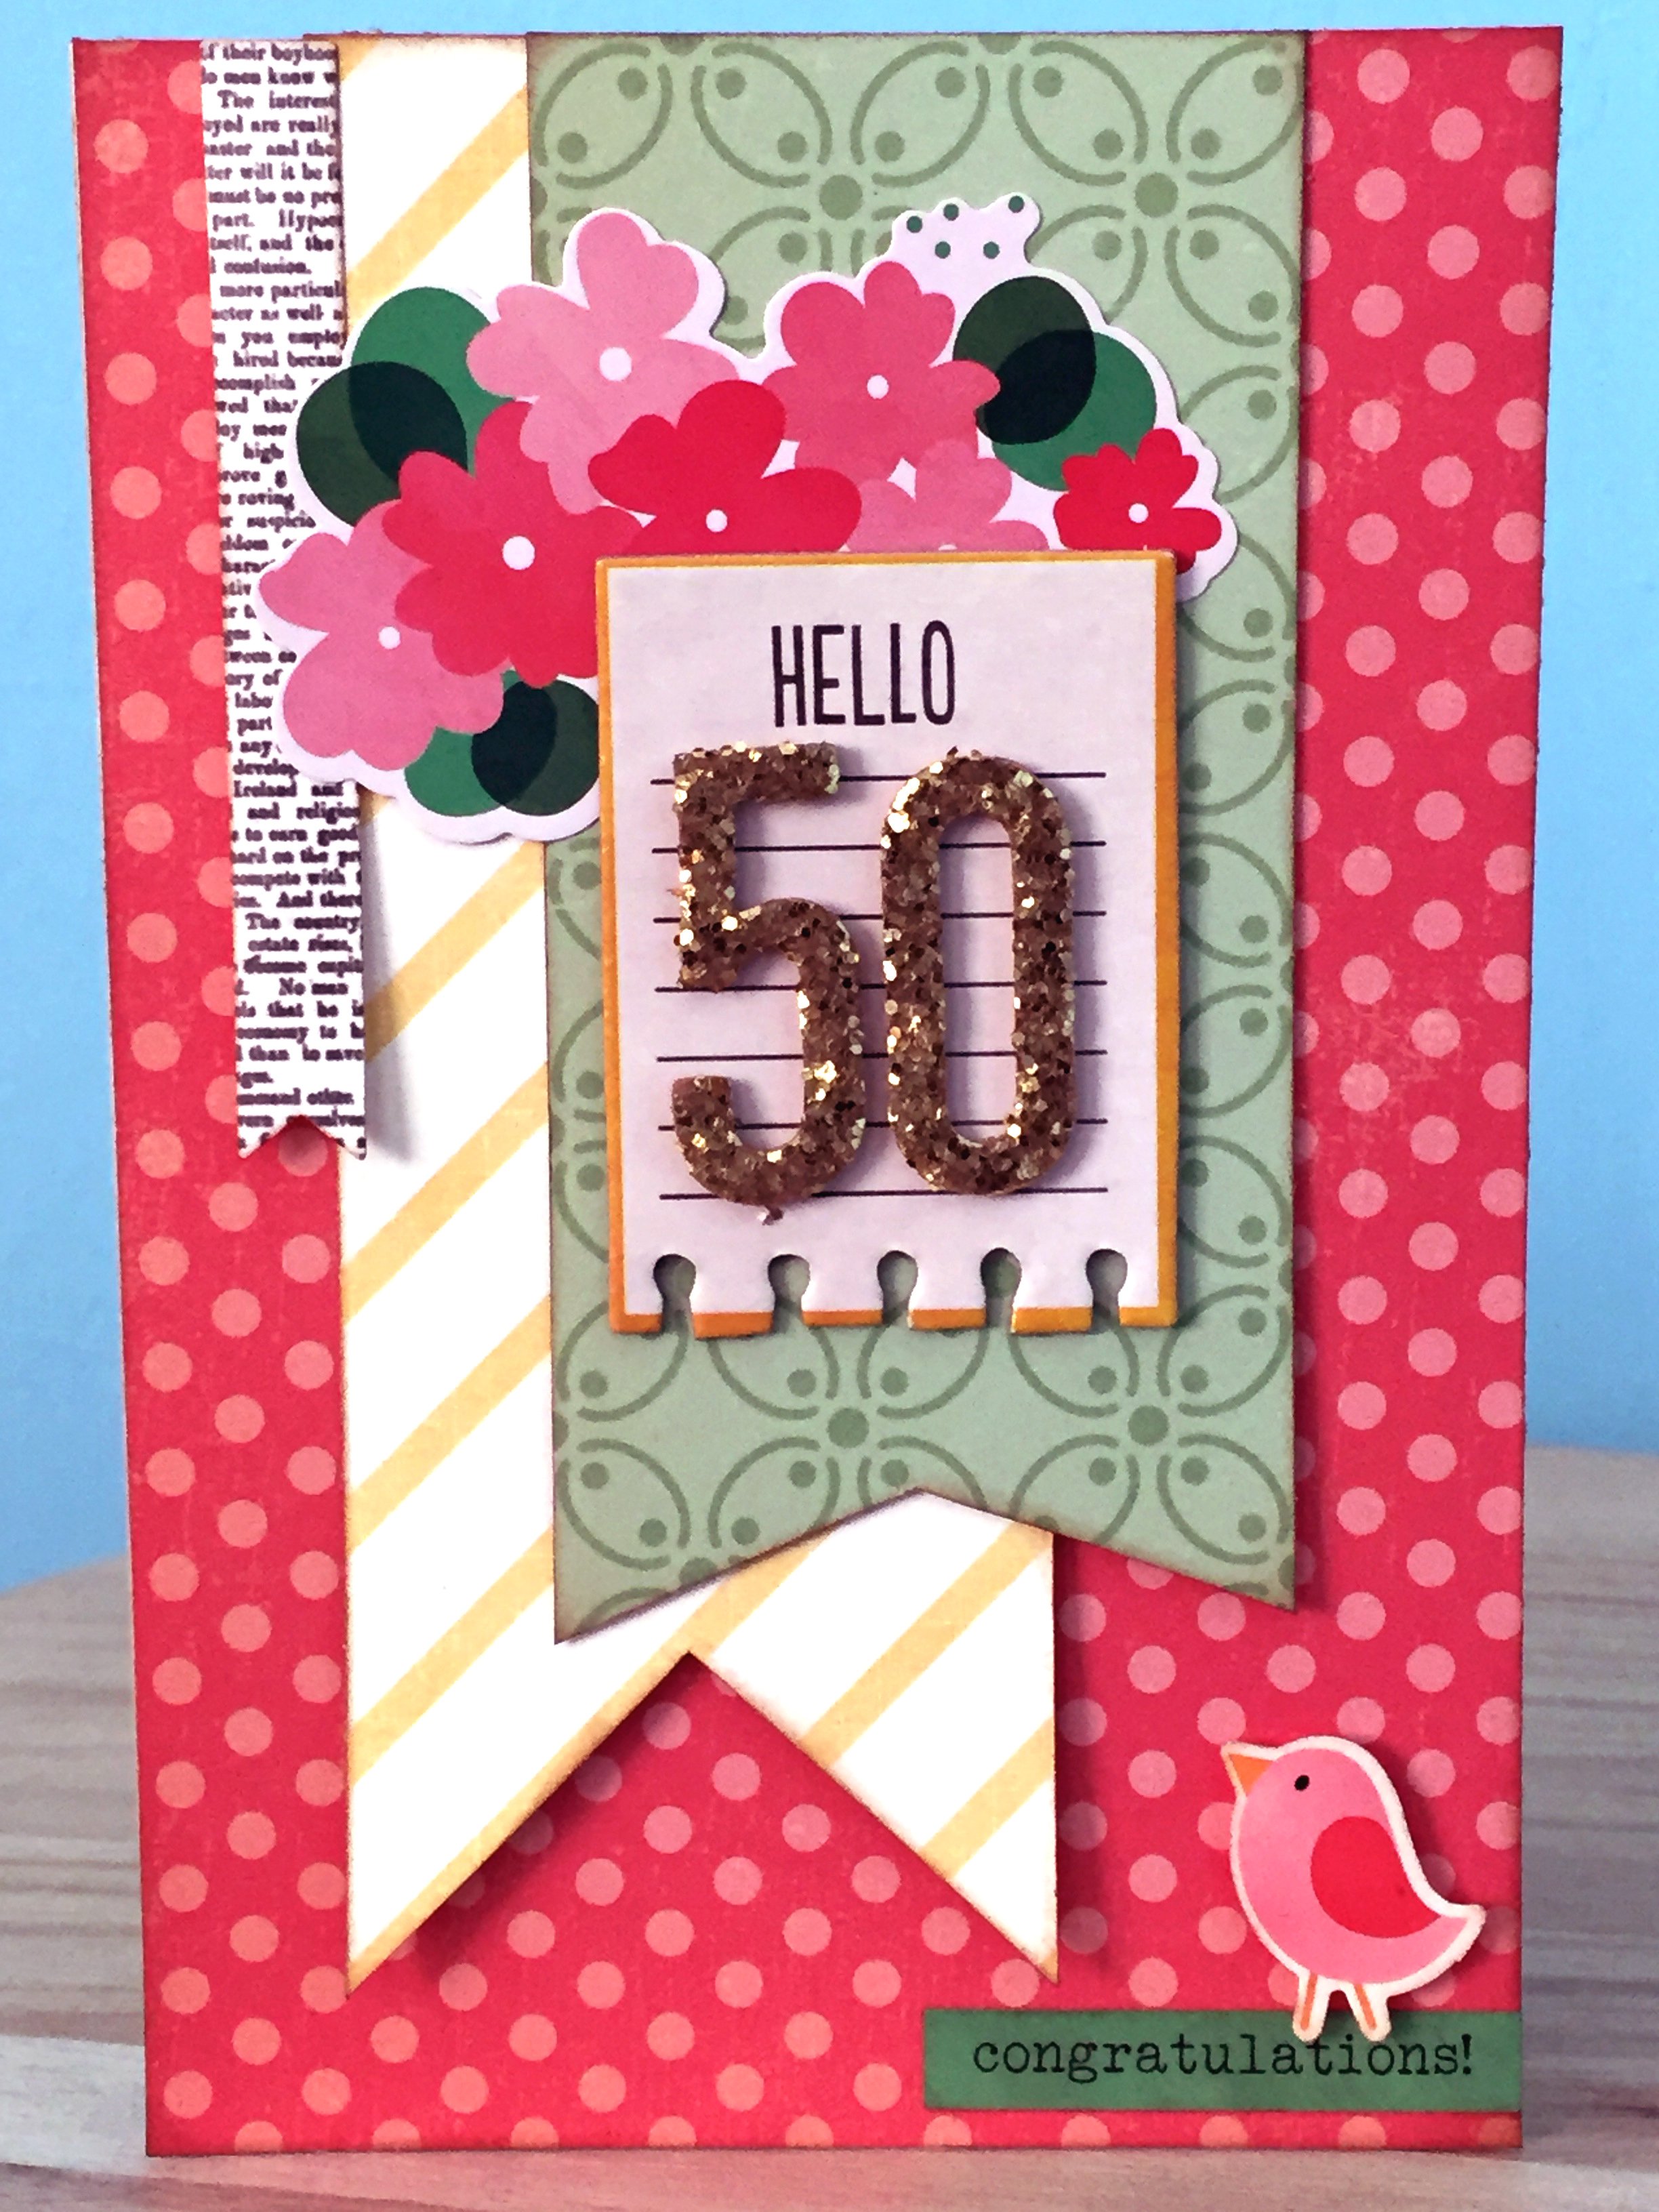
Another recent card make to share today, this time for a friend who turns 50 this year (and for once, I'm not late with this card - whoot!).


Technically this is a scrap-lift of a card design a did a few years ago but I loved the way it worked out so just went with it.  I used up some older October Afternoon Cakewalk papers and paired them with some Pebbles chipboards and stickers from the From Me to You and a Valentine's collections.  How adorable is that little bird?  And of course a 50th birthday needs a little gold bling, so the glittery gold Thickers made a reappearance.

January 31, 2016

Sympathy Card

Hello again!

Today I'm sharing a very quick card I made for a friend who unfortunately lost her mum just before New Years.  I've not made a sympathy card previously and I wasn't sure what from my stash would be suitable, considering that most of my style and thus supplies are bright and cheerful and clearly that wasn't the appropriate tone for such an occasion.  Instead, I decided to just keep it simple and let my letter inside speak for itself.


The paper was recently given to me from a friend.  It's not card weight paper and not a colour or design I would have chosen myself but it was perfect for this project.  If you look very closely, you can see there is a very subtle mottled pink tone running through the blue, which helps to give it a hint of warmth, which I felt was important here.

I stamped the flowers using an Ali Edwards stamp set and set rhinestones in their centers.  The 'thinking of you' sentiment came from another stamp set of about 20 or so different cards sentiments.  I honestly didn't have anything else fitting for a sympathy card but I liked how this was not only accurate (I have been thinking of her and her family) but not directly sad.

Finally, I added the bird sticker, which is from a My Mind's Eye chalkboard sticker collection.  The space needed an embellishment there for balance, even though I wanted to keep the overall design simple, and I liked how it felt dove-like.  As a final touch, I popped the little pink heart into the sentiment, inked the edges in blue and called it done.

February 15, 2015

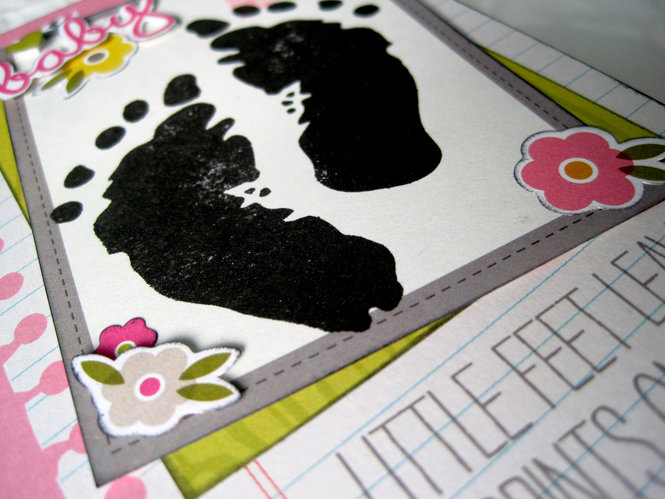
Little Feet Leave Big Imprints on Our Heats

Welcome back!

I mentioned in a recent post that the majority of people I know have been having baby girls so I have another baby card to share with you and yes, this time it's a little girl card.


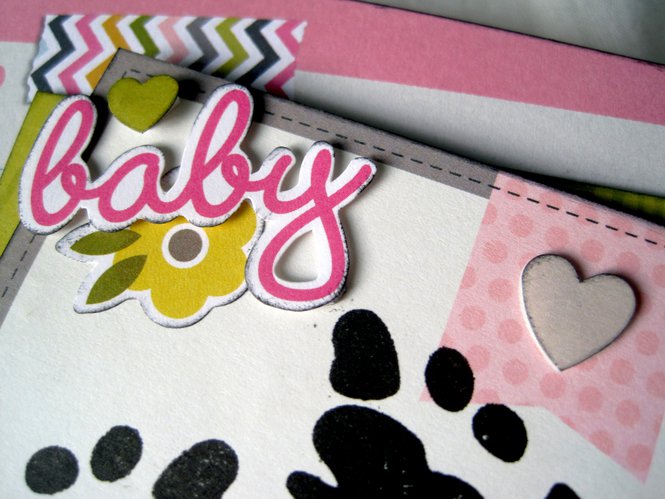
For this card I decided to use more of the Simple Stories baby girl collection I have on hand.  And since it's a girl, I also decided I might as well use up some of that pink but I didn't want it to be a complete pink explosion so I paired it with some green and black/grey neutrals.


When I came across the 4x6 card with the phrase 'Little feet leave big imprints on our hearts', I knew it would be perfect paired with my baby footprint stamp (which, incidentally, has been a very useful investment, just FYI).  I stamped the little feetsies onto a 3x4 card and layered it on top of another 3x4 card.


Finally, I created two visual triangles layered over each other - one of flowers and one of hearts.  The hearts are layered up over top of hearts that already existed on the cards below them.  Easy, peasy, done!

December 09, 2013

Christmas Traditions - Old and New

Welcome back, folks!  So we all know how crazy busy this time of year is but I've been trying to fit in some Christmas activities here and there.  This year's events have been a mix of old favourites and a long-awaited-for new party that I hope will continue in years to come.

Normally in October I host a big Thanksgiving dinner for my friends.  It's an annual tradition that I really enjoy (despite the ridiculous amount of time and preparation involved) and my friends make a point of booking themselves in months to a year in advance to take advantage of all that home cooking delightfulness.  However, with this year's bathroom renovations, lack of running water and general nastiness that was my flat for two months during September and October, Thanksgiving sadly didn't happen.

So to compensate, I held a glögg party.  Now, if you're not Scandinavian, German or similar northern European, you may be asking yourself, 'Just what is this glögg thing she's on about?'.  Well, glögg is a seasonal spiced (AKA mulled) red wine.  It's served warmed and in Sweden you add raisins and almonds (I prefer hazel nuts in mine) for extra yumminess.  It's sort of like the adult version of hot cocoa - it's warm and makes you feel tingly and cosy.  Nibbles included a mix of English and Swedish holiday treats; truly the best of both worlds.

Glögg - spreading the Christmas cheer.

Then this weekend past was a lovely mix of holiday traditions my friends and I have developed over the years.  Saturday we attended one of the annual Christmas flower arranging courses at the local florist college - they hold these every Christmas and Easter and they are fantastic!  You get wonderful instructions/demonstrations of the techniques, all the supplies are included and you go home with finished projects to decorate your house, all at a very affordable price.  What's more, the building itself is amazingly decorated and they always serve a nice fika or lunch, depending on the course length.

This year we decided to take the half day course, which included two projects: a pillar candle in a bowl decoration and a moss heart hanging decoration.  It's amazing that even after having taken these courses for some 4 years or so now, the projects are always different every time we go.  I especially loved the bowl arrangement - it looks so pretty on my coffee table in the lounge!  And I also liked that this year's moss heart was a small, manageable size (unlike a previous year).

Candle/bowl Arrangement

Moss Heart Decoration

After the flower arranging course, we spent the afternoon at the big Christmas market.  We were pleasantly surprised to find that they had done away with the giant tent the vendors used to be housed in and instead there was a newly constructed building to go through.  And the selection was different from previous years - very nice improvements, plus many of our old favourites still included in the mix, such as these handsome julboc (Christmas goats):

 
I do quite fancy them but I just know that Oskar would eat it and I'd find piles of puked-up straw all over the house.  Ahh, the joys of pet ownership...

Once we finished our shopping (I did actually manage to buy a few gifts and stocking stuffers), we enjoyed another warm cup of glögg and a lussekatte (traditional saffran bun) in the old manor house.


Later Saturday night I even also finished making all of my Christmas cards for the year!  That's a bit miraculous, considering that I normally do cards in November but hadn't touched mine until sometime last Wednesday.  I'll share those with you Wednesday so stay tuned for more.

So despite all of the holiday craziness going on, it's been nice to fit in some of the pleasant things, too.  Hopefully you've also managed to do the same.

July 29, 2013

Keukenhof Snapshots

So last week I was following CHA-S quite closely through manufacturer blogs and 2Peas but I didn't have much inspiration for anything new to scrap, even though I wanting to get in on some of the 2Peas CHA challenge action.  Thankfully, my friend Anya came down to visit for the weekend and we enjoyed some crop time together and that really helped to inspire me into working on a new page, with the bonus of being able to catch up with a good friend I've not seen much in the last year - thanks, Anya!

So I decided to finally start scrapping some of my Amsterdam holiday photos from 2011.  I spent an entire day at Keukenhof gardens and have probably close to 100 flower/garden photos and let's face it, it's pretty darn difficult to not find beautiful flowers inspiring (or at least, for me).  So here's my finished page:


I started by pulling out my absolute favourite flower photos, looking for a selection of different types, shapes and colours.  That narrowed things down to 24 photos, which I thought was fairly impressive on its own.  Later I paired this down further to 12 photos.


I decided that using Polaroid-style frames would be the best way of featuring so many photos on a page so I got to work hand-cutting scraps of white cardstock.  Since I wanted the photos to remain the focus point, I chose to use a tone-on-tone design.  I used a black fine-liner pen to doodle around the frames and then found a distressed patterned paper sheet that also had a doodled frame around it for the background - perfect!


My original thought was to use a grid layout, perhaps titled and with the photos staggered to give it some movement and energy on the page.  Then I decided it would be cute to have the photos hanging from little washing lines instead and found some natural fibre twine that would fit well with the nature-theme and tone-on-tone design.  I also used some natural wooden mini clothes pegs to highlight my favourite photo of the bunch and I also clipped one onto my journaling card.  The rest of the photos I attached to the line using washi tapes.


I'm always very good when I go on holiday about keeping memorabilia but I'm less good about organising and storing it once I get home.  I had all of my Amsterdam bits and bobs in a plastic bag (and knew where to find it - bonus!) but I often get so into making a travel layout that I forget to check the bag and pull out material to plan into the page until too far into the design process.  But not this time - I got into that bag and pulled out my e-ticket, Keukenhof business card and train ticket to the gardens and decided I would work them and the journaling card into the design using a glassine bag, which would also help to cover up a motif on the background paper that didn't fit the page and I layered all of that under the last photo.


Again, because I wanted to keep the photos as the focus, I used basic black Thickers and letter stickers for my title and I stamped in a grey that wouldn't be over-powering on the page.  I also kept my embellishments minimal (although Anya teased me that she would have stopped *ages* ago - ha!).  I was also quite pleased with myself that I managed to work in the magenta coloured vellum stickers from the Yes, Please sticker sheet - I love how virtually any colour will work with most flowers.

I cleaned up quite well on the challenge prompts with just this one layout (totally impressed myself):
  • Stash Busters - use scraps (white cardstock for frames)
  • 2Peas - Glitter Girl (focus on photos)
  • 2Peas - Scrap Your Stash (use frames)
  • CHA 3 Pieces of Memorabilia (tickets x2, business card)
  • CHA 4 Elements of Nature (flowers, birds, butterflies, ladybird)
  • CHA 5 Senses (journaled about sight and scent)
  • CHA 10 photos (used 12)
Weekend crop results - Anya with her finished page and my nearly-finished page:


Such fun!  I'm very much looking forward to when she moves back closer, hopefully in the next few months, and we can do these things more often.
July 22, 2013

So Many Happy Memories

Last Wednesday I shared this sneak of some supplies I had pulled for a new layout:


It took me a while to start working on it for two reasons.  First, my initial sketch ideas all seemed to gravitate towards designs that work best with portrait oriented photos and my photo was landscape oriented.  Second, I wanted a design that had flow and avoided the boxy feeling (I've been working with a lot of squares lately, it seems).  Then I realised I could adapt one of the sketches from Shimelle's Hitchhiker's Guide to Scrapbooking by using a large doily and after that, everything fell into place.


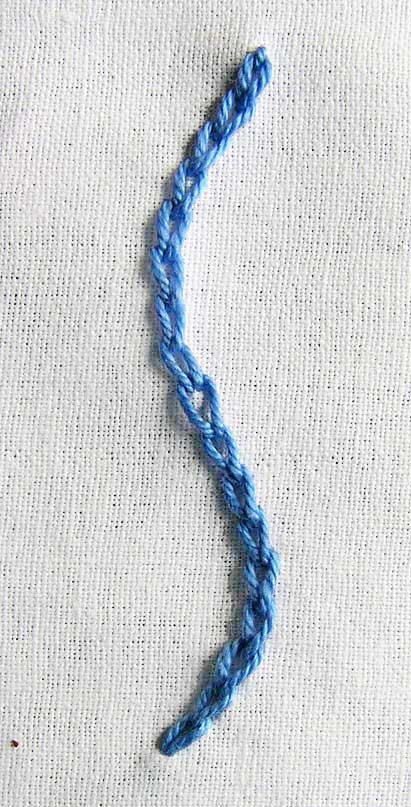
When I put these papers together, I immediately thought of using this photo.  I didn't even remember what the colours were, although it was probably a sub-conscious realisation.  I also wanted to use this lovely, bold floral paper from Oxford Lane.  I'm not one to often use floral designs - I'm more of a geometric girl - but it's so pretty and I like a challenge so I cut it into a circle to lay inside the doily.  I wanted to cover the seam between the paper and doily but didn't have any great ribbon choices so I decided to hand stitch using a fancier embroidery stitch - the chain stitch.  It adds such wonderful texture and dimension to the page and really draws in your eye - here's a detail shot:


I also thought I would carry the floral theme into the embellishments - also not something I normally do but I was recently sent some pretty Martha Stewart large flower embellishments and I have a few flowers left in my stash I thought I would use up.  In the end, I didn't use either of those but instead used this pretty fabric flower, which I paired with a felt bracket that I cut up to look like extra leaves.  I also painted some gold Stickles into the flower's center and leaves to liven up the white space inside the flower.


As it turns out, EP's Here & Now collection actually matches the turquoise, lime and yellows of Oxford Lane quite well so I used the element stickers to embellish a second cluster on the diagonal.  I liked how the cloud stickers had floral motifs in them, then added some arrows and butterflies.  I added more gold Stickles to the large yellow butterfly and to some random dots on the floral background paper.


I wanted to keep the rest of the page simple and airy so I used a banner strip for the title, ran a little embroidery floss along it and used a label to contain my journaling.  I also stamped the date and a sentiment along the right border and then drew a fine doodling line around the other three sides, because the design was feeling like it lacked grounding.

Want to try chain stitching on your pages, too?  I made a short video to help show you how.


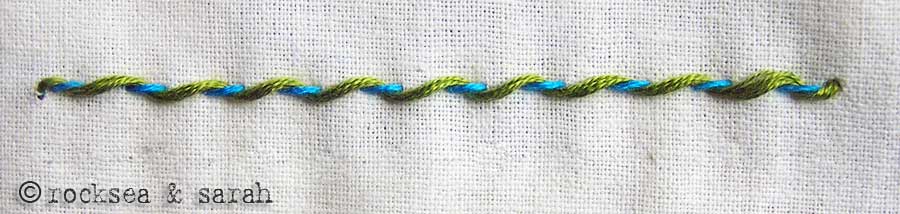
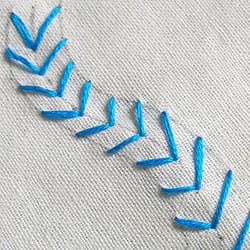
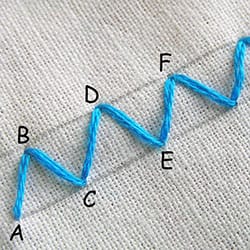
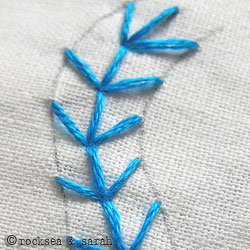
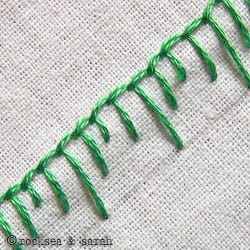
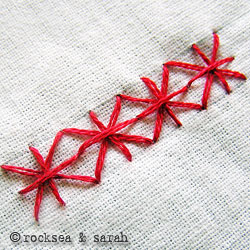
Now, if you like the look of the chain stitching and also like to hand stitch on your pages but have only used the running and/or back stitches, I would encourage you to try some more decorative stitches!  They really add pizzazz to a page and while they often look complicated, many are in fact very simple and transfer well to paper stitching.  You can find a plethora of embroidery stitch photo tutorials from Sarah's Hand Embroidery Tutorials and here are a half dozen beginner level stitches to get you started:


Arrow Head Stitches


Blanket Stitches


Thanks for joining me today and I hope I've inspired you to try some stitching on your next page and if you do, I'd love to see it.