Welcome back!
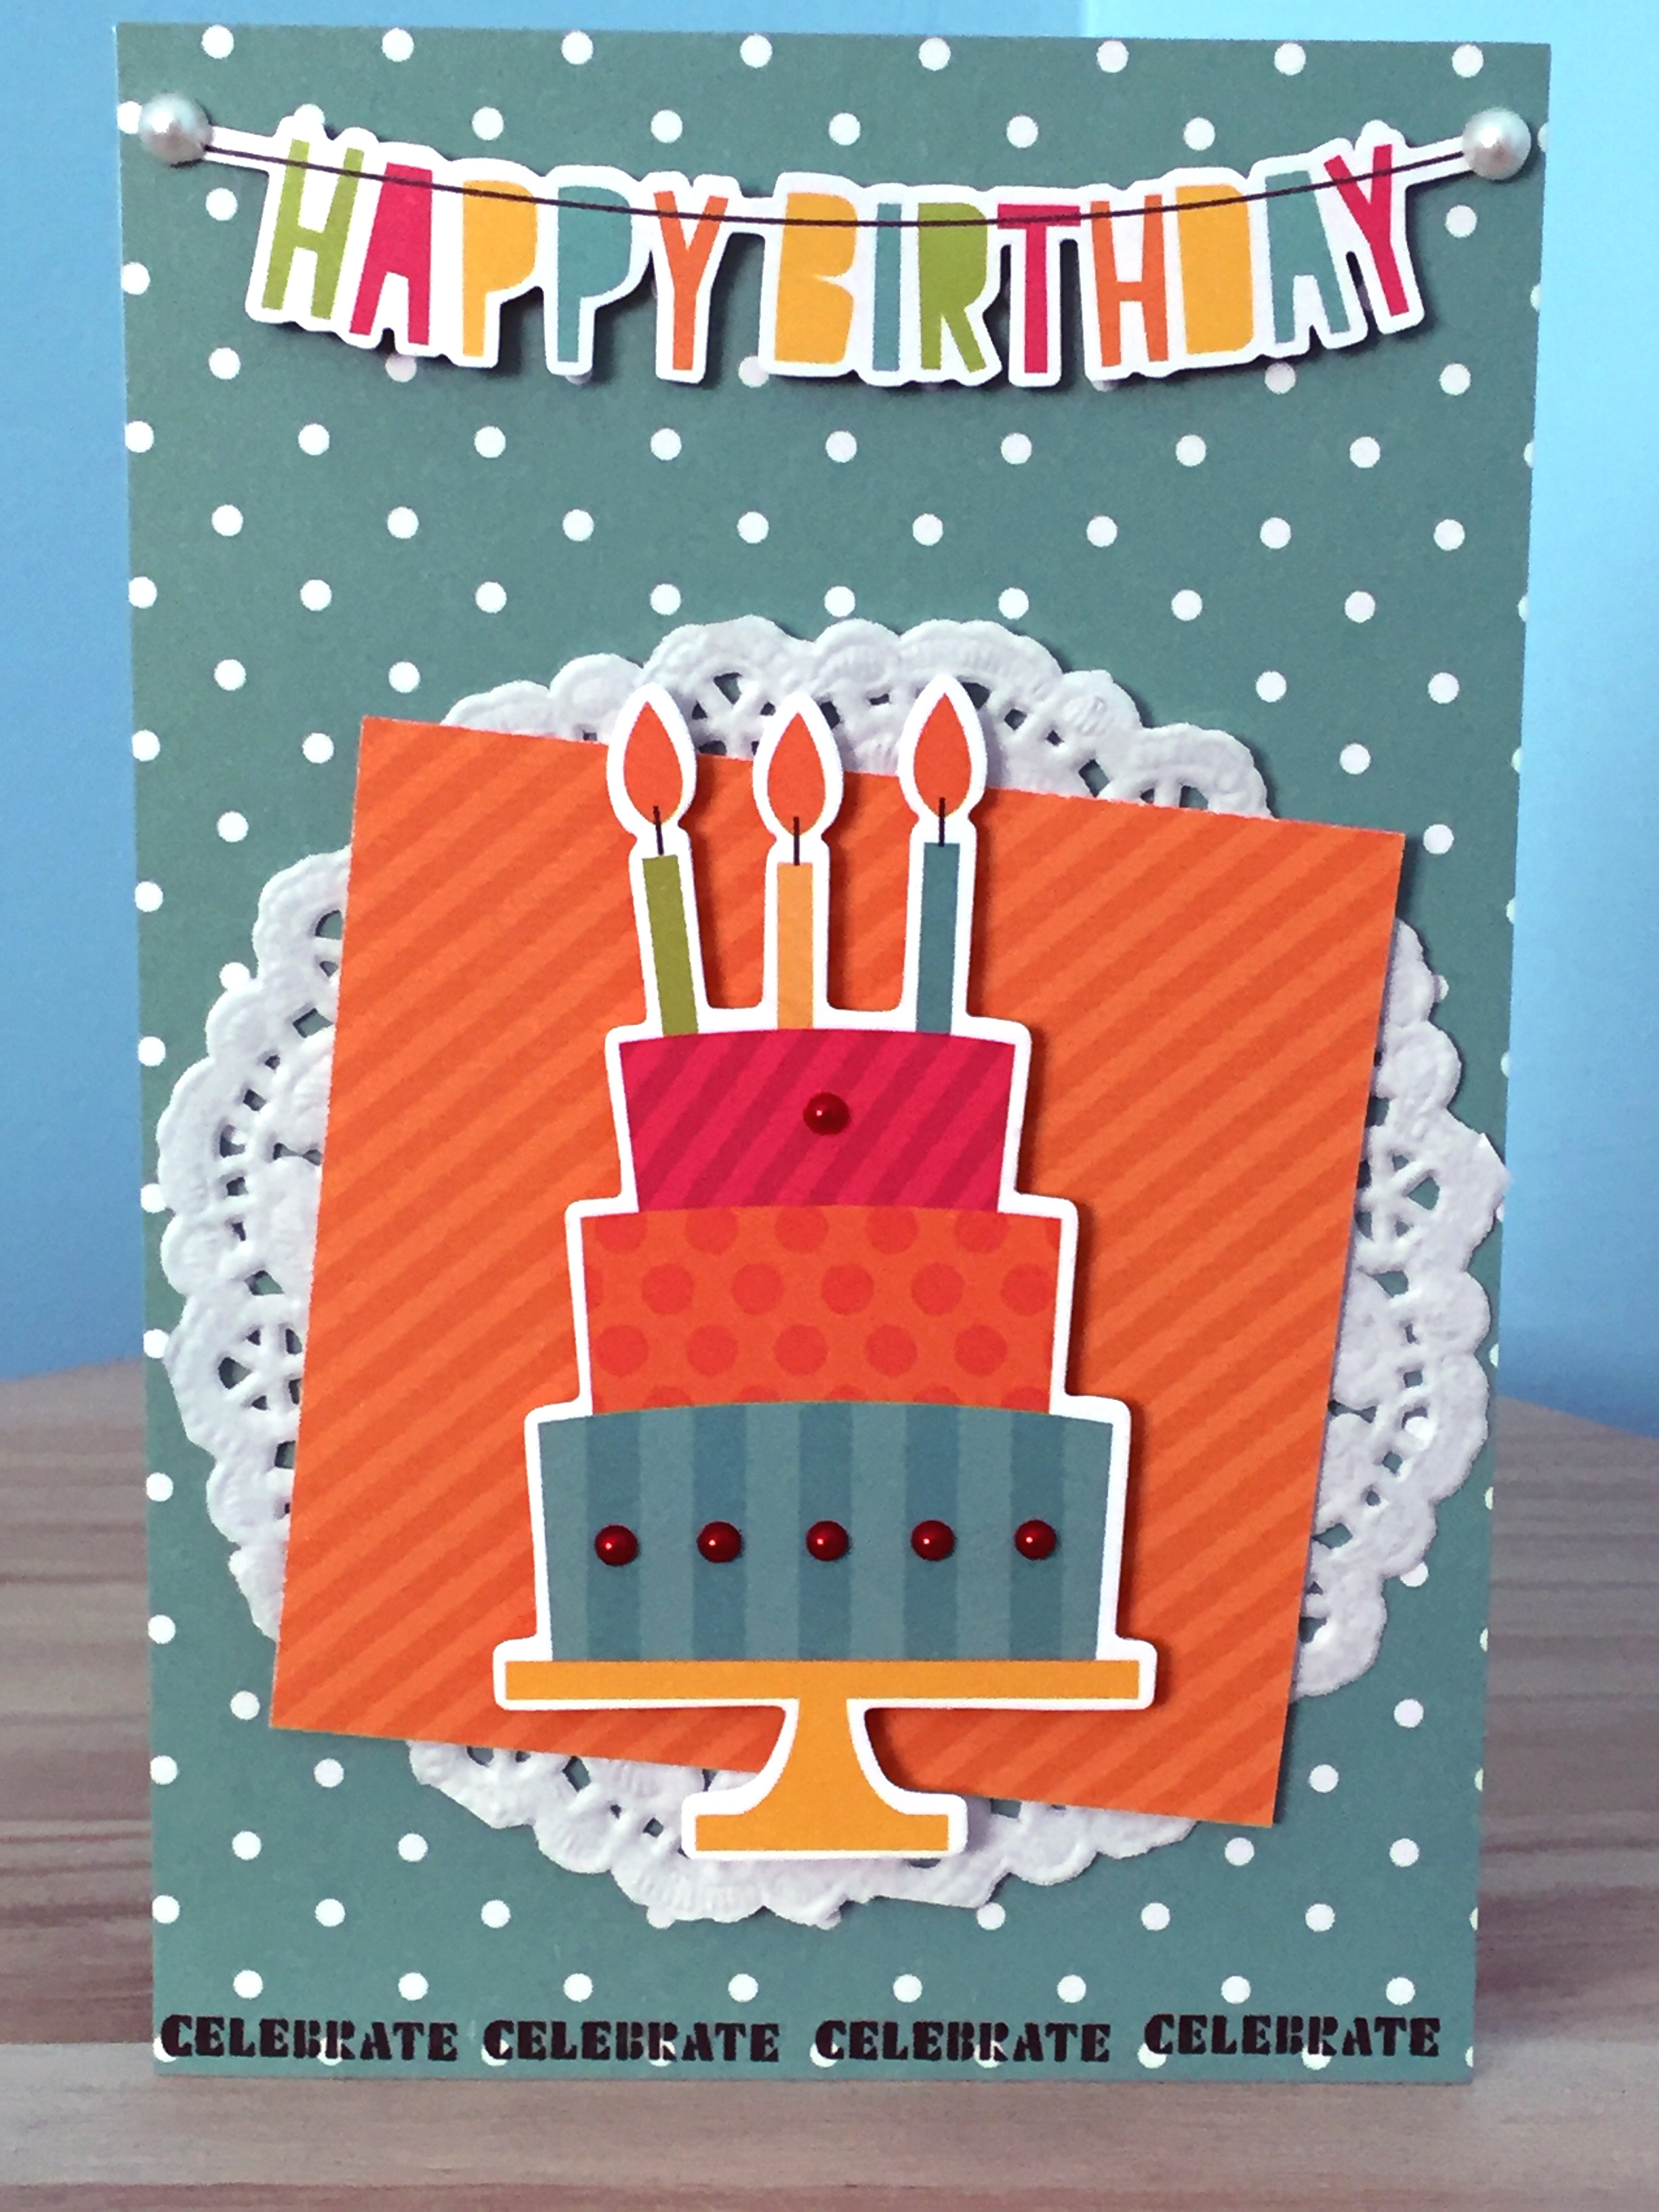
Today I'm sharing a recent card make for a friend's little girl, who turned six in March. I love the colour-saturated Simple Stories birthday kits so I whipped up a quick little colourful card to put in with her gift.
Some fun polka dots and stripes, a little doily to soften some of the bold colours and hard edges and some die-cuts in the form of the cake and banner. I popped some left-over red pearls from my Christmas cards onto the cake for a little embellishment and then stamped 'celebrate' across the bottom.
Next challenge is getting it into the post before summer hits!
Showing posts with label stamping. Show all posts
April 06, 2016
April 03, 2016
HB2U Card
Hello, hello!
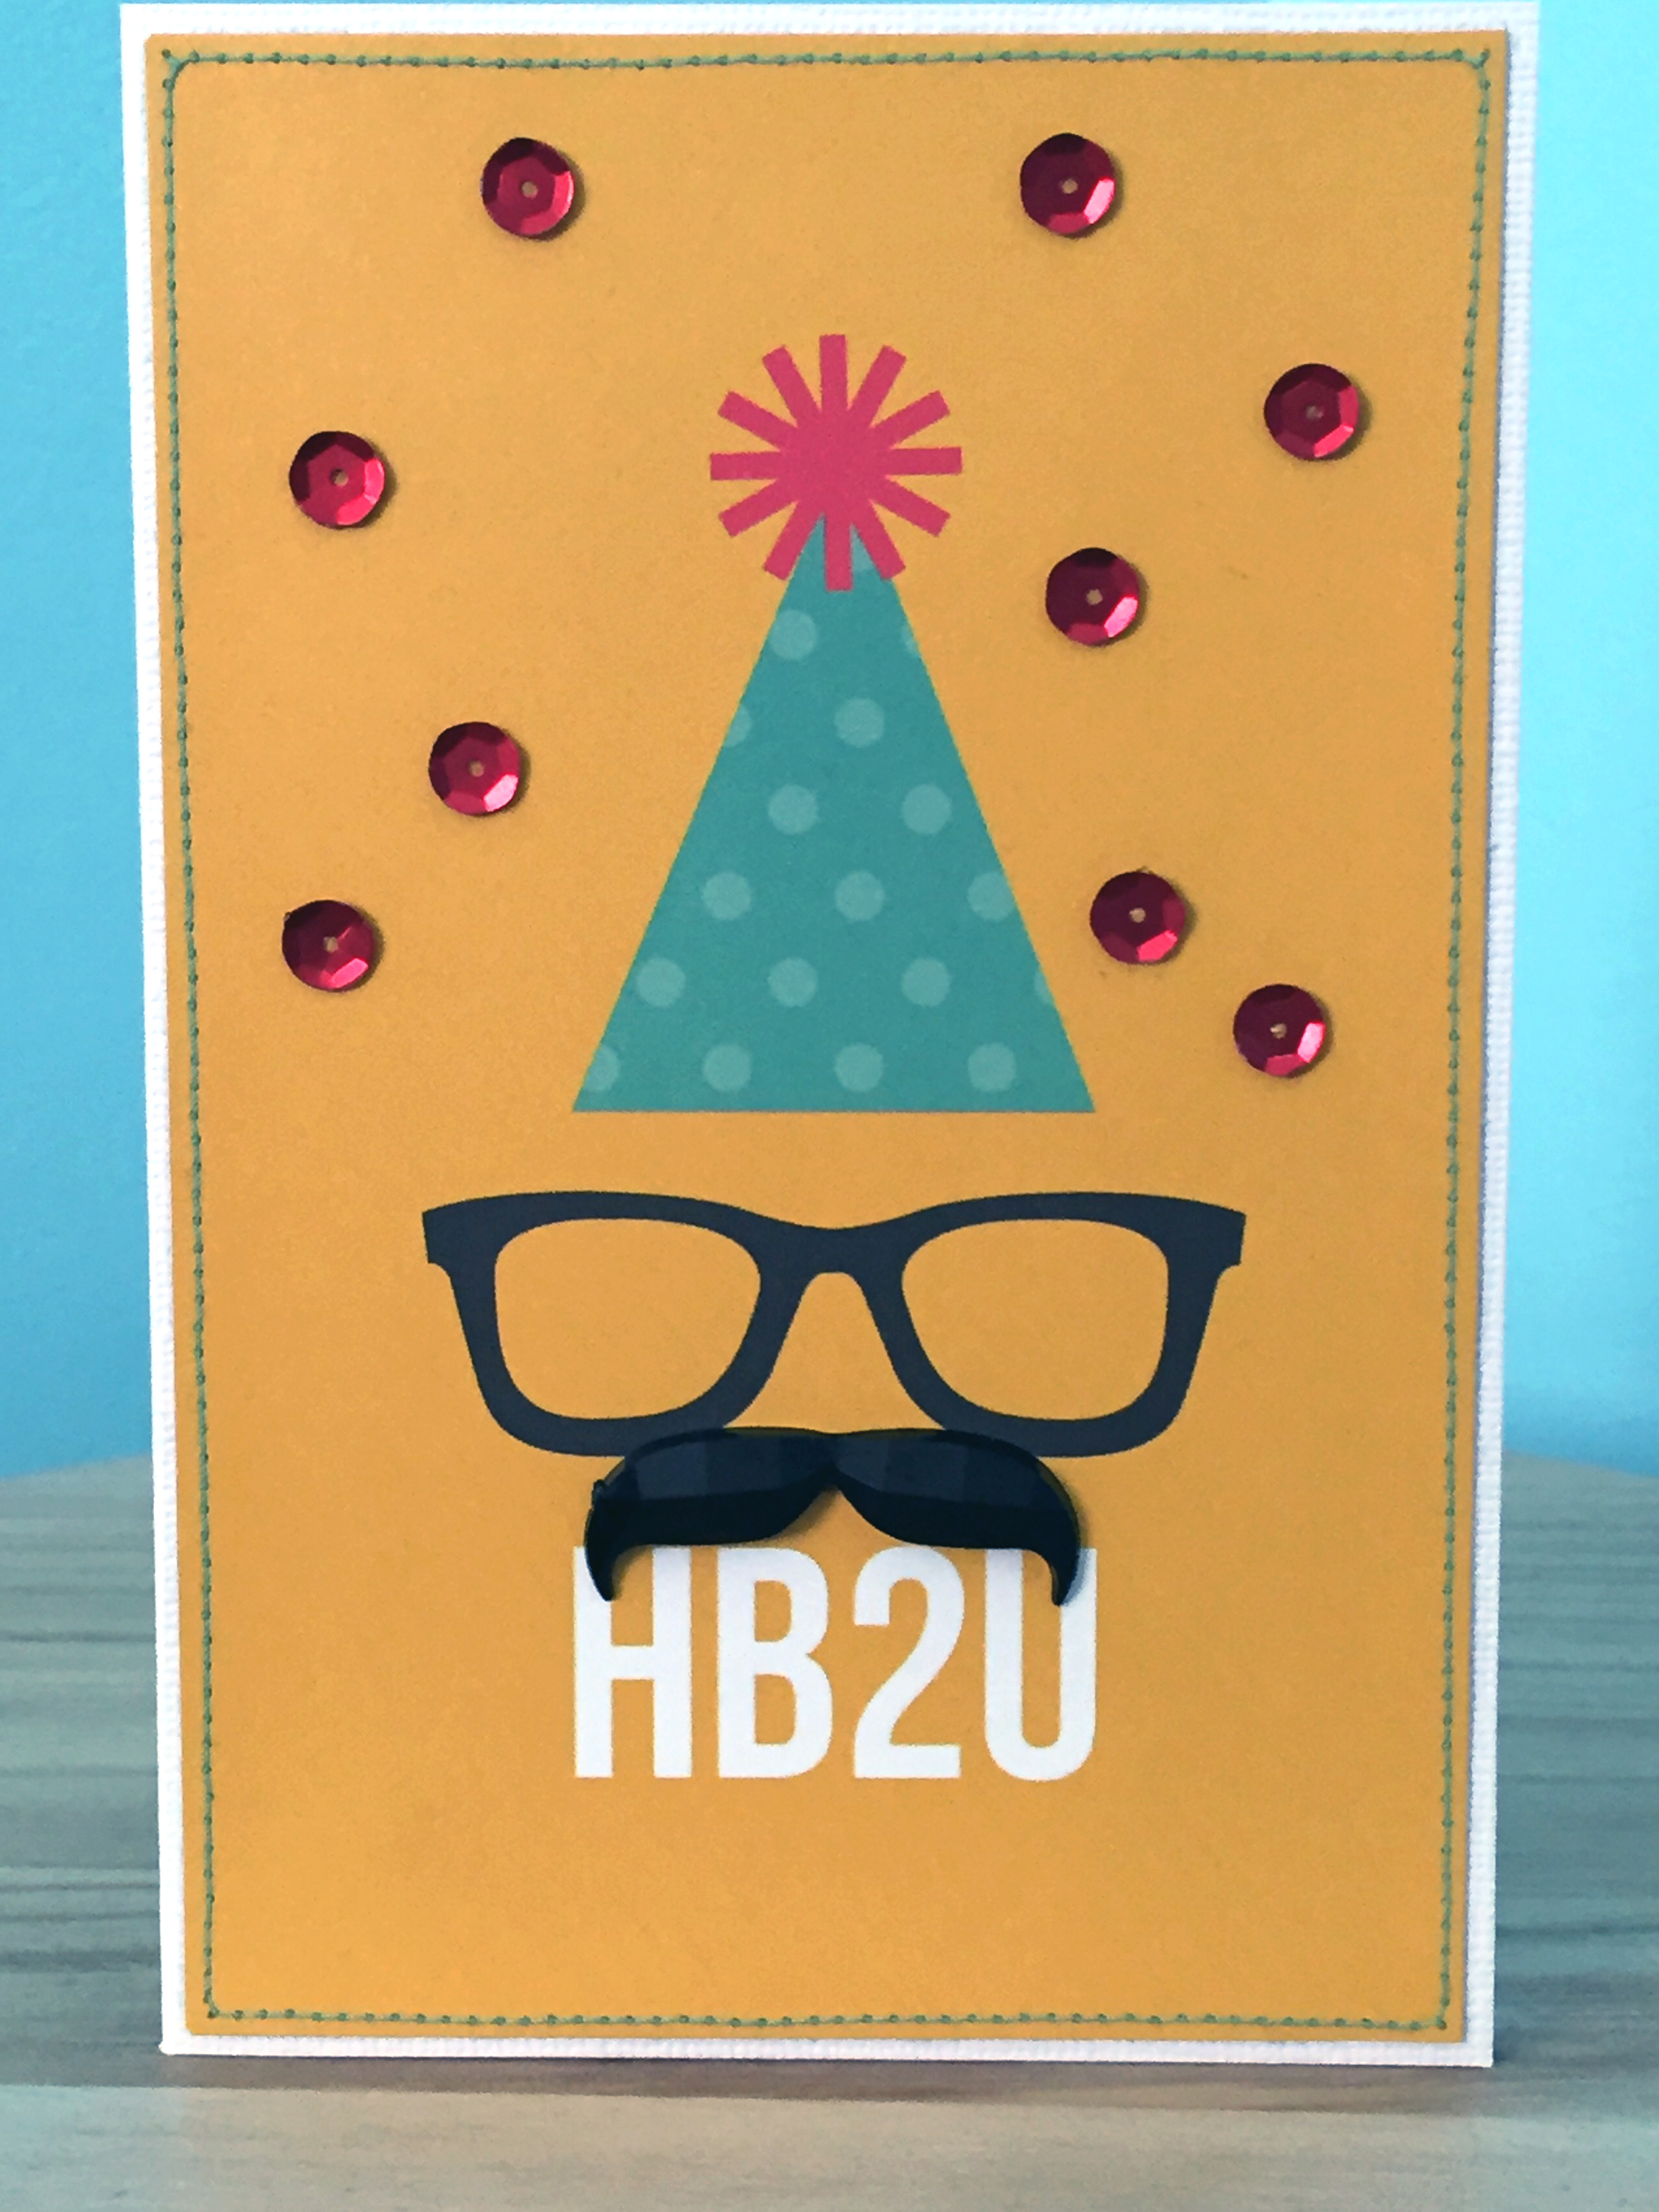
I'm terribly behind on birthday cards this year, which is bad enough but especially so with so many people turning milestone birthdays this year. Anyway, I'm working on catching myself up, starting with a card for a male friend who turned 40 the end of January.
He's certainly not the Hipster type, but I couldn't resist this Simple Stories 4x6 card with the text speech and the opportunity to play with the fab mustache rhinestones I found at the local craft store - how cool is that 'stache?
Just kept it simple with the mustache, a sprinkling of sequins and I ran a line of turquoise stitching around the outside edge, then trimmed it down to show a bit of the white card base underneath.
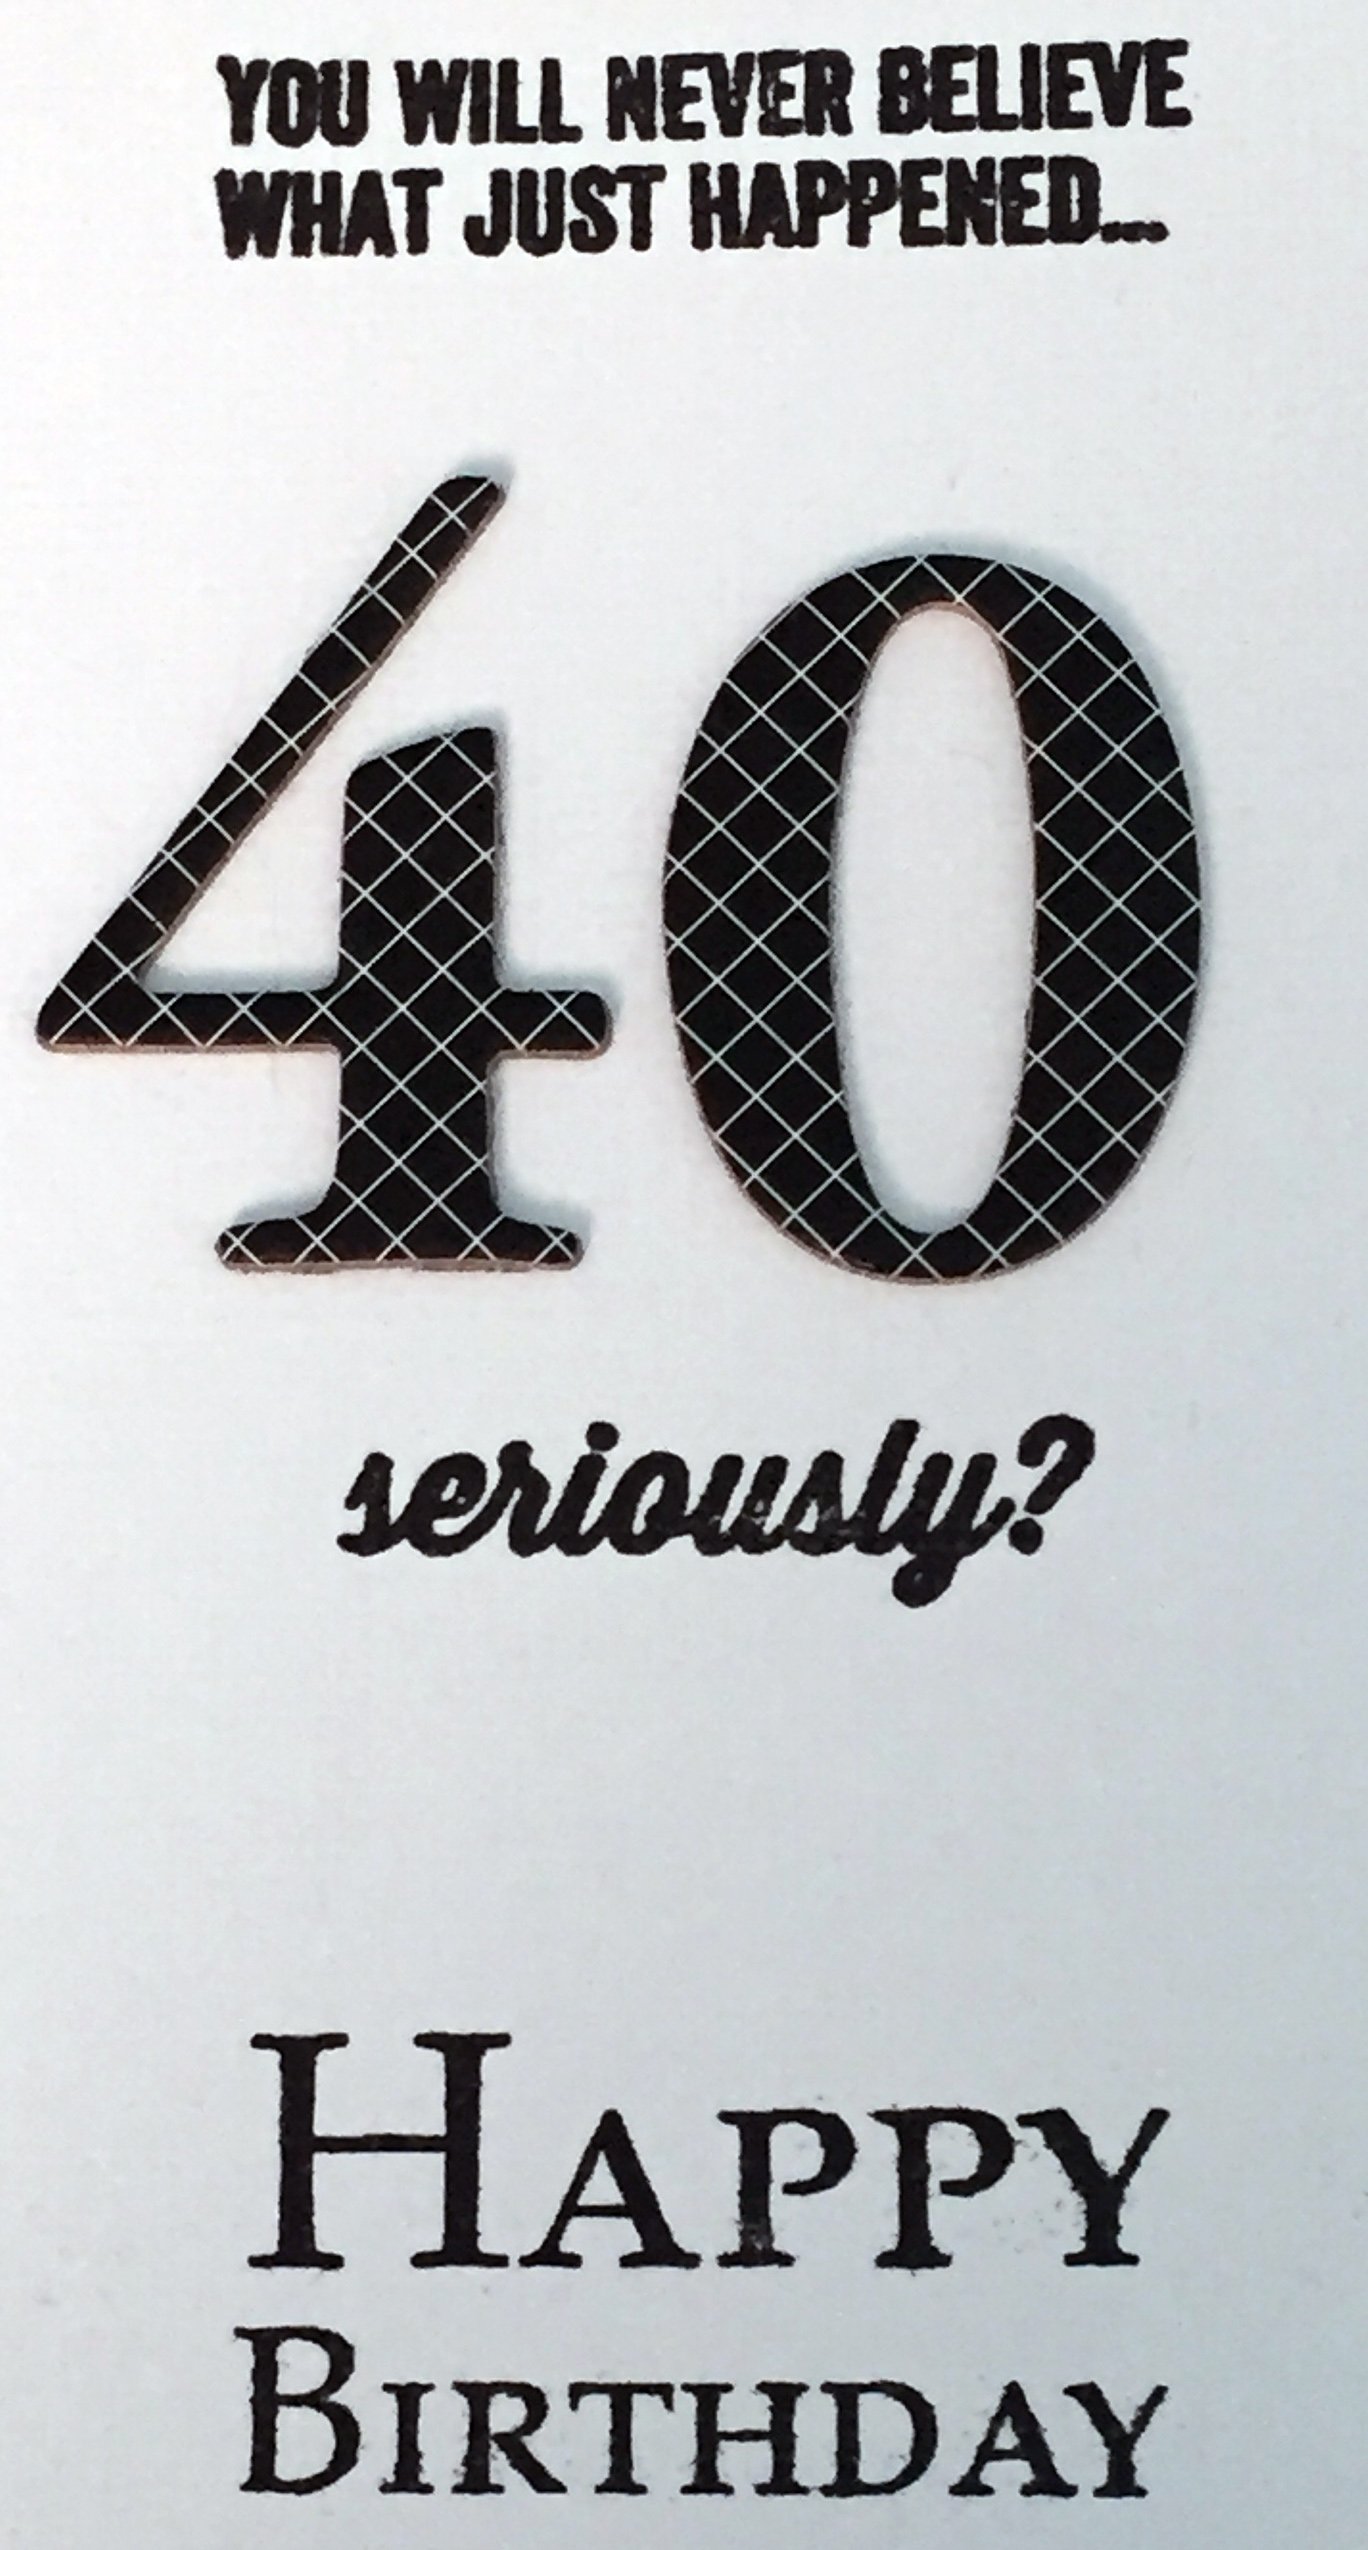
Then I got a bit cheeky on the interior for the sentiment, putting Shimelle's first stamp set to some fun use.
Hehe, you have to have a little fun with these things, after all.
That's it for today - short and sweet - but stay tuned for some more recent makes again soon.
I'm terribly behind on birthday cards this year, which is bad enough but especially so with so many people turning milestone birthdays this year. Anyway, I'm working on catching myself up, starting with a card for a male friend who turned 40 the end of January.
He's certainly not the Hipster type, but I couldn't resist this Simple Stories 4x6 card with the text speech and the opportunity to play with the fab mustache rhinestones I found at the local craft store - how cool is that 'stache?
Just kept it simple with the mustache, a sprinkling of sequins and I ran a line of turquoise stitching around the outside edge, then trimmed it down to show a bit of the white card base underneath.
Then I got a bit cheeky on the interior for the sentiment, putting Shimelle's first stamp set to some fun use.
Hehe, you have to have a little fun with these things, after all.
That's it for today - short and sweet - but stay tuned for some more recent makes again soon.
Labels:
40th,
birthday card,
funny,
glasses,
Hipster,
male,
masculine,
milestone,
mustache,
rhinestones,
sequins,
stamping,
stitching,
text speech,
Thickers
January 31, 2016
Sympathy Card
Hello again!
Today I'm sharing a very quick card I made for a friend who unfortunately lost her mum just before New Years. I've not made a sympathy card previously and I wasn't sure what from my stash would be suitable, considering that most of my style and thus supplies are bright and cheerful and clearly that wasn't the appropriate tone for such an occasion. Instead, I decided to just keep it simple and let my letter inside speak for itself.
The paper was recently given to me from a friend. It's not card weight paper and not a colour or design I would have chosen myself but it was perfect for this project. If you look very closely, you can see there is a very subtle mottled pink tone running through the blue, which helps to give it a hint of warmth, which I felt was important here.
I stamped the flowers using an Ali Edwards stamp set and set rhinestones in their centers. The 'thinking of you' sentiment came from another stamp set of about 20 or so different cards sentiments. I honestly didn't have anything else fitting for a sympathy card but I liked how this was not only accurate (I have been thinking of her and her family) but not directly sad.
Finally, I added the bird sticker, which is from a My Mind's Eye chalkboard sticker collection. The space needed an embellishment there for balance, even though I wanted to keep the overall design simple, and I liked how it felt dove-like. As a final touch, I popped the little pink heart into the sentiment, inked the edges in blue and called it done.
Today I'm sharing a very quick card I made for a friend who unfortunately lost her mum just before New Years. I've not made a sympathy card previously and I wasn't sure what from my stash would be suitable, considering that most of my style and thus supplies are bright and cheerful and clearly that wasn't the appropriate tone for such an occasion. Instead, I decided to just keep it simple and let my letter inside speak for itself.
The paper was recently given to me from a friend. It's not card weight paper and not a colour or design I would have chosen myself but it was perfect for this project. If you look very closely, you can see there is a very subtle mottled pink tone running through the blue, which helps to give it a hint of warmth, which I felt was important here.
I stamped the flowers using an Ali Edwards stamp set and set rhinestones in their centers. The 'thinking of you' sentiment came from another stamp set of about 20 or so different cards sentiments. I honestly didn't have anything else fitting for a sympathy card but I liked how this was not only accurate (I have been thinking of her and her family) but not directly sad.
Finally, I added the bird sticker, which is from a My Mind's Eye chalkboard sticker collection. The space needed an embellishment there for balance, even though I wanted to keep the overall design simple, and I liked how it felt dove-like. As a final touch, I popped the little pink heart into the sentiment, inked the edges in blue and called it done.
Labels:
bereavement,
bird,
blue,
dove,
flowers,
heart,
mottled,
rhinestones,
simple,
simplistic,
stamping,
stamps,
sympathy
December 04, 2015
Heritage Photo - Syskon
Hi again!
Today I'm sharing the second layout in my friend's heritage photo project. If you missed the first LO, you can see it here.
This second LO features photos of the three siblings together. The original photo of Bertil holding their baby sister was very small, dark and a bit damaged but the photo development company did a lovely job at scanning, enlarging and reprinting it and in such a way that the lighting now helps to draw your eye into the two children.
The background papers are from Webster's Pages by Adrienne Looman. The embellishment clusters feature arrows and hearts and I purposely put down the washi tape so that it counted up to three to reflect the number of siblings. I also used some stamping on this LO, even though it's in English it fitted the theme well. Birgitta may go back and write on the journaling card so I've left it open for her, should she decide to do so.
Pink chevron arrow is from Crate Paper; which I chose because of the aged look and the weathered cello tape accents.
The stamping for the arrows was done on a branding strip, which was the perfect size. Hearts and rhinestones with gold lame spatters are layered up on the embellishment clusters.
The bottom embellishment cluster features three arrows, again symbolising the three siblings, and a little stamping with a roller stamp that fitted well with the photo of brother and baby sister together.
Thanks for stopping by; be sure to come back for the final LO installment.
Today I'm sharing the second layout in my friend's heritage photo project. If you missed the first LO, you can see it here.
This second LO features photos of the three siblings together. The original photo of Bertil holding their baby sister was very small, dark and a bit damaged but the photo development company did a lovely job at scanning, enlarging and reprinting it and in such a way that the lighting now helps to draw your eye into the two children.
Pink chevron arrow is from Crate Paper; which I chose because of the aged look and the weathered cello tape accents.
The stamping for the arrows was done on a branding strip, which was the perfect size. Hearts and rhinestones with gold lame spatters are layered up on the embellishment clusters.
The bottom embellishment cluster features three arrows, again symbolising the three siblings, and a little stamping with a roller stamp that fitted well with the photo of brother and baby sister together.
Thanks for stopping by; be sure to come back for the final LO installment.
Labels:
arrows,
Bertil,
cork,
Crate Paper,
gold,
Heidi Swapp,
heritage,
rhinestones,
ruler,
siblings,
stamping,
vintage,
washi tape,
Webster's Pages
February 26, 2015
Christmas Cards 2014
Okay, try not to panic at the mentioning of 'Christmas' already. The truth is, I'm a wee bit backlogged in posting so despite the fact that it's nearly March, I still wanted to share my 2014 Christmas cards with you, for inspiration purposes if nothing else. And let's be honest, I know there are a few of you out there already working on this year's Christmas cards and presents (you know who you are).
Now, having started a job at a new school this academic year, I was feeling slightly more swamped than usual coming up to the holiday season and I was having a hard time coming up with card ideas. Luckily there's always Pinterest for just such occasions! I've always loved this card since first seeing it and so used it for my inspiration:
So I set about planning how I could recreate it. For the circles, I invested in a Martha Steward circle cutter, which (personal feelings concerning Martha Steward aside) is pretty darn awesome and much better than my old and crude circle cutter tool. I have plenty of ribbon so the scarf wouldn't present a problem but the die cut arms would, as I don't have a die cutter to hand... And finally, while I could certainly use paint and the circular tip of a paintbrush to stamp out the charcoal bits, I really wanted to ideally use some sort of black rhinestones for dimension but that would require a lot of rhinestones and where would I find those in quantity for a good price?
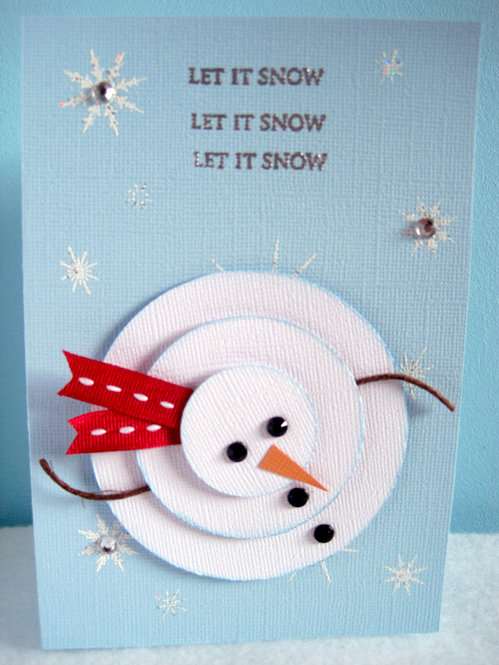
Happily, it all worked out:
I would have liked to have made them square like in the inspiration card but I make 40-50 cards each year and so I need to buy envelopes in bulk and unfortunately, the dollar store equivalent over here doesn't stock square envelopes in bulk so I went with the traditional A6 sized format instead, which admittedly isn't as nicely balanced but there you go. Sometimes you just have to think practically.
You can see how nicely the circles turned out using the new circle cutter. I also decided to ink my circles in a light blue tinge instead of the grey of the inspiration card (which I felt looked a bit dirty and I like my snow pristine looking). For the background, I stamped a variety of snowflakes and then heat embossed them with a 'snowflake' powder, which is essentially a white with silver flecks mixed in. I also popped a few clear rhinestones on for a bit of sparkle.
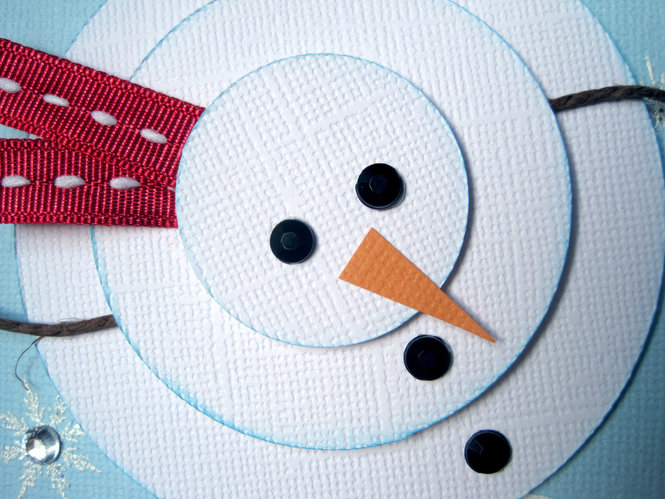
A nice bright red ribbon made this little fellow's scarf but I had about five different ribbons that I used so there was a little variety to the set. For the arms, I decided some dark brown twine would look suitably like branches and add another textural element, which I liked. And I totally lucked out at the dollar store when I stumbled over massive sheets of colour self-adhering rhinestones, including black! They were like perfect little chunks of charcoal just waiting for a snowman to adorn! Serendipity, I tell you.
Now, having started a job at a new school this academic year, I was feeling slightly more swamped than usual coming up to the holiday season and I was having a hard time coming up with card ideas. Luckily there's always Pinterest for just such occasions! I've always loved this card since first seeing it and so used it for my inspiration:
So I set about planning how I could recreate it. For the circles, I invested in a Martha Steward circle cutter, which (personal feelings concerning Martha Steward aside) is pretty darn awesome and much better than my old and crude circle cutter tool. I have plenty of ribbon so the scarf wouldn't present a problem but the die cut arms would, as I don't have a die cutter to hand... And finally, while I could certainly use paint and the circular tip of a paintbrush to stamp out the charcoal bits, I really wanted to ideally use some sort of black rhinestones for dimension but that would require a lot of rhinestones and where would I find those in quantity for a good price?
Happily, it all worked out:
| My version |
I would have liked to have made them square like in the inspiration card but I make 40-50 cards each year and so I need to buy envelopes in bulk and unfortunately, the dollar store equivalent over here doesn't stock square envelopes in bulk so I went with the traditional A6 sized format instead, which admittedly isn't as nicely balanced but there you go. Sometimes you just have to think practically.
You can see how nicely the circles turned out using the new circle cutter. I also decided to ink my circles in a light blue tinge instead of the grey of the inspiration card (which I felt looked a bit dirty and I like my snow pristine looking). For the background, I stamped a variety of snowflakes and then heat embossed them with a 'snowflake' powder, which is essentially a white with silver flecks mixed in. I also popped a few clear rhinestones on for a bit of sparkle.
| Detail view |
A nice bright red ribbon made this little fellow's scarf but I had about five different ribbons that I used so there was a little variety to the set. For the arms, I decided some dark brown twine would look suitably like branches and add another textural element, which I liked. And I totally lucked out at the dollar store when I stumbled over massive sheets of colour self-adhering rhinestones, including black! They were like perfect little chunks of charcoal just waiting for a snowman to adorn! Serendipity, I tell you.
Labels:
card,
Christmas,
circles,
embossing,
inking,
layering,
paper piecing,
rhinestones,
ribbon,
snowman,
stamping,
twine
November 17, 2014
Celebration Tea Bag Pinwheel
Welcome back!
Recently I decided to try a new technique. I was reading through a back-logged issue of Papercraft Inspirations and came across a Masterclass article for tea bag folding and thought I'd give it a whirl - if you like origami (and I do), then tea bag folding is just the thing for you, too.
As with origami, using a thin paper is helpful with the folding and obtaining crisp edges so I dug out some of the free 6x6" paper gifts from Papercraft Inspirations (as these are always thin quality paper) and got started making my pinwheel. It was super quick and easy, although it turned out larger than I had anticipated. I decided to mount it on a regular A6 card blank anyway, rather than a square, to give it some interest and really make it the focus of the card. Similarly, I used a layer of vellum to diffuse the background pattern so it wasn't so overwhelming.
I dressed up the center of the pinwheel with a swirl of twine and two layered buttons, then sprinkled some pink/purple sequins around like a sparkling fireworks display, ran another length of twine along the fold and stamped a very simple sentiment onto the pinwheel itself.
This little message of cheer will be going to a colleague who is celebrating her 25th birthday and I hope it will put a sparkle in her eye.
Recently I decided to try a new technique. I was reading through a back-logged issue of Papercraft Inspirations and came across a Masterclass article for tea bag folding and thought I'd give it a whirl - if you like origami (and I do), then tea bag folding is just the thing for you, too.
| Celebrate Pinwheel |
As with origami, using a thin paper is helpful with the folding and obtaining crisp edges so I dug out some of the free 6x6" paper gifts from Papercraft Inspirations (as these are always thin quality paper) and got started making my pinwheel. It was super quick and easy, although it turned out larger than I had anticipated. I decided to mount it on a regular A6 card blank anyway, rather than a square, to give it some interest and really make it the focus of the card. Similarly, I used a layer of vellum to diffuse the background pattern so it wasn't so overwhelming.
I dressed up the center of the pinwheel with a swirl of twine and two layered buttons, then sprinkled some pink/purple sequins around like a sparkling fireworks display, ran another length of twine along the fold and stamped a very simple sentiment onto the pinwheel itself.
This little message of cheer will be going to a colleague who is celebrating her 25th birthday and I hope it will put a sparkle in her eye.
September 08, 2014
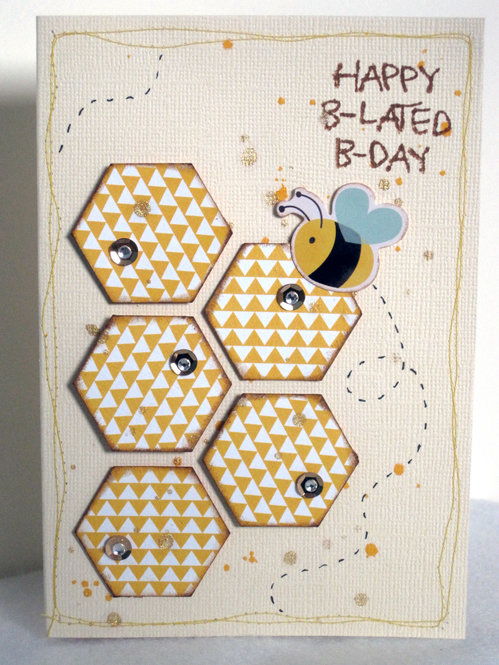
Happy B-Lated B-Day Card
Hello, hello!
I recently bought a fantastic new punch - Fiskars' large hexagon punch, which was the inspiration for this rather belated birthday card. I knew I wanted to have some fun playing around with my new toy and naturally when one thinks of hexagons, one tends to think of honeycombs. A little play on words with the bee theme and I was off!
I kept the background a simple cream with some mist and gold lame spatters and a machine stitched, wobbly border. For the hexies I used a bold geometric print paper. Next I stamped the sentiment directly onto the background and finally layered up my bee sticker plus some gold sequins and rhinestones to suggest glittering honey. And of course the little bee needed some whimsical flight lines.
Oh, and I couldn't resist adding in a little 'Hope you had a 'sweet' birthday' in the sentiment. ;)
June 22, 2014
What a Weekend!
So, intended plans for this weekend:
* Saturday - Midsummer Day, lounge quietly at home
* Sunday - hold baby shower for friend Alice (due date mid-July)
Then, actual weekend reality:
* Saturday - text arrives; water has broken, baby is coming! Spend all day at Alice's helping out, keeping her calm and pre-occupied, coaching her through contractions and getting her to hospital later that night.
* Sunday - Wait at hospital until baby is delivered (June 22, 12:12am, 48cm and 2.87kg), just made it to term by a mere 12 mins! Finally crawl into bed after 2am, sleep fitfully, get up and return to hospital to visit mum, grandma and baby Saga! (Baby shower has been postponed to August.)
Anyway, despite all of that excitement, I did a little crafty work this morning before heading over to the hospital. I've had some supplies to make a bump book with/for Alice but we've both been so busy that we haven't gotten started on it (and we thought we'd have 3 more weeks into the summer holidays to get to work on it - wrong!). I had bought a package of Project Life journaling cards for her to add to the album so I decided to prep a handful with some misting and stamping, which she could then start to fill in while in hospital while things were still fresh in her mind (in between all the breast feeding, nappy changing and sleeping... Haha!).
For the stamped cards, I stamped the images on both the vertical and horizontal sides so she has flexibility in which direction she wants to use. Since the misting tends to warp the paper, I only misted one side of those cards but did some in each direction to still give her choices. Then I threw in some blank cards to round out the starter pack.
Now I have some cot sheets to sew up and clearly I need to get working on that bump book for real!
* Saturday - Midsummer Day, lounge quietly at home
* Sunday - hold baby shower for friend Alice (due date mid-July)
Then, actual weekend reality:
* Saturday - text arrives; water has broken, baby is coming! Spend all day at Alice's helping out, keeping her calm and pre-occupied, coaching her through contractions and getting her to hospital later that night.
* Sunday - Wait at hospital until baby is delivered (June 22, 12:12am, 48cm and 2.87kg), just made it to term by a mere 12 mins! Finally crawl into bed after 2am, sleep fitfully, get up and return to hospital to visit mum, grandma and baby Saga! (Baby shower has been postponed to August.)
Anyway, despite all of that excitement, I did a little crafty work this morning before heading over to the hospital. I've had some supplies to make a bump book with/for Alice but we've both been so busy that we haven't gotten started on it (and we thought we'd have 3 more weeks into the summer holidays to get to work on it - wrong!). I had bought a package of Project Life journaling cards for her to add to the album so I decided to prep a handful with some misting and stamping, which she could then start to fill in while in hospital while things were still fresh in her mind (in between all the breast feeding, nappy changing and sleeping... Haha!).
![]() |
| Bump book journaling cards. |
![]() |
| Stamped cards - rag dolls & circular phrase icons. |
![]() |
| Misted cards - various stencil patterns. |
For the stamped cards, I stamped the images on both the vertical and horizontal sides so she has flexibility in which direction she wants to use. Since the misting tends to warp the paper, I only misted one side of those cards but did some in each direction to still give her choices. Then I threw in some blank cards to round out the starter pack.
Now I have some cot sheets to sew up and clearly I need to get working on that bump book for real!
Subscribe to:
Posts (Atom)