Welcome back!
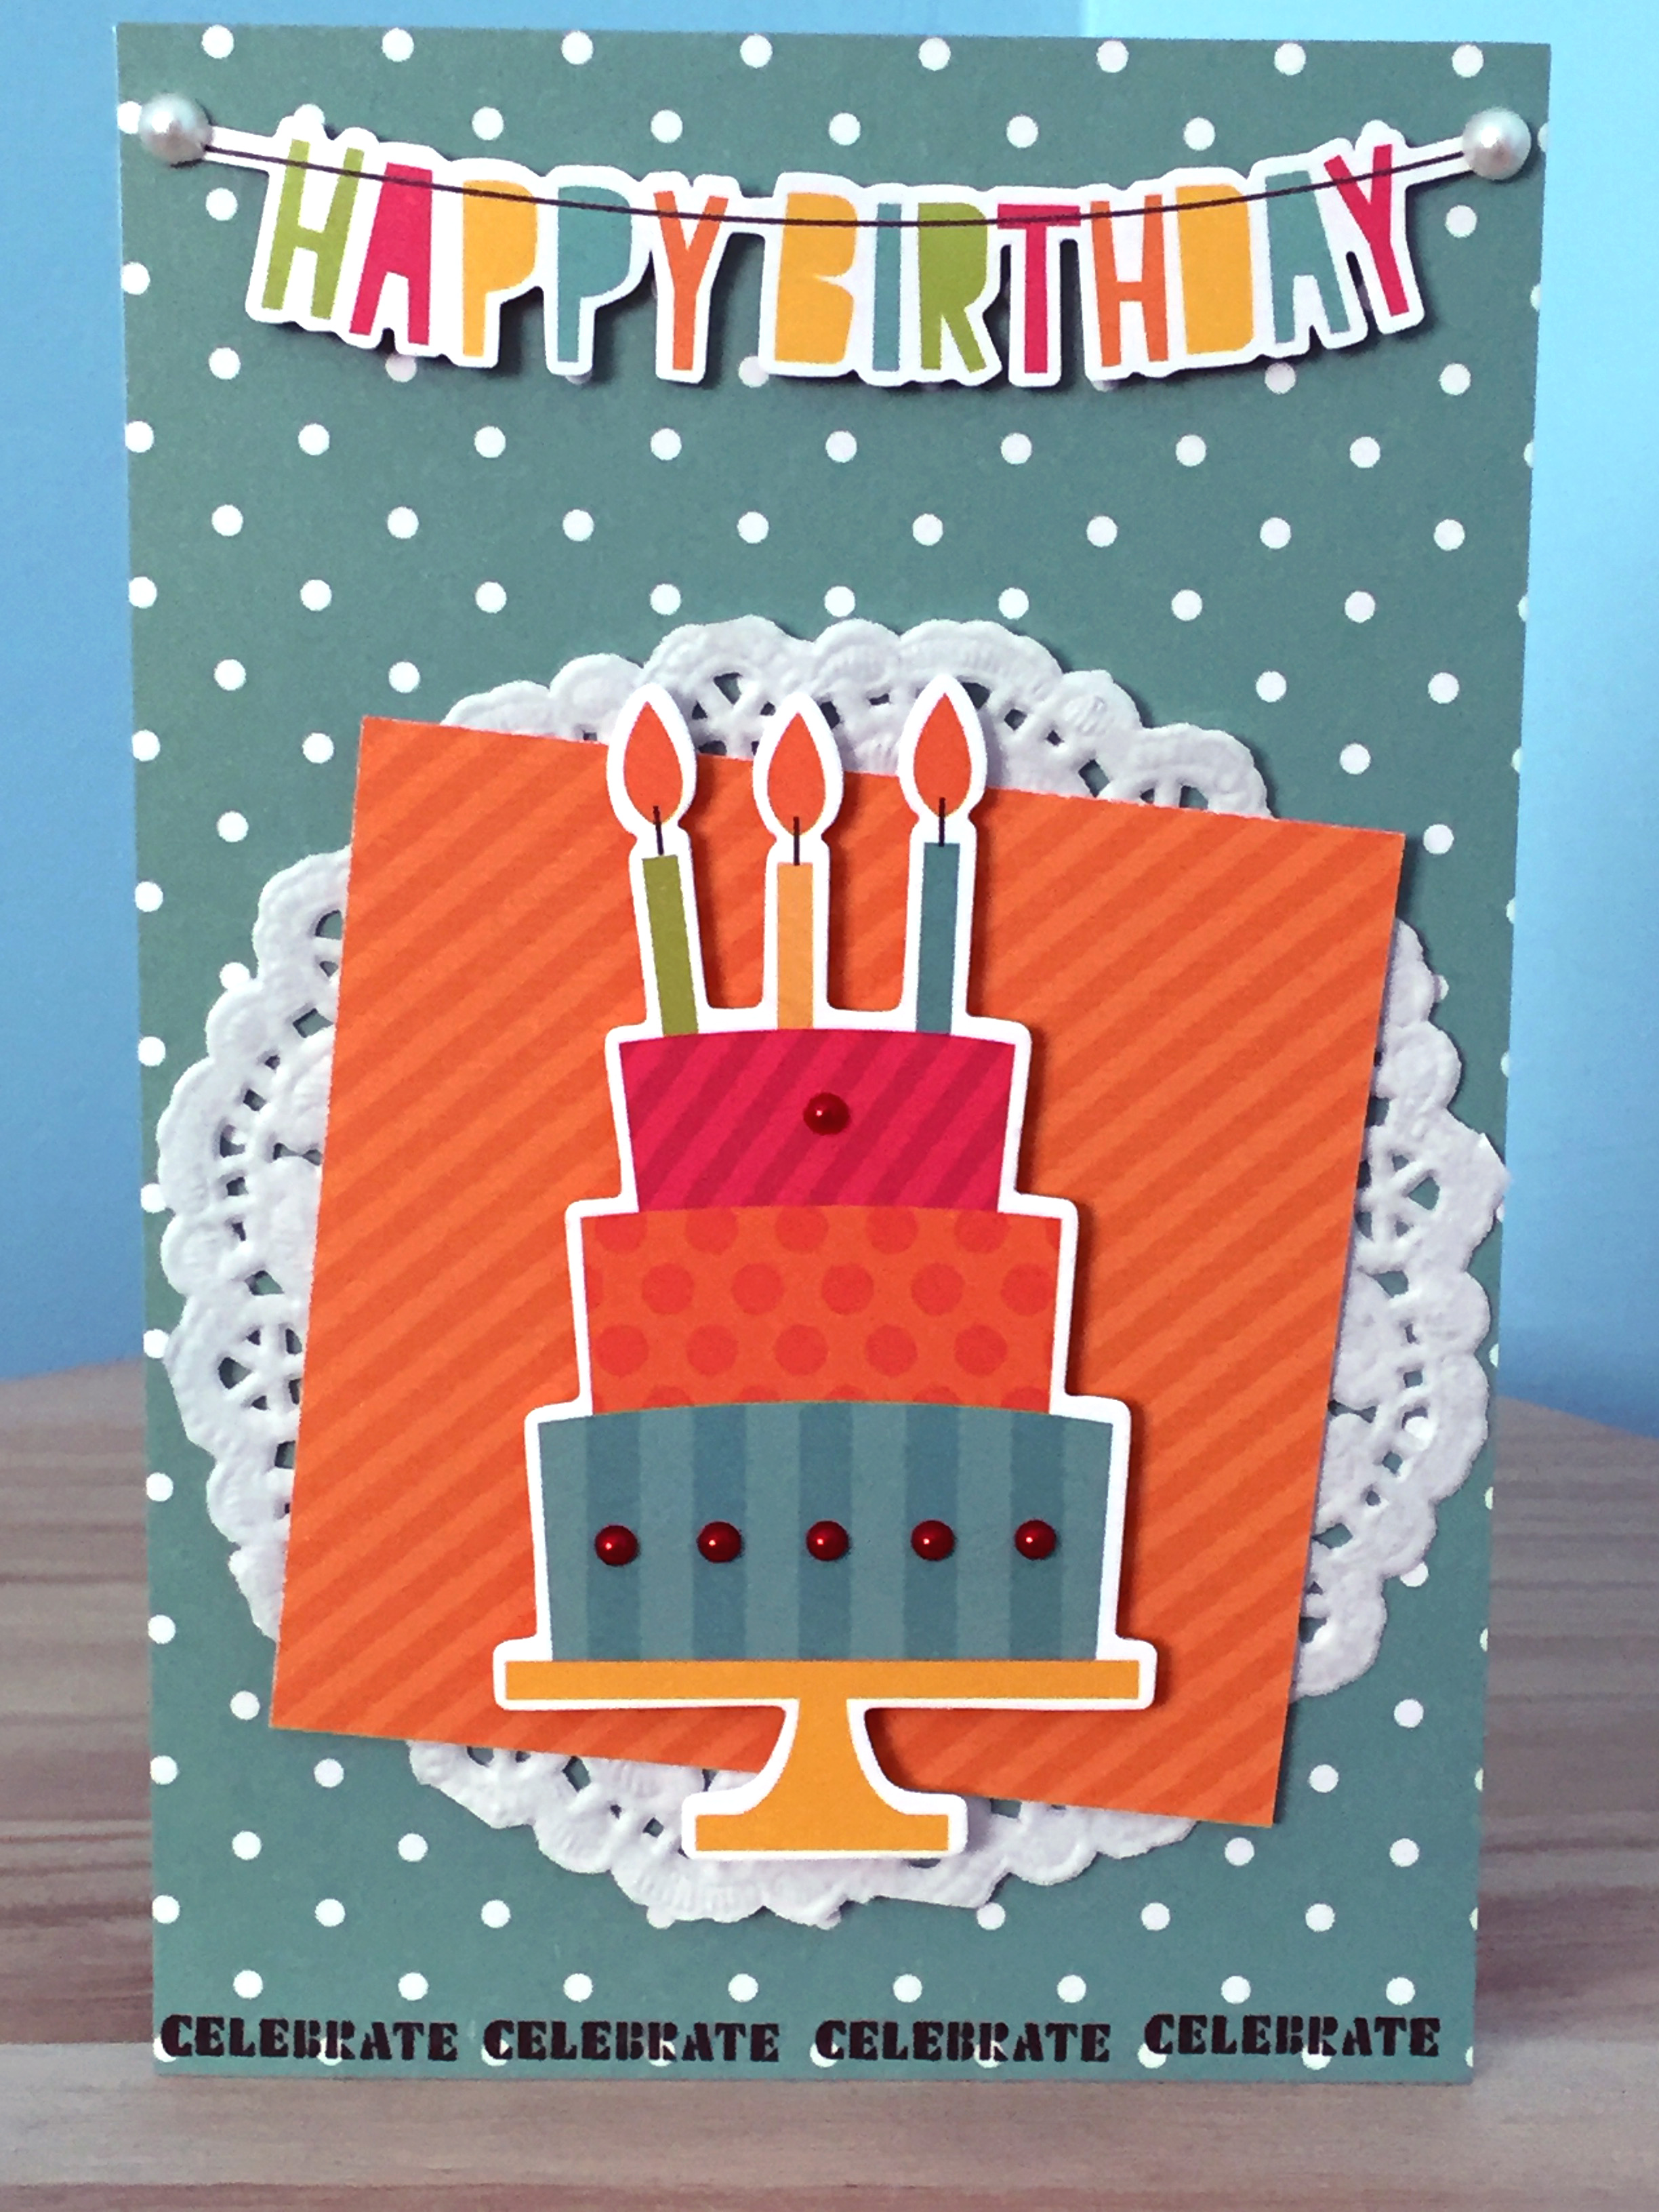
Today I'm sharing a recent card make for a friend's little girl, who turned six in March. I love the colour-saturated Simple Stories birthday kits so I whipped up a quick little colourful card to put in with her gift.
Some fun polka dots and stripes, a little doily to soften some of the bold colours and hard edges and some die-cuts in the form of the cake and banner. I popped some left-over red pearls from my Christmas cards onto the cake for a little embellishment and then stamped 'celebrate' across the bottom.
Next challenge is getting it into the post before summer hits!
Showing posts with label doily. Show all posts
April 06, 2016
November 24, 2014
Wish Patchwork Birthday Card
Hi, there!
Last month I made up a set of patchwork thank you cards and decided as my mum has been a professional quilter, it would only be fitting to make a similar patchwork card for her birthday this year. As I still had many tiny little triangles left over from the first batch of cards, it was a very quick and easy make.
Like the original set, I used a small doily and a die-cut, this time scalloped, and a sprinkling of gold sequins. I also added some of the pink thread I used for the stitching between the doily and the die-cut. I had intended on layering up some other elements but I didn't want to detract from the patchwork background so I decided to just keep it simple.
And thankfully, while this card won't make it to her on or before her birthday, it won't be months late like her Mother's Day card was - whew!
Last month I made up a set of patchwork thank you cards and decided as my mum has been a professional quilter, it would only be fitting to make a similar patchwork card for her birthday this year. As I still had many tiny little triangles left over from the first batch of cards, it was a very quick and easy make.
| Wish Patchwork Birthday |
Like the original set, I used a small doily and a die-cut, this time scalloped, and a sprinkling of gold sequins. I also added some of the pink thread I used for the stitching between the doily and the die-cut. I had intended on layering up some other elements but I didn't want to detract from the patchwork background so I decided to just keep it simple.
And thankfully, while this card won't make it to her on or before her birthday, it won't be months late like her Mother's Day card was - whew!
Labels:
birthday,
die-cut,
doily,
machine stitching,
Paige Evans,
patchwork,
scallop,
sequins,
thread,
triangles,
wish
October 18, 2014
Quilted Triangles Thank You Card Set
Whew! I survived the crazy week leading up to Thanksgiving, then managed to throw (if I do say so myself) a fantastic Thanksgiving dinner with my closest friends, followed by another - although slightly less crazy - work week. So, I think that calls for a much-needed blog update.
So with my guild's 10-year anniversary exhibition now over and done with, my friend Ingrid and I decided that the amazing ladies who organised the exhibition should receive some sort of recognition and thank you, if only just from us. We decided to get them some miniature orchids and that I would make some thank you cards, so that's what we did.
As you can see, I decided to have some fun making little patchwork-like backgrounds from my scrap papers. I used my still-new Fiskars hexagon punch to create many (many, many) hexagons, which I then cut down into triangles. They were a lot smaller triangles than I had originally intended but by this point I was committed and honestly, there was something strangely therapeutic about sticking down tiny triangles onto cardstock. Must just be me. Yup.
Once glued, I then machine stitched the triangles down. Then I layered up a small doily and die-cut circle onto each background and used either red/orange or green Thickers to spell out 'tack' (Swedish for 'thank you') as my sentiment. Finally, a small sprinkling of gold sequins in a visual triangle to finish off the toppers.
Each card in the set is a little different, as I changed up the background base paper and card base colours and all of the die-cut circles were different. And on the inside of each card I stamped 'thank you, thank you, thank you' in a vertical column. Needless to say, they went over very well with the recipients.
I've been wanting to do this sort of 'Paige Evans'-style punched shape backgrounds for ages but I don't have a very large selection of punches to use so this was the perfect opportunity. And while it was a bit fiddly cutting down all of the hexagons into triangles, it didn't actually take very long in the grand scheme of things and wasn't very onerous at all. I think it all comes down to your own personal level of acceptance on fiddly tasks.
The triangle shapes could also work well for birthday-themed cards, as they give a bunting banner sort of effect. You could also try this technique with a monochrome colour palette or an ombre effect would also be cool. You could even add more stitching for a different effect and more texture, too.
Last one! Cheers, everyone.
Labels:
circles,
die-cut,
doily,
exhibition,
guild,
hexagons,
machine stitching,
Paige Evans,
patchwork,
punches,
scraps,
sequins,
tack,
thank you,
triangles
April 26, 2014
A Lovely Day for a Wedding
So here's a quirky fact: until today I've not attended a wedding in my adult life. Weird, right? I mean, I'm nearly late 30s and have plenty of friends and yet not been at a wedding since living with my parents. Apparently all of my married friends got married before I entered their lives or have done so after I moved overseas and attending became a bit complicated and especially expensive.
However, today I enjoyed a very close friend's wedding - very simple, done at the city hall and extremely informal but absolutely lovely. They also loved our wedding gift (which took four of us to finally land on an idea and it was perfect) - hurrah! And of course, it gave me the opportunity to finally craft a wedding card.
Originally I had the idea to use some pink and red coloured tissue paper to make an overlapping cluster of hearts and layer on some heart stickers and punched hearts, etc. Only that I discovered my tissue paper stash is pretty picked over and uninspiring so had to ditch that idea. Also, I think a wedding deserves some extra special glamour so I decided to pull out the free gift from my recent issue (#125) of Papercraft Inspirations magazine. Now, often free papers like this aren't high quality, either in paper weight or saturation of colour. However, I was pleasantly impressed with this particular set - it was very nice, perhaps due to the silver foiling.
I settled on this subtle fleur de lis patterned paper with a heart-shaped doily and dove topper. I wanted to add something that had a luxurious quality about it and added dimension; enter the white organza and satin ribbon in a big puffy bow and softly curling tails. I had originally intended on including a 'best wishes' sentiment but there just wasn't room so opted to stamp that on the inside. Then sprinkled some rhinestones and pearls around.
I had been feeling like the edges needed some grounding but once I got the bow wrapped around and done so nicely, I didn't want to take it off to do any sewing or anything else and risk not getting it put back nicely. It just so happened that I set the card on top of the pink envelope and realised that little border worked perfectly - except that I'd already made the entire card at normal size and again, didn't want to remove the bow to cut it down any. What to do? In the end, I cut a new card base that just barely fit inside the envelope, cut the card I'd originally made down the spine fold, layered the front on top of the new and slightly larger pink card and glued the back with the sentiment and writing into the inside of the new card. Problem solved! Where there's a will, there's a way.
February 18, 2014
Christmas 2013 Portrait
Hello, hello and welcome back!
Okay, so I finally got started on scrapbooking my Christmas 2013 photos. I don't know about you but I seem to need a little breathing time between returning from Christmas and scrapping Christmas photos and memories. And if I'm being entirely honest with you, I've also felt a bit intimidated about starting on my Christmas LOs because last year's turned out such a wild success, I think there's been a part of me that wonders how I'll ever recreate just how pleased I was with their results. Does that sound completely ridiculous? Well, either way, I finally broke the ice.
This year's supplies will include red/white twine, gold accents (gold lame mist, resin flowers, Thickers, etc.), doilies, enamel dots, probably sequins again and I've also pulled out my wax seals, which I had planned to work into this cluster but the spacing and balance just weren't right for it.
Okay, so I finally got started on scrapbooking my Christmas 2013 photos. I don't know about you but I seem to need a little breathing time between returning from Christmas and scrapping Christmas photos and memories. And if I'm being entirely honest with you, I've also felt a bit intimidated about starting on my Christmas LOs because last year's turned out such a wild success, I think there's been a part of me that wonders how I'll ever recreate just how pleased I was with their results. Does that sound completely ridiculous? Well, either way, I finally broke the ice.
There were a number of elements about last year's Christmas LOs that I felt really worked well. The black and white photos really added a nice elegance and removed the issue of colour clashing between my mother's dark rose and mauve interior design and the typical Christmas red of paper and embellishments. I also really like using 20x30cm photo enlargements for chapter LOs in my albums so I thought I would repeat that again this year. In fact, I used the exact same sketch, as it worked so well with this gorgeous framed ledger paper with the pretty Merry Christmas corner design.
This year's supplies will include red/white twine, gold accents (gold lame mist, resin flowers, Thickers, etc.), doilies, enamel dots, probably sequins again and I've also pulled out my wax seals, which I had planned to work into this cluster but the spacing and balance just weren't right for it.
Here's a close-up of that pretty pre-printed corner detail. I added in some gold lame mist, a tiny bit of stamping and then the embellishments and date number stickers.
And now I'm stuck. I pulled out the next Christmas photo I wanted to scrap and I just haven't been able to get anything to work with it the way I like. In reflecting on why this is, I've realised the difference between this year's and last year's collections is that nearly all of this year's papers are very busy and often text-based and therefore not good for writing directly onto. I'm going to have to add in some additional papers for journaling on (and I don't feel I have much that co-ordinates well), work in journaling cards & tags or try painting over spots to compensate for this. I'm sure I'll work it out, it's just going to take a bit more playing with than I had expected. Wish me luck!
November 06, 2013
WIP Wednesday
Hello, everyone!
Well, I'm back from Stockholm - such a lovely city and fantastic capital. I had great fun doing the tourist gig - went up the Skyview on the Globe Theatre, visited the Vasa Museum and the ABBA Museum (squee!), went through the Royal Palace (old and current) plus the treasury and armoury and a bunch of other fun things. I'm hoping to print off the photos soon and I already have plans for using my Fancy Pants Down by the Shore papers for the Vasa photos (very famous previously sunken Swedish warship, in case you're not familiar with the name).
And speaking of holiday photos, back in July I watched this video by 2Peas Garden Girl Nancy Damiano and was unexpectedly inspired. I decided it would make the perfect gift for a friend's birthday, as we had holidayed together in Barcelona over Easter earlier this year. Anyway, I finally got to work on it this past weekend. Here's a sneak peak of the inside cover page:
As you might notice, I'm using the Simple Stories Snap! mini album and related products, which I found the local Panduro Hobby has recently started carrying. I've never done any sort of pocket scrapbooking before and I found the preparation a bit tricky; the photo printing in particular. Since I don't print at home, it was a bit challenging figuring out which photos I would need to order at special sizes before having planned out the whole album. In the end, I decided on which ones I wanted at 6x8 prints, made a bunch of collages and paired up 3x4 photos onto 4x6 sheets and printed any I wasn't sure about as both 3x4s and 4x6s so I could have some flexibility and this turned out to be a good idea.
I also discovered (although this should seem obvious) when I sat down with the prints and the album and supplies that it does take a much different approach than 12x12 scrapbooking and it took a little time to get into the groove of that approach. But I feel like I got it to work pretty well after I changed thinking about the album layout in terms of individual days and broke it up into themes, such as tours, sights, food, real life and so forth - then things started falling into place much more easily.
Here are a few more sneaks of the different chapters in the album and I'll have proper photos and a video later in the week to share with you.
I also whipped up a quick little card tonight for a student in my class who had surgery on her skull last week - she has a skull bone that never properly fused together when she was an infant and the surgery was to correct this. Poor thing is just 7 years old. Her mum emailed me today to say that the surgery went well and they brought her home from hospital yesterday and she's doing very well so that's great news to hear. I'll tuck this little surprise into her homework folder that her sister is picking up tomorrow - I'm sure it will brighten her day.
Cheers and check back later in the week for more on the album.
October 13, 2013
Pinspiration Sunday
It's Sunday again and I'm trying to breathe some life back into this blog and well, my life. After six weeks of renovation I'm starting to itch to craft again so I've been returning to finding inspiring blogs, checking out Pinterest and just getting back into the groove again. So, go grab your hot beverage of choice and come enjoy a little inspiration.
Oh, and to my fellow Canucks, Happy Thanksgiving! I've unfortunately had to put off my usual Thanksgiving celebration this weekend due to not having water or a bathroom but my thoughts are with the rest of you enjoying your stuffed roast turkey and pumpkin pie (I'm soooo jealous!).
Currently:
* watching - Tabitha Takes Over
* reading - Papercraft Inspirations, September issue
* making - shaped cards
* eating - gnocchi (total YUM!)
* drinking - rationed water
* wearing - jeans, jumper & cardie
* weather - rainy, 11C
* feeling - tired of dirt and arguing with contractors
* wanting - renovations to be complete (just 2 more weeks...)
* needing - running water in my flat again
* planning - autumn holiday in Stockholm
* thinking - not much; too tired
* loving - getting back to some crafting again
* enjoying - Oskar time this weekend
Seeing as it's Thanksgiving weekend, a little patriotism seemed in order and I love the shape of these maple leaves and the fun colours.
I really like these scrappy little leaves and I think they would make fun quilt blocks in a quilt as you go method. Would be great just for autumn or again, some Canadian love.
How cute is this little gym bag? I love the patchwork and the little zippered pocket
I thought this twist on memory keeping was fun and fresh, even though I'm not really a 'numbers person'. Some fun ideas to change things up and challenge yourself; it's worth a look into whether you love or hate math (and I promise, as a person who hates math, you needn't worry!).
I really like cityscapes as a design element and I especially love the use of typed book pages on the black background for this card. Would be perfect for a missing you sentiment or even for a new home owner.
From Creating Keepsakes, this tutorial shows how you can use a doily to create a stitching guide on your scrapbooking pages or cards and you know me, I'm all for stitching on my creations.
One final summer hurrah colour palette. There's something about this mix of greens, blues and a grey neutral that really appeals to me and it makes me think of Crate Paper's The Pier Ferris Wheel paper (b-side).
July 22, 2013
So Many Happy Memories
Last Wednesday I shared this sneak of some supplies I had pulled for a new layout:
It took me a while to start working on it for two reasons. First, my initial sketch ideas all seemed to gravitate towards designs that work best with portrait oriented photos and my photo was landscape oriented. Second, I wanted a design that had flow and avoided the boxy feeling (I've been working with a lot of squares lately, it seems). Then I realised I could adapt one of the sketches from Shimelle's Hitchhiker's Guide to Scrapbooking by using a large doily and after that, everything fell into place.
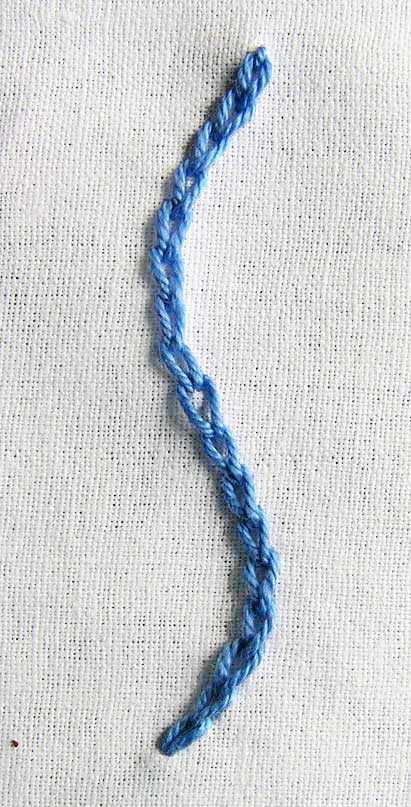
When I put these papers together, I immediately thought of using this photo. I didn't even remember what the colours were, although it was probably a sub-conscious realisation. I also wanted to use this lovely, bold floral paper from Oxford Lane. I'm not one to often use floral designs - I'm more of a geometric girl - but it's so pretty and I like a challenge so I cut it into a circle to lay inside the doily. I wanted to cover the seam between the paper and doily but didn't have any great ribbon choices so I decided to hand stitch using a fancier embroidery stitch - the chain stitch. It adds such wonderful texture and dimension to the page and really draws in your eye - here's a detail shot:
I also thought I would carry the floral theme into the embellishments - also not something I normally do but I was recently sent some pretty Martha Stewart large flower embellishments and I have a few flowers left in my stash I thought I would use up. In the end, I didn't use either of those but instead used this pretty fabric flower, which I paired with a felt bracket that I cut up to look like extra leaves. I also painted some gold Stickles into the flower's center and leaves to liven up the white space inside the flower.
As it turns out, EP's Here & Now collection actually matches the turquoise, lime and yellows of Oxford Lane quite well so I used the element stickers to embellish a second cluster on the diagonal. I liked how the cloud stickers had floral motifs in them, then added some arrows and butterflies. I added more gold Stickles to the large yellow butterfly and to some random dots on the floral background paper.
I wanted to keep the rest of the page simple and airy so I used a banner strip for the title, ran a little embroidery floss along it and used a label to contain my journaling. I also stamped the date and a sentiment along the right border and then drew a fine doodling line around the other three sides, because the design was feeling like it lacked grounding.
Want to try chain stitching on your pages, too? I made a short video to help show you how.
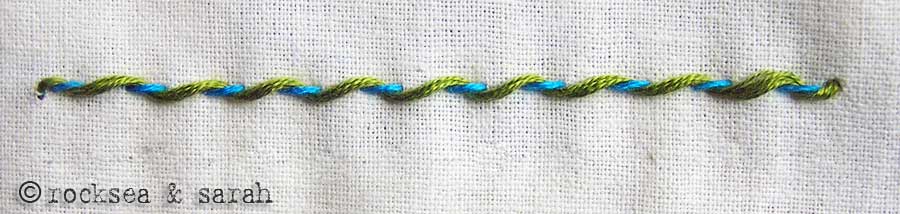
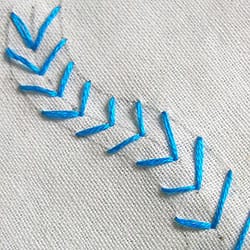
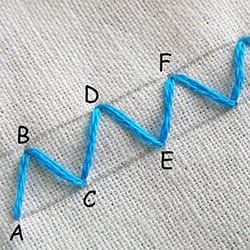
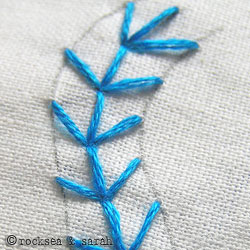
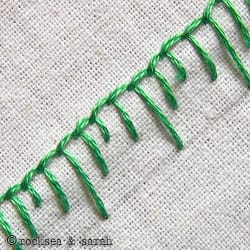
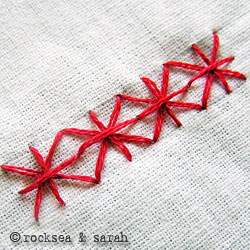
Now, if you like the look of the chain stitching and also like to hand stitch on your pages but have only used the running and/or back stitches, I would encourage you to try some more decorative stitches! They really add pizzazz to a page and while they often look complicated, many are in fact very simple and transfer well to paper stitching. You can find a plethora of embroidery stitch photo tutorials from Sarah's Hand Embroidery Tutorials and here are a half dozen beginner level stitches to get you started:
Arrow Head Stitches
Blanket Stitches
Thanks for joining me today and I hope I've inspired you to try some stitching on your next page and if you do, I'd love to see it.
Labels:
chain stitch,
doily,
embroidery,
EP,
flowers,
MME,
Oxford Lane,
sewing,
stitches,
video
Subscribe to:
Posts (Atom)