Hello, hello! Yesterday I enjoyed a fun crop day with my friend Anya. Our last crop day was last summer so it's been a while. So lovely to chat and craft away together. And it seems that my stash is now rivaling boutique status, as every item she had forgotten or didn't have on hand and asked me about, I had (and then some). Oh dear... At least I can justify using it regularly.
I made two LOs yesterday; wrapping up another class photo.
I finally found some papers that helped to compensate for the green undertones on my last class photo - I off-set the green with some bold magenta and went with a monochromatic scheme to give it some bold impact, what with all of that drab grey back dropping. The ledger paper is actually upside down and the black and white flowers I fussy cut with my awesome new Fiskars finger craft knife from the photo mat paper.
Embellishments included some Heidi Swapp primrose colour spray and stickers from Echo Park's Here and Now collection and Simple Stories' Vintage Bliss.
I love these Amy Tan Wish Thickers - they are so versatile and I've used them on so many projects. I knew I wanted to put the class stats in the box at the bottom but that it wouldn't be enough to fill the space so I cut out some little cameras from one of the EP papers (in an ombre, even) and added some machine stitching to fill the gap.
Final embellishment shot with cute ampersand and glasses.
I'll be back tomorrow to share my second LO from the crop day - I was still tweaking it this morning and I want to make sure it's 'done' before releasing it upon the world.
Last Wednesday I shared this sneak of some supplies I had pulled for a new layout:
It took me a while to start working on it for two reasons. First, my initial sketch ideas all seemed to gravitate towards designs that work best with portrait oriented photos and my photo was landscape oriented. Second, I wanted a design that had flow and avoided the boxy feeling (I've been working with a lot of squares lately, it seems). Then I realised I could adapt one of the sketches from Shimelle's Hitchhiker's Guide to Scrapbooking by using a large doily and after that, everything fell into place.
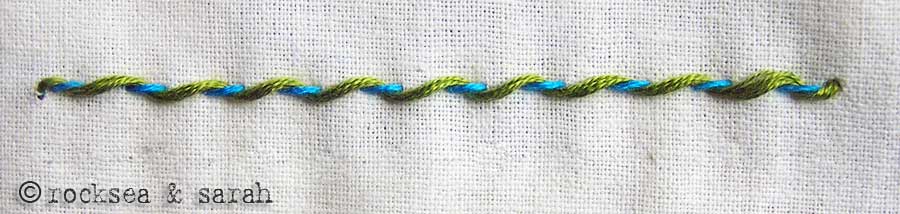
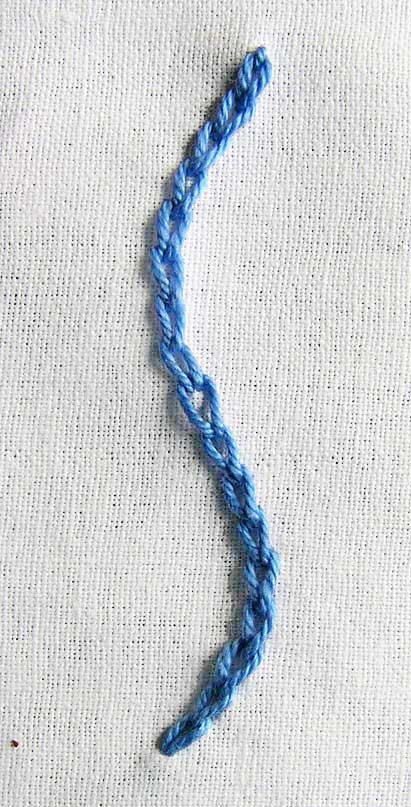
When I put these papers together, I immediately thought of using this photo. I didn't even remember what the colours were, although it was probably a sub-conscious realisation. I also wanted to use this lovely, bold floral paper from Oxford Lane. I'm not one to often use floral designs - I'm more of a geometric girl - but it's so pretty and I like a challenge so I cut it into a circle to lay inside the doily. I wanted to cover the seam between the paper and doily but didn't have any great ribbon choices so I decided to hand stitch using a fancier embroidery stitch - the chain stitch. It adds such wonderful texture and dimension to the page and really draws in your eye - here's a detail shot:
I also thought I would carry the floral theme into the embellishments - also not something I normally do but I was recently sent some pretty Martha Stewart large flower embellishments and I have a few flowers left in my stash I thought I would use up. In the end, I didn't use either of those but instead used this pretty fabric flower, which I paired with a felt bracket that I cut up to look like extra leaves. I also painted some gold Stickles into the flower's center and leaves to liven up the white space inside the flower.
As it turns out, EP's Here & Now collection actually matches the turquoise, lime and yellows of Oxford Lane quite well so I used the element stickers to embellish a second cluster on the diagonal. I liked how the cloud stickers had floral motifs in them, then added some arrows and butterflies. I added more gold Stickles to the large yellow butterfly and to some random dots on the floral background paper.
I wanted to keep the rest of the page simple and airy so I used a banner strip for the title, ran a little embroidery floss along it and used a label to contain my journaling. I also stamped the date and a sentiment along the right border and then drew a fine doodling line around the other three sides, because the design was feeling like it lacked grounding.
Want to try chain stitching on your pages, too? I made a short video to help show you how.
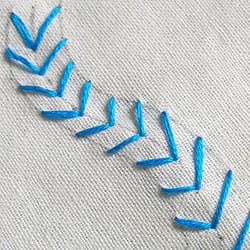
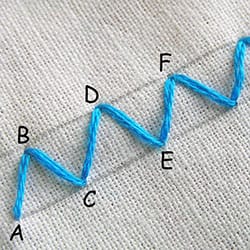
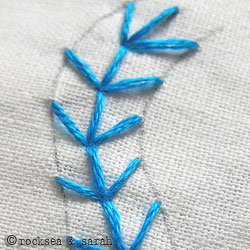
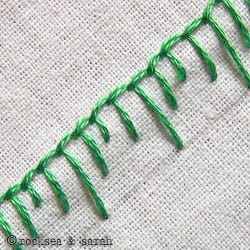
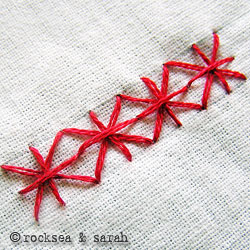
Now, if you like the look of the chain stitching and also like to hand stitch on your pages but have only used the running and/or back stitches, I would encourage you to try some more decorative stitches! They really add pizzazz to a page and while they often look complicated, many are in fact very simple and transfer well to paper stitching. You can find a plethora of embroidery stitch photo tutorials from Sarah's Hand Embroidery Tutorials and here are a half dozen beginner level stitches to get you started:
Do you ever have times when you're working on a layout and you think to yourself, "This is taking forever - what's wrong with me?!" and then you have days when you think to yourself, "I've been at this for hours - I love it!" Well, this new layout is totally that second one - guess I was just really feeling the creative groove yesterday.
The inspiration for this layout came from one of the starting points from Shimelle's Hitchhiker's Guide to Scrapbooking class, which I'm currently working my way through. I have a particular weakness for designs that use layered up stripes of patterned paper; it's one of my favourite designs that I'm happy to go back to and scraplift repeatedly. The colour scheme inspiration for this page actually came from one of the photos I took at this beach, that featured the pretty sun umbrellas in a soft, candy floss pink, which lead to the monochromatic palette. I knew I wanted to use a variety of arrows but the heart motif that repeats around the page was complete serendipity again (until I realised just how much had hearts on it and then I ran with it).
I actually started first by designing the central embellishment for the page - the twine flower sun. The lovely cream/gold twine was actually sent to me in a package and I paired it with some gold sewing thread in my stash. Then I used this tutorial to create the twine flower, layered up a patterned MME brad through the eyes of a shiny yellow button and popped it on top of the flower.
Then I got to work on the page design. At first I didn't think I had much soft pink in my stash but to my surprise, I actually had more than enough and decided to use up those scraps. The original starting point was quite linear and I wanted this page to have a breezier, airy feel about it so I tilted the paper stripes and staggered their heights and layered the washi tape borders underneath the stripes so it just peeks out here and there. Since I wanted the sun to be the focus of the design, I separated out the photos and got to work on that long title (there is something wonderful about long titles, isn't there?).
Finally, embellishment clusters. I used a variety of Amy Tan/AC, EP, MME, BG and Simple Stories items and I punched little gold hearts from some gold ribbon tape, also saved from the same package as the twine - I seriously need to buy myself some of that. I also discovered the cute banner paper from EP's Hello Summer collection features a number of pink banners, including one that reads, "I have sunshine in my heart today." - perfect! Snipped those out and layered up with some dimension on the top, then used an Amy Tan/AC branding stripe with adorable pink hearts to ground the page.