Hello, hello!
I'm terribly behind on birthday cards this year, which is bad enough but especially so with so many people turning milestone birthdays this year. Anyway, I'm working on catching myself up, starting with a card for a male friend who turned 40 the end of January.
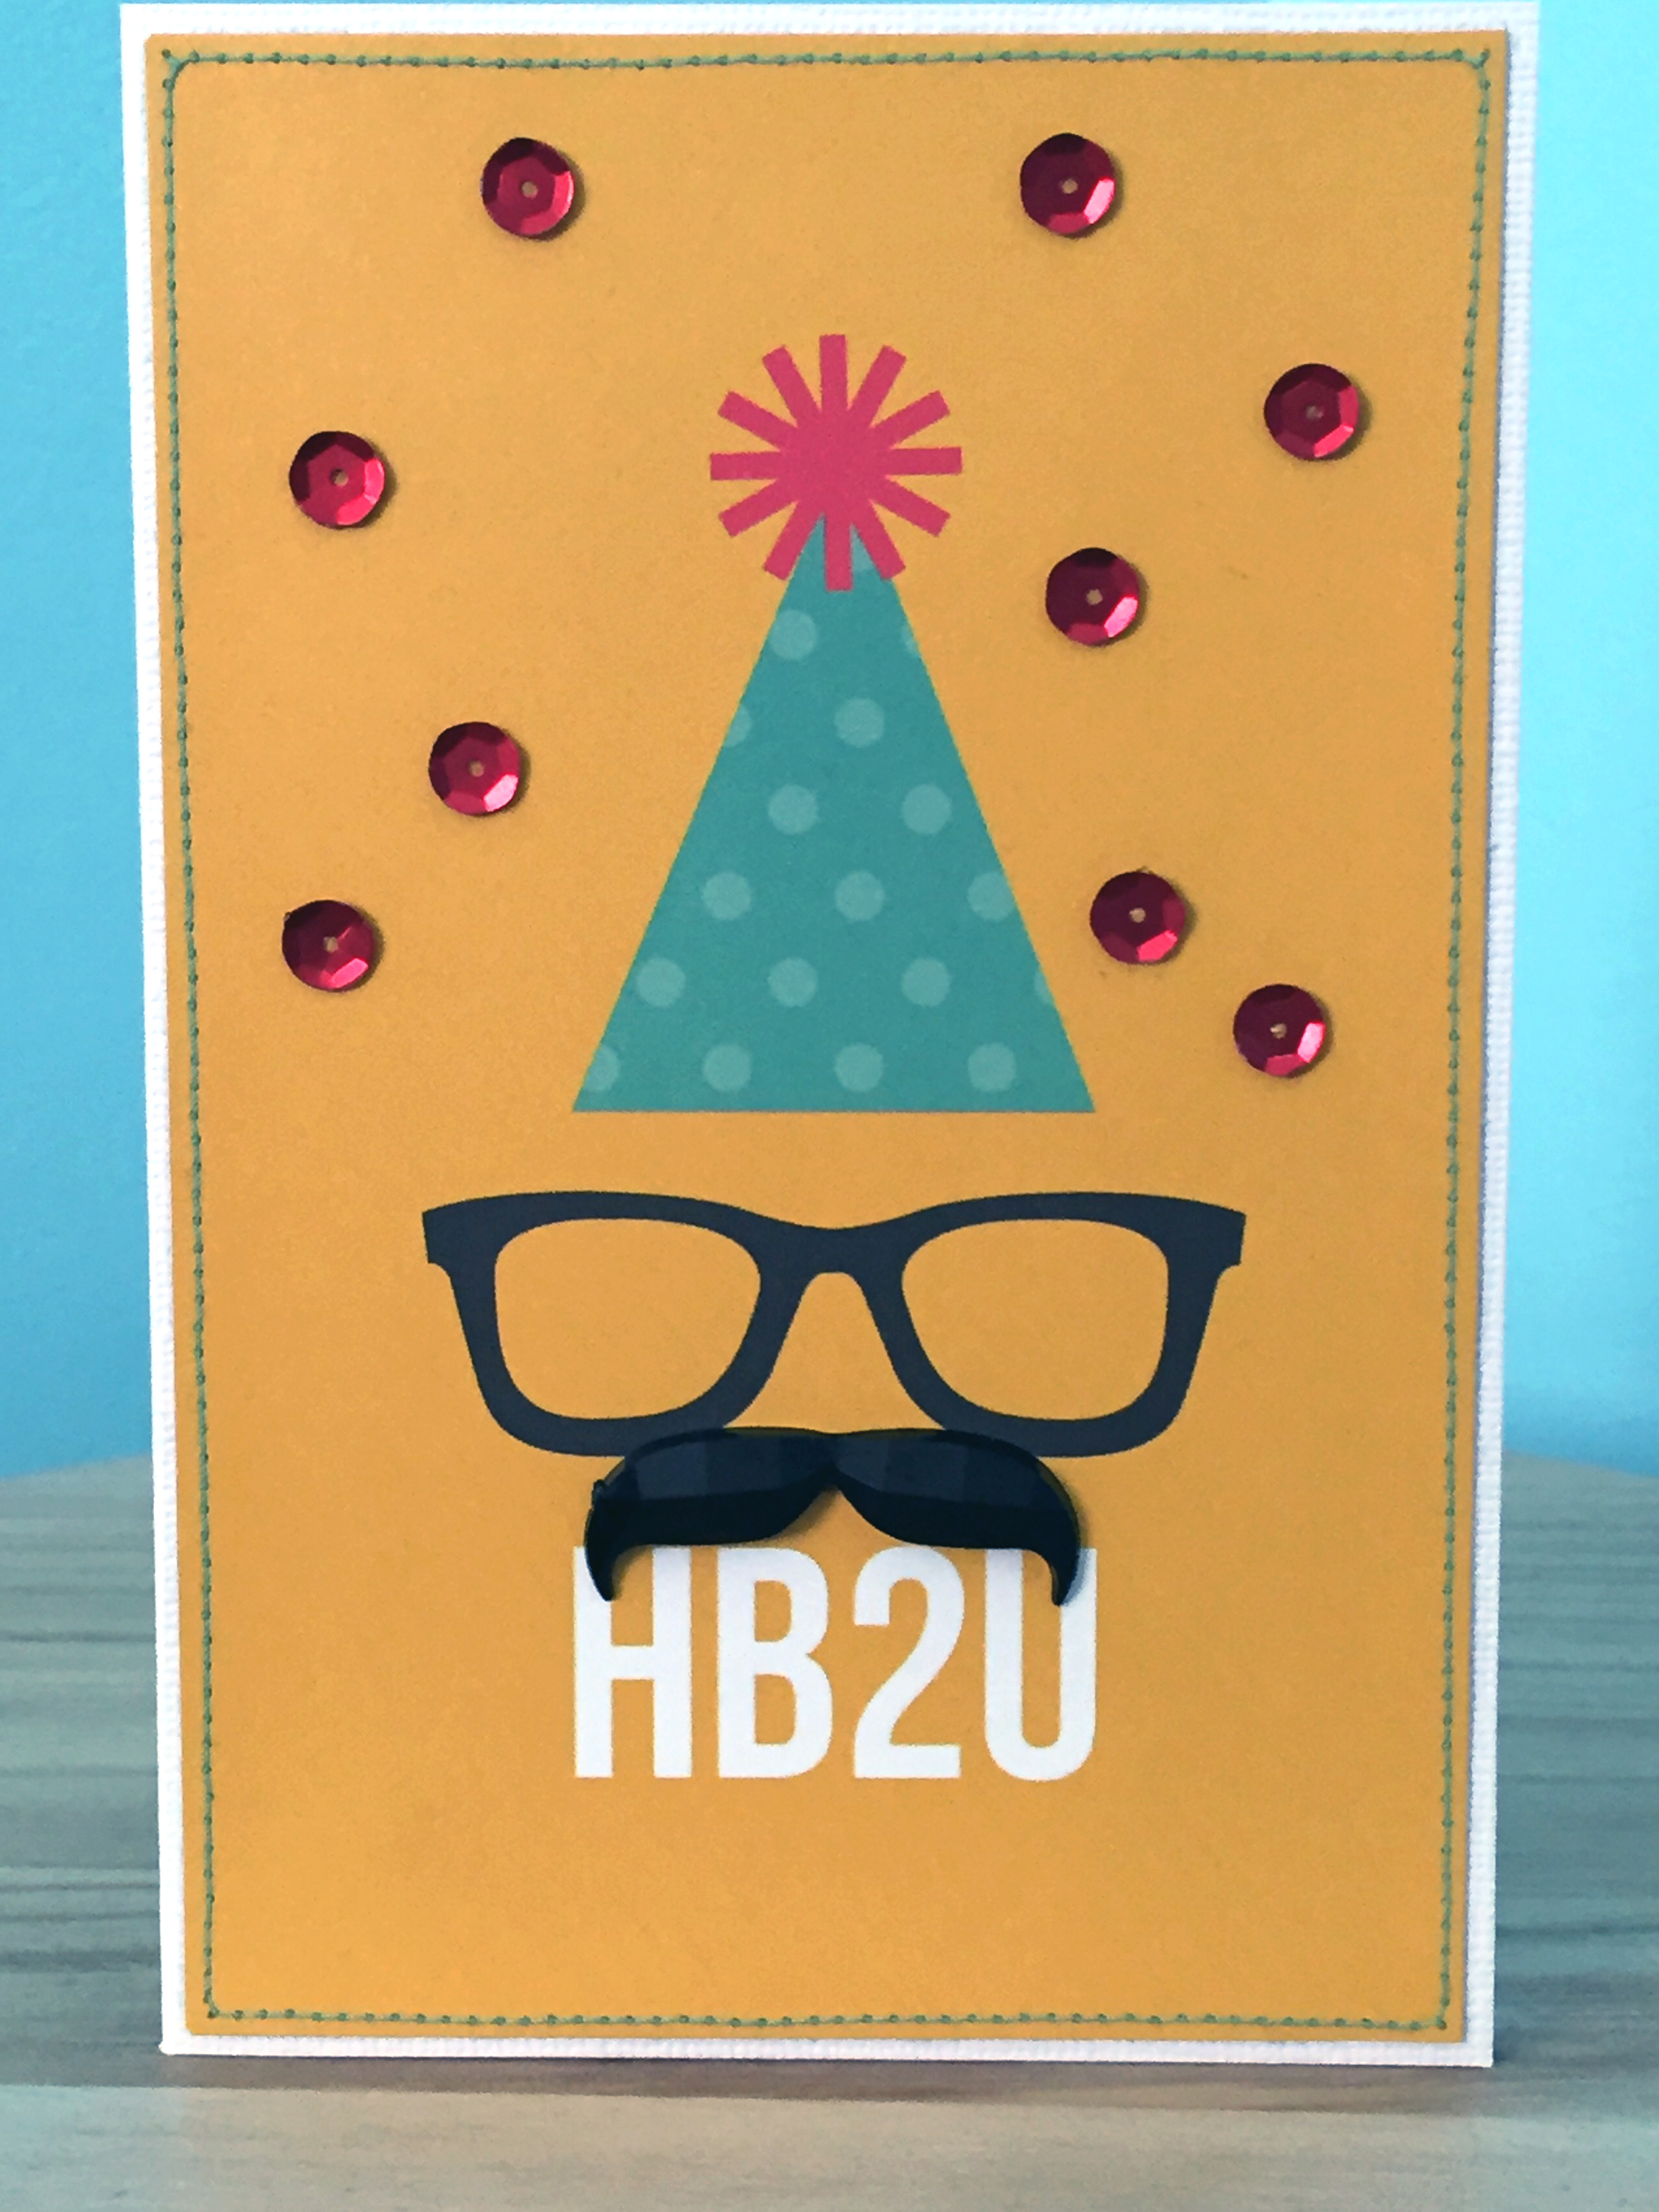
He's certainly not the Hipster type, but I couldn't resist this Simple Stories 4x6 card with the text speech and the opportunity to play with the fab mustache rhinestones I found at the local craft store - how cool is that 'stache?
Just kept it simple with the mustache, a sprinkling of sequins and I ran a line of turquoise stitching around the outside edge, then trimmed it down to show a bit of the white card base underneath.
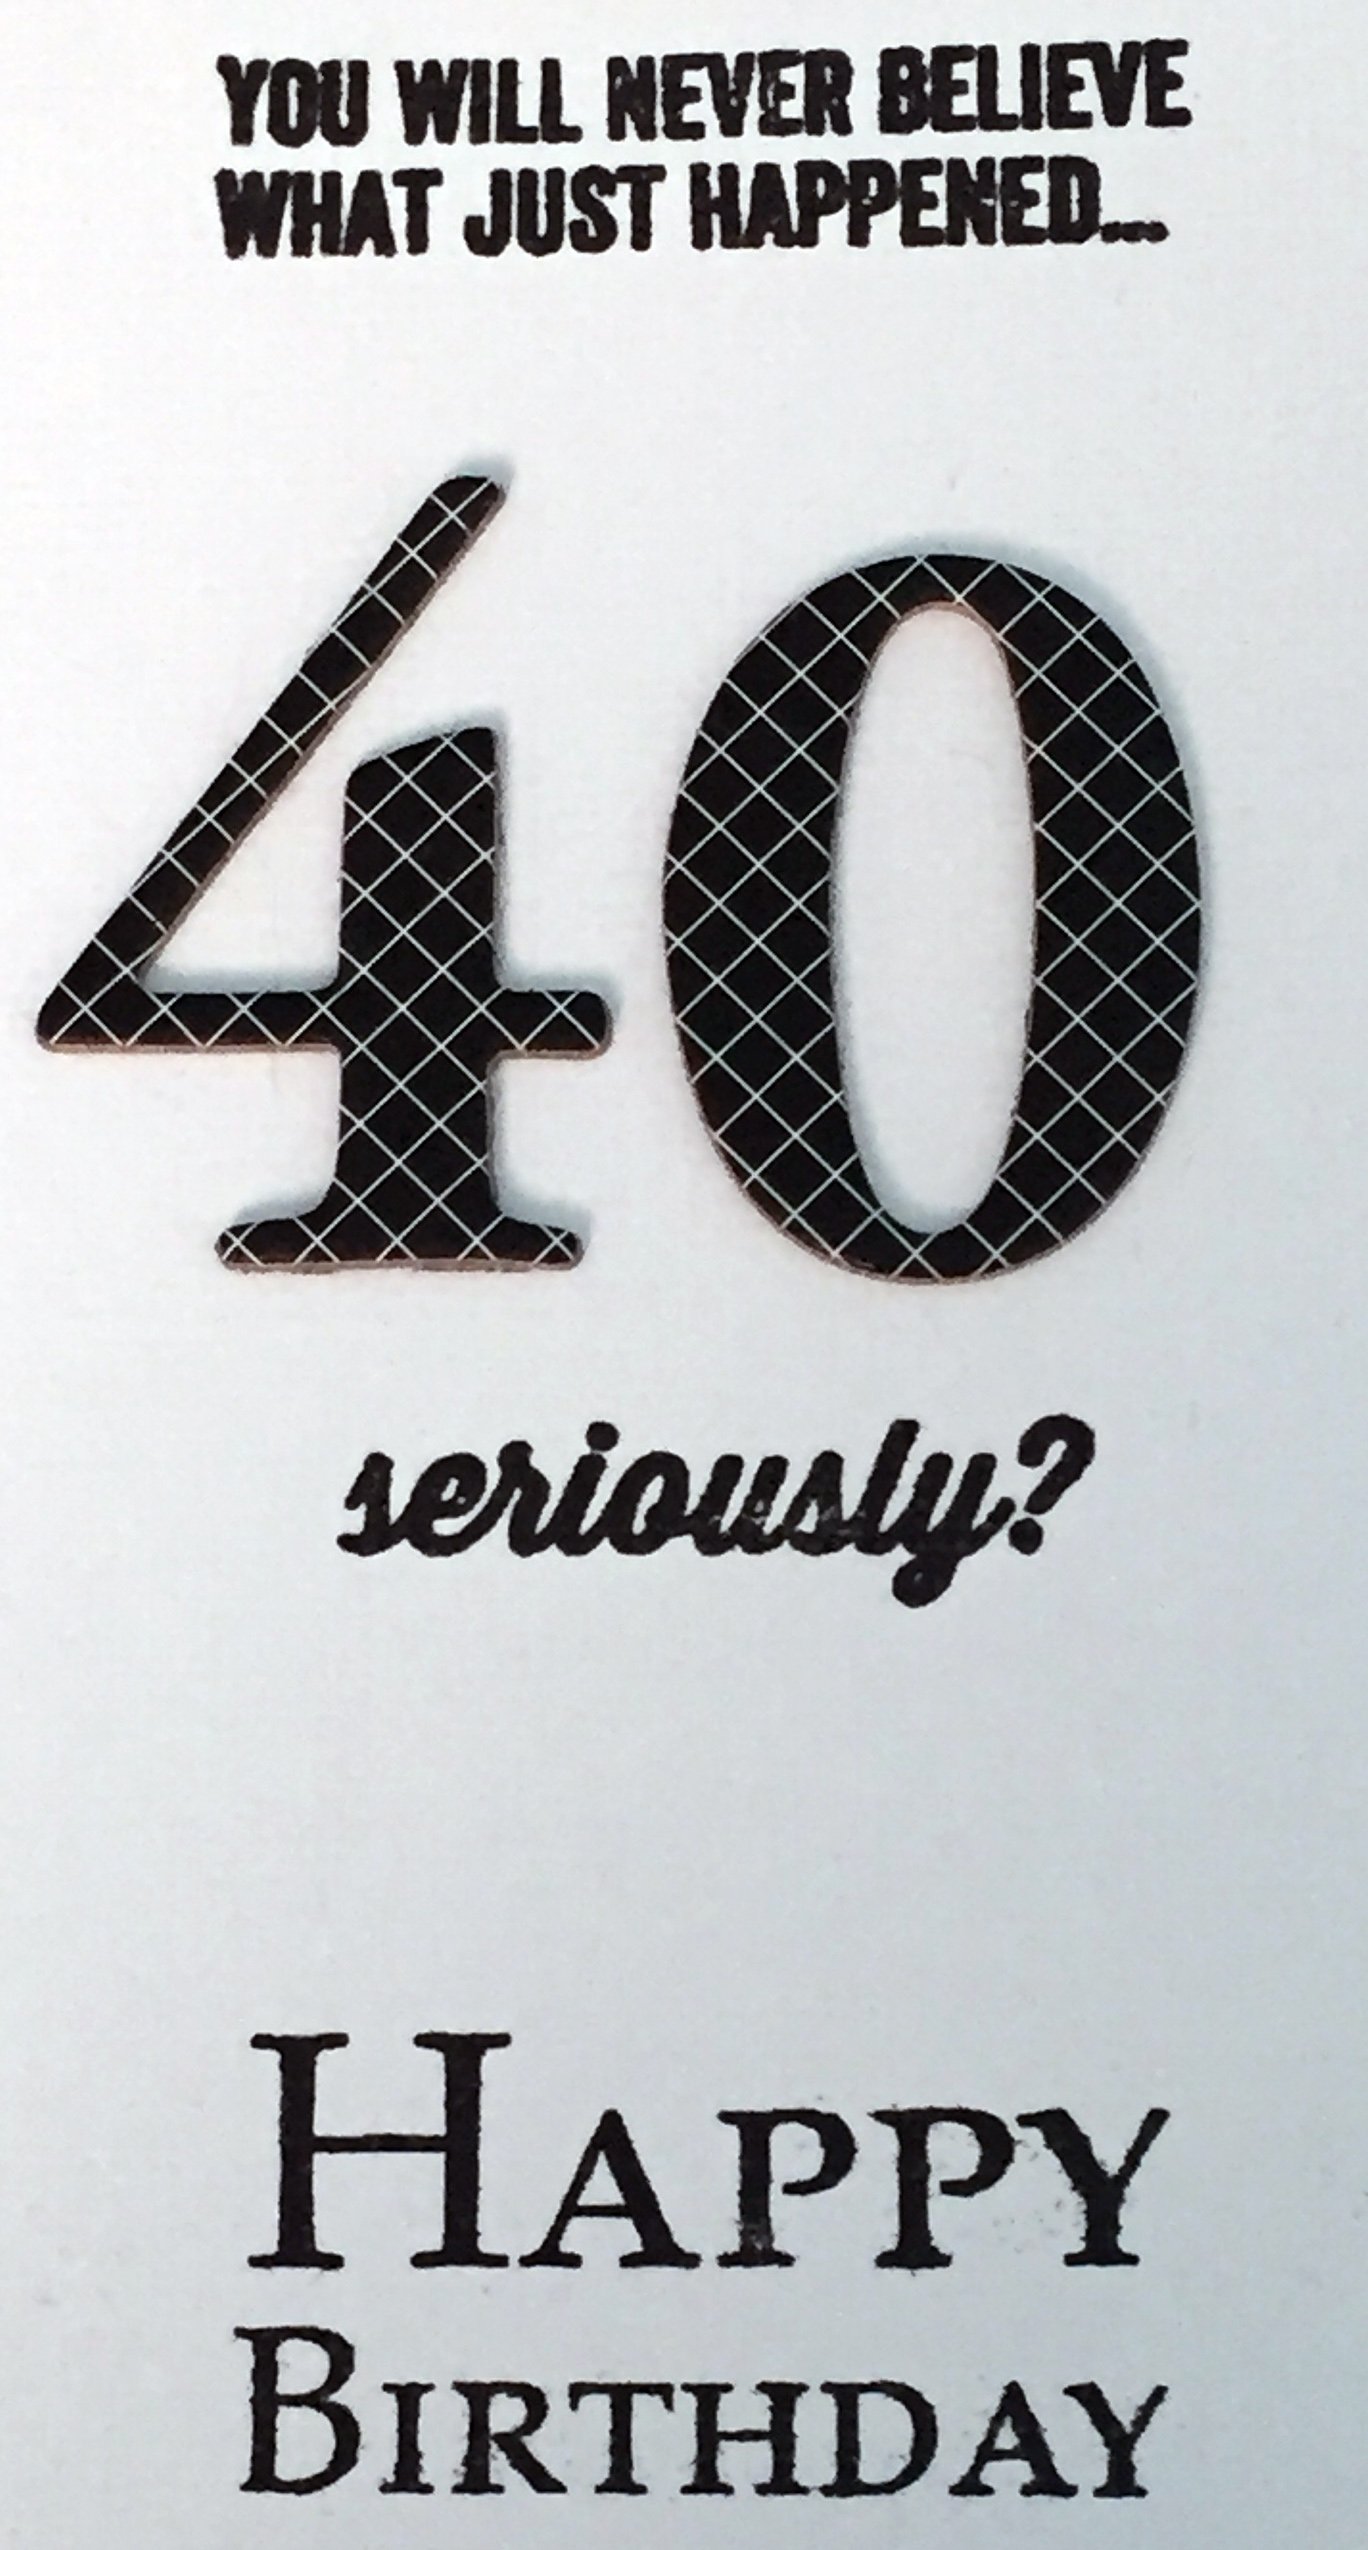
Then I got a bit cheeky on the interior for the sentiment, putting Shimelle's first stamp set to some fun use.
Hehe, you have to have a little fun with these things, after all.
That's it for today - short and sweet - but stay tuned for some more recent makes again soon.
Showing posts with label stitching. Show all posts
April 03, 2016
September 08, 2014
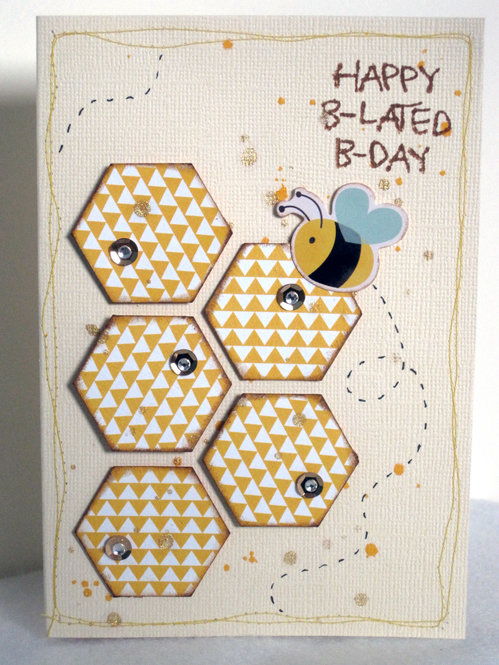
Happy B-Lated B-Day Card
Hello, hello!
I recently bought a fantastic new punch - Fiskars' large hexagon punch, which was the inspiration for this rather belated birthday card. I knew I wanted to have some fun playing around with my new toy and naturally when one thinks of hexagons, one tends to think of honeycombs. A little play on words with the bee theme and I was off!
I kept the background a simple cream with some mist and gold lame spatters and a machine stitched, wobbly border. For the hexies I used a bold geometric print paper. Next I stamped the sentiment directly onto the background and finally layered up my bee sticker plus some gold sequins and rhinestones to suggest glittering honey. And of course the little bee needed some whimsical flight lines.
Oh, and I couldn't resist adding in a little 'Hope you had a 'sweet' birthday' in the sentiment. ;)
January 31, 2014
Oh Snap! Birthday Card
Hello and welcome back! I'm sharing another recent card creation today; this time for a dear male friend whose birthday is today (Jan. 31). As many of us will agree, somehow masculine creations can be tricky - you often don't want it too sentimental and many guys just aren't cool about 'girly' icons (hearts, butterflies, flowers, etc.), although to be fair, I wouldn't be thrilled about receiving a card with monster trucks and hunting motifs so fair enough.
However, all of that was *not* a problem with this card. In fact, this card basically designed itself and was super quick and easy! Don't you just love when that happens?
So since I haven't scrapped for a month, I decided I would look for inspiration by rooting through my scrap basket. The "oh snap!" Simple Stories strip jumped right out at me - the humour would be a perfect start to this card. Then the scrap of diagonal stripe paper, also by Simple Stories, which happened to be the exact size of an A6 card base - it was like these pieces were meant to make this card. Zigzag stitched them together and I was half way home.
So I grabbed the rest of my Simple Stories leftovers from the Barcelona album I made Alice. There is nothing birthday or celebratory related in this line of papers but I thought the month tiles and little calendars would be perfect for highlighting my friend's birthday so popped and layered them on top and circled the correct day on the calendar. Finally, a cute red arrow clip and a few sequins later and I called this card done. Easy peasy!
July 16, 2013
Are You Ready for Adventure?
So last year my Granny came to visit me in Sweden. It was a pretty big deal, considering she was 82-years-old and the first member of my family to visit me in the 10 years I've lived here. Needless to say, I documented every day we spent together and then worked my butt off creating identical albums for the both of us to remember this special time together (I gave her her copy as a Christmas gift - she loved it).
Anyway, having taken Shimelle's Cover to Cover class (which I highly recommend, btw), I've been keenly aware that I needed a page to link my annual 2012 and my Our Story: Sweden 2012 albums together. Without this link, I have a huge gap in my annual album, which is obviously not representative of reality. I just hadn't figured out how to make the link, since I didn't want to re-create another identical page as the first page in my upgrade album to live in my annual album.
Then I remembered that I had a second shot of that same photo already printed and that I'd pre-pulled the fabulous map print from Allison Kreft's Composition & Colour series and Amy Tan's text border stripe from Yes, Please - the beautiful pastel colours work wonderfully together so I got down to work yesterday and came up with this:
I'm also making a conscious effort to start using my BG Knee Highs & Bow Ties chipboard pieces and I broke into my new MME word stickers for the title. You can't see it here but on the opposite side I needed the word 'for', so I had to cut it out of a phrase but it works well regardless. I was also pleased to have another opportunity to use these green flocked Thickers - they were sent to me as a free gift from a magazine and to be honest, I really dislike them. Green is my least favourite colour so they don't get used much but I like how they work in this design so bonus points, indeed!
One more detail shot to leave you with for today.
Anyway, having taken Shimelle's Cover to Cover class (which I highly recommend, btw), I've been keenly aware that I needed a page to link my annual 2012 and my Our Story: Sweden 2012 albums together. Without this link, I have a huge gap in my annual album, which is obviously not representative of reality. I just hadn't figured out how to make the link, since I didn't want to re-create another identical page as the first page in my upgrade album to live in my annual album.
Then I remembered that I had a second shot of that same photo already printed and that I'd pre-pulled the fabulous map print from Allison Kreft's Composition & Colour series and Amy Tan's text border stripe from Yes, Please - the beautiful pastel colours work wonderfully together so I got down to work yesterday and came up with this:
Initially I had intended to use an OA Cakewalk teal/green grid print for the background but then I spied this adorable Little Yellow Bicycle cloud print that I've always adored (and bought like 4 pages because I loved it so much) and I knew I had to use it. I love how the combination of sky/cloud and rotated map print gives the impression of looking down while flying, which I thought was rather fitting for the topic of flying overseas. In fact, I had originally planned for the map square to be straight but when I saw it askew on my work table, I loved how much more interesting the page became. I was also very happy to finally use this chevron arrow transparency, also by Allison Kreft - I bought it a few months ago and every time until now that I've tried to use it, it just disappears in the busy patterns/colours of the paper I've tested it on.
I'm also making a conscious effort to start using my BG Knee Highs & Bow Ties chipboard pieces and I broke into my new MME word stickers for the title. You can't see it here but on the opposite side I needed the word 'for', so I had to cut it out of a phrase but it works well regardless. I was also pleased to have another opportunity to use these green flocked Thickers - they were sent to me as a free gift from a magazine and to be honest, I really dislike them. Green is my least favourite colour so they don't get used much but I like how they work in this design so bonus points, indeed!
One more detail shot to leave you with for today.
July 09, 2013
I Can Sleep Anywhere
Went to bed last night planning to spend my morning basking in the glorious sunshine on my balcony, stitching up a new embroidery block. Instead, I woke up to a completely overcast sky - so disappointing! However, it was an excellent opportunity to get back to scrapbooking without feeling guilty for not being out in the fine weather.
I got to thinking about the start of this layout over the weekend. Not that you'd know by looking at the photo, but this is from my recent trip to Barcelona. It was Good Friday and my girl friend and I were heading back home - unfortunately, there were no direct flights with SAS from Barcelona to Copenhagen so we made a loop around all three Scandinavian countries on the way home! Barcelona to Oslo, Oslo to Copenhagen and finally Copenhagen to Malmö (that last leg is just a 20 min. train ride, thankfully). Alice (my friend) marveled at my ability to fall asleep despite noise and everything else so she snapped this photo as documentation.
I don't have a lot of dark coloured papers in my stash but I had recently picked up this Panduro Hobby-brand paper. It was distressed with a bluish wash around the outer edges so I cut it up and turned the edges into the center to help draw focus into the photo. The rest of the papers are from Yes, Please by Amy Tan for American Crafts and I added in some vellum to add some softness. I layered up the word definition strips from Yes, Please, which I thought worked really well to reinforce the story in the journaling. I also topped the page with a strip of Dear Lizzy white crepe paper border and a pale blue velvet ribbon; I really liked the curtain-like effect it added to the layout and again, more softness, texture and a dreamy quality. Then I sprinkled a bunch of vellum and blue scrap paper punched stars onto the background with some rhinestones for twinkle. Oh, and just for some silly fun, I added a few glittery 'z's and an asterisk. :D
For the title, I wanted the 'anywhere' to be large so I used the new Amy Tan vellum alphas in the turquoise, mixing the lighter and dark letters. A bit of silver glitter Thickers, Amy Tan again, for the word 'sleep' and some small Basic Grey letters for the rest. I also stitched with my sewing machine a few times underneath 'anywhere' to literally underline the word.
The pinwheel I made from some Yes, Please paper that has triangles/squares in an uncut pinwheel pattern. The original was a little large so I trimmed it down to 2" square and then cut along the diagonal lines - super simple - popped in a decorative brad and done. There was a large bit of negative space in the photo just above the pinwheel that was really bugging me so I stamped out a bit of vellum to tuck into the space.
I also toyed around at including some clear and white chevron transparency but it wasn't working the way I wanted it to. Then I realised that the little triangles I had cut out along the chevron edge made neat little semi-transparent arrow heads so I stitched them down pointing toward the photo.
And now the weather is back to being sunny and lovely - hurray!
I got to thinking about the start of this layout over the weekend. Not that you'd know by looking at the photo, but this is from my recent trip to Barcelona. It was Good Friday and my girl friend and I were heading back home - unfortunately, there were no direct flights with SAS from Barcelona to Copenhagen so we made a loop around all three Scandinavian countries on the way home! Barcelona to Oslo, Oslo to Copenhagen and finally Copenhagen to Malmö (that last leg is just a 20 min. train ride, thankfully). Alice (my friend) marveled at my ability to fall asleep despite noise and everything else so she snapped this photo as documentation.
For the title, I wanted the 'anywhere' to be large so I used the new Amy Tan vellum alphas in the turquoise, mixing the lighter and dark letters. A bit of silver glitter Thickers, Amy Tan again, for the word 'sleep' and some small Basic Grey letters for the rest. I also stitched with my sewing machine a few times underneath 'anywhere' to literally underline the word.
The pinwheel I made from some Yes, Please paper that has triangles/squares in an uncut pinwheel pattern. The original was a little large so I trimmed it down to 2" square and then cut along the diagonal lines - super simple - popped in a decorative brad and done. There was a large bit of negative space in the photo just above the pinwheel that was really bugging me so I stamped out a bit of vellum to tuck into the space.
I also toyed around at including some clear and white chevron transparency but it wasn't working the way I wanted it to. Then I realised that the little triangles I had cut out along the chevron edge made neat little semi-transparent arrow heads so I stitched them down pointing toward the photo.
And now the weather is back to being sunny and lovely - hurray!
Labels:
American Crafts,
Amy Tan,
Barcelona,
MME,
pinwheel,
sleep,
stars,
stitching,
transparency,
vellum
June 21, 2013
L'Aquarium Barcelona
Happy Midsummer!
Here in Sweden we have been celebrating Midsummer today, although the weather's been a bit off and on and the wind has picked up and chilled down so instead of dancing like frogs around a Midsummer pole, I've been scrapbooking instead (don't get me wrong, though, that Små Gröderna is my favourite of the songs - seriously).
So I decided to break out my new Fancy Pants Down by the Shore collection and pulled out the only photo I currently have of my Easter trip to Barcelona with a friend.
This photo is actually a 6x8 and it fit perfectly in size and theme with this cute, chubby little whale and swirls. I wanted to add more depth and dimension to the background paper so I hand stitched over some of the swirls and used blue, green and white mist splatters, then added rhinestones and enamel dots. To balance the page, I hand painted swirls in the upper right corner, too. Here is a close-up shot:
I cut one of the border strips and decided to scallop punch it but I didn't want to punch too deeply into the paper, causing it to become really narrow so I came up with this solution:
As you can see, the foam adhesive squares on each side of the punch allows for less paper to be trimmed off during the punching process, while still ensuring a straight punching line. I'm sure this isn't anything especially new but I thought it was a clever, if simple solution to share. Once I had my border punched, I decided to cut part of it off and layer the two pieces over each other, which is a bit difficult to see in the photo but it gives a nice dimensional touch to the page. I also used the narrow off-cut strips, which look like waves, along the top of the photo and patterned paper - I really love when I can use up even those tiniest of scraps.
For the embellishment clusters, I've layered each with my new red stars washi tape and some of the SC Sundrifter imperfect circle wood veneers and a red enamel dot and then a selection of tabs, labels and die cuts. I also tacked on some of the left-over embroidery floss in waves and loops and used some OA circle letter stickers in an uneven row to mimic bubbles for the title.
And I know you'll never believe it but after I finished prettying up the whale and swirls, I had the worst luck with accidents on this layout. I accidentally dropped the border stripe with removable tape runner dots onto the photo and to my horror, the dots didn't come off! This photo, which was printed at the aquarium, has a different finish to it compared to most photos and everything seemed to stick to it. I managed to scrap (carefully) most of the tape dots off and I doubt anyone will ever notice but I was so cross with myself! Later something else sticky (no idea what) got on the photo again, but not as badly as the first time and I got that off with more success. Finally, I managed to smudge the date stamp on the tab by the title and it bugged me so badly that I ended up ripping it off and replacing it with another from my stash (which had been inked in dark brown ink so I had to cut down the edges first so it wouldn't clash). Sometimes I should just stop while I'm ahead.
To wrap up, I'll share with you one last photo of a little something I currently have in the works:
Here in Sweden we have been celebrating Midsummer today, although the weather's been a bit off and on and the wind has picked up and chilled down so instead of dancing like frogs around a Midsummer pole, I've been scrapbooking instead (don't get me wrong, though, that Små Gröderna is my favourite of the songs - seriously).
So I decided to break out my new Fancy Pants Down by the Shore collection and pulled out the only photo I currently have of my Easter trip to Barcelona with a friend.
I cut one of the border strips and decided to scallop punch it but I didn't want to punch too deeply into the paper, causing it to become really narrow so I came up with this solution:
For the embellishment clusters, I've layered each with my new red stars washi tape and some of the SC Sundrifter imperfect circle wood veneers and a red enamel dot and then a selection of tabs, labels and die cuts. I also tacked on some of the left-over embroidery floss in waves and loops and used some OA circle letter stickers in an uneven row to mimic bubbles for the title.
And I know you'll never believe it but after I finished prettying up the whale and swirls, I had the worst luck with accidents on this layout. I accidentally dropped the border stripe with removable tape runner dots onto the photo and to my horror, the dots didn't come off! This photo, which was printed at the aquarium, has a different finish to it compared to most photos and everything seemed to stick to it. I managed to scrap (carefully) most of the tape dots off and I doubt anyone will ever notice but I was so cross with myself! Later something else sticky (no idea what) got on the photo again, but not as badly as the first time and I got that off with more success. Finally, I managed to smudge the date stamp on the tab by the title and it bugged me so badly that I ended up ripping it off and replacing it with another from my stash (which had been inked in dark brown ink so I had to cut down the edges first so it wouldn't clash). Sometimes I should just stop while I'm ahead.
To wrap up, I'll share with you one last photo of a little something I currently have in the works:
Subscribe to:
Posts (Atom)