Hello again!
Today I'm sharing a very quick card I made for a friend who unfortunately lost her mum just before New Years. I've not made a sympathy card previously and I wasn't sure what from my stash would be suitable, considering that most of my style and thus supplies are bright and cheerful and clearly that wasn't the appropriate tone for such an occasion. Instead, I decided to just keep it simple and let my letter inside speak for itself.
The paper was recently given to me from a friend. It's not card weight paper and not a colour or design I would have chosen myself but it was perfect for this project. If you look very closely, you can see there is a very subtle mottled pink tone running through the blue, which helps to give it a hint of warmth, which I felt was important here.
I stamped the flowers using an Ali Edwards stamp set and set rhinestones in their centers. The 'thinking of you' sentiment came from another stamp set of about 20 or so different cards sentiments. I honestly didn't have anything else fitting for a sympathy card but I liked how this was not only accurate (I have been thinking of her and her family) but not directly sad.
Finally, I added the bird sticker, which is from a My Mind's Eye chalkboard sticker collection. The space needed an embellishment there for balance, even though I wanted to keep the overall design simple, and I liked how it felt dove-like. As a final touch, I popped the little pink heart into the sentiment, inked the edges in blue and called it done.
Showing posts with label blue. Show all posts
January 31, 2016
Sympathy Card
Labels:
bereavement,
bird,
blue,
dove,
flowers,
heart,
mottled,
rhinestones,
simple,
simplistic,
stamping,
stamps,
sympathy
January 09, 2015
Monochromatic Birthday Card
Hi there!
I have a new card to share with you today. If I'm entirely truthful, I started this card with the best of intentions and then after deciding on the card base and the tab sticker, didn't know where I was going with it and set it aside...for a few months. Oops.
But determined as ever to catch myself up on back-logged cards, I dug it out and finished it nonetheless!
The approach I finally decided on to finish it? Very simple: just keep adding and layering! Sounds silly, I know but I really enjoyed putting together this hodge podge of emphemera - banner, washi tape, View Master slide reel, mustache sticker, brads, die-cuts, chipboard, staple, letter sticker accents - just go crazy and pile it all on!
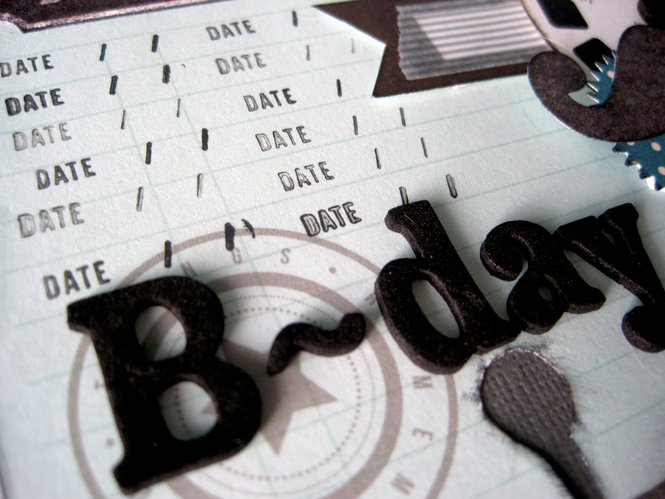
Here's a little close-up of the layering. And you know, that October Afternoon bear brad in the top right corner up there? I never really liked it when I first saw it and now, I think it's pretty awesome. Go figure.
With all the layering on the right side, there was a heavy lack of balance on the left side so I filled up the space with some repeated date stamping.
So the next time you find yourself stuck with what to do for a card, why not try the just add and layer until you can't anymore approach?! It just might work for you, too.
I have a new card to share with you today. If I'm entirely truthful, I started this card with the best of intentions and then after deciding on the card base and the tab sticker, didn't know where I was going with it and set it aside...for a few months. Oops.
But determined as ever to catch myself up on back-logged cards, I dug it out and finished it nonetheless!
The approach I finally decided on to finish it? Very simple: just keep adding and layering! Sounds silly, I know but I really enjoyed putting together this hodge podge of emphemera - banner, washi tape, View Master slide reel, mustache sticker, brads, die-cuts, chipboard, staple, letter sticker accents - just go crazy and pile it all on!
Here's a little close-up of the layering. And you know, that October Afternoon bear brad in the top right corner up there? I never really liked it when I first saw it and now, I think it's pretty awesome. Go figure.
With all the layering on the right side, there was a heavy lack of balance on the left side so I filled up the space with some repeated date stamping.
So the next time you find yourself stuck with what to do for a card, why not try the just add and layer until you can't anymore approach?! It just might work for you, too.
Labels:
banner,
birthday,
black,
blue,
brads,
chipboard,
date stamp,
die-cuts,
emphemera,
grey,
label sticker,
layering,
letter stickers,
masculine,
monochromatic,
slide reel,
staples,
washi tape
Subscribe to:
Posts (Atom)