Showing posts with label letter stickers. Show all posts

December 01, 2015

Heritage Photos - Bertil

Welcome back!

Earlier this year a friend asked me if I could help her with a special heritage project for her brother and sister.  Having saved for decades some childhood locks of hair from her siblings, my friend Birgitta wanted to preserve them with some photos into a special scrapbooked layout as gifts, but not being a scrapbooker herself, she enlisted my help.

We got the original photos (some of which were a bit damaged) professionally re-printed and the company did a fantastic job resorting them.  Then, not really knowing what supplies I should bring with me, I packed up a hodge podge collection of papers and embellishments and spent a day at hers busily playing with paper.

Luckily, the remaining collection of Webster's Pages papers by Allison Looman I'd brought with me were a perfect choice for the project and breathed new life into the beautiful black and white photography.  They also matched well with one of the papers Birgitta already had and which I decided upon for the background of the first layout.


This first LO features Bertil, aged 1, along with the lock of his hair and a handwritten note from their mother.  All three LOs feature elements of the same papers and gold lame mist spatters for a sense of cohesion, along with brown accents and lettering, twine, wood veneer or cork embellishments for that masculine feel and a narrow ruler washi tape for that hint of vintage.  I had hoped to also use some old fashioned black or cream photo corners but sadly, couldn't find any so opted for a very narrow mounting on dark black/brown patterned paper instead.  It was decided that the embellishing could be a bit more simplistic, as this would likely appeal more to Bertil.


Handwritten note from their mother.  Yes, it is the original.  It was a bit nerve-wrecking adding adhesive to such a precious piece of memorabilia but it was important to Birgitta that we use the original and we did take copies.


Small letter stickers for the years, by Glitz Designs.  The twirly twine is always a bit tricky to get right and glue down well but looks fab once it's done and it helps to reinforce the curliness of that lock of hair...


The original tie around the lock of hair wasn't very attractive or sturdy so I wrapped twine over top to help secure the hair further.  I also didn't want to risk applying adhesive to the hair directly so the wrapped twine gave me a good place to attach the lock without damaging the hair itself.

For the frame, we bought open-fronted art canvas frames that are 12" square and they work perfectly for scrapbooking layouts and the black wood make the B&W photograph pop nicely.

Stay tuned for the next two LOs in the series shortly (LO #2 - Syskon).

May 01, 2015

Happy Birthday Party Card

Hello, hello!

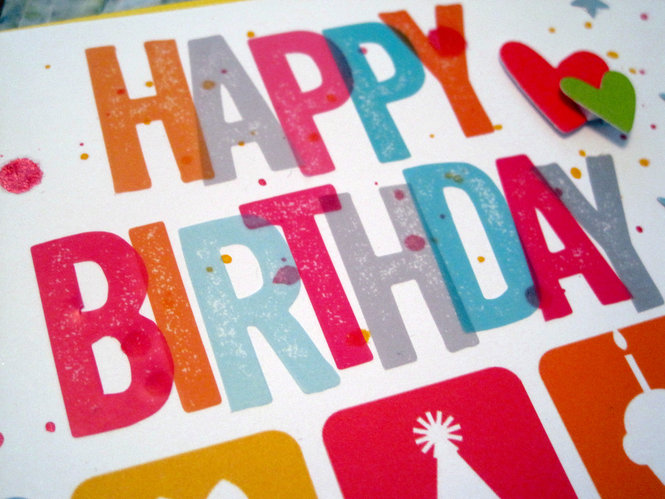
I'm sure you won't be surprised to hear this but I've been pretty rubbish lately when it comes to getting cards made on time.  However, when one's gran turns 85, you get your act into gear!  This still didn't quite make it to her on the right day but it wasn't far off - at least it got made before her actual birthday and then it was just down to international mail delivery times.


I used the new Simple Stories SNAP! birthday collection kits - since first trying them out on my Barcelona album, I have to say that I really enjoy using them both for scrapbooking traditional or mini album layouts and also for quick cards.  I loved the bright, cheery colours and the clean, white backgrounds.


My original plan was to use the die cuts from the embellishment pack for the sentiment, as there was a cute little 'happy birthday' in a swagging banner shape but sadly, it wasn't big enough for the white space on the card and it just didn't look right.  But I liked the style of the blocky lettering and stamped effect, which is what inspired me to dig out my Amy Tan Yes, Please transparent sticker letters, which I layered haphazardly to create a similar effect.

Some orange and pink spray mist, star sequins and layered up die cut hearts added to the jovial, party-like feeling.

March 14, 2015

Mini Album: Sweden - Part IV

Hi again!

Welcome back to my little tour of a mini album I made for my friend, Adam, who visited me over the summer.  If you've missed the previous chapters, you can find them here: chapter 1, chapter 2 and chapter 3.  And now moving on to chapter 4: vikings!

Chapter 3: Vikings

Handmade Viking costume & fittings

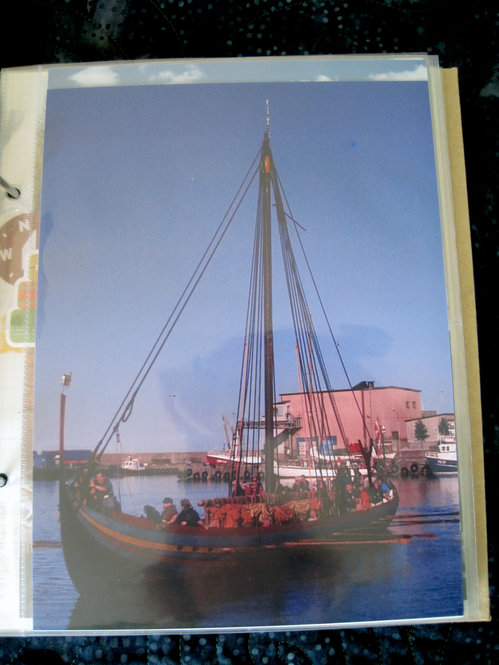
And during our day in Simrishamn while paddling in the Baltic, we turn around to find a Viking longship sailing by.  You know, as you do when living in Sweden in the 21st century...  It docked in the harbour.

Longship in Simrishamn

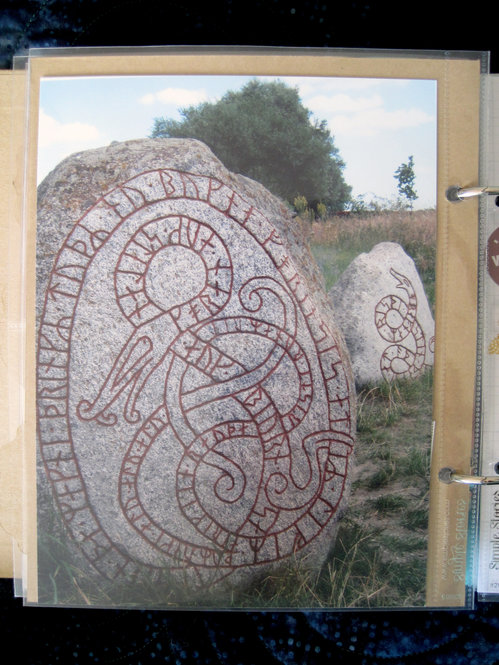
Rune stones

Foteviken historical Viking museum

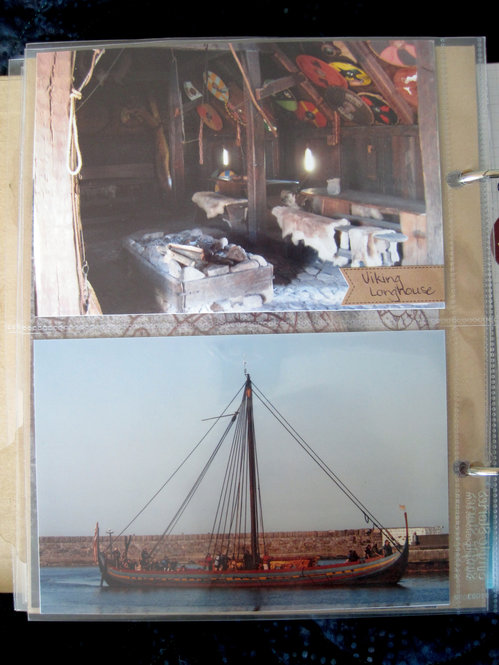
Viking longhouse and longship

Viking life

Viking ships with the Öresundsbro in the far distance

Viking attack!

Here there be dragons...

Eat your heart out How To Train Your Dragon fans.  ;)

One more installment left - see you soon!

March 08, 2015

Mini Album: Sweden - Part II

Hi there!

Today we're continuing on with the mini travel album I made for my friend, Adam, after he visited me over the summer.  If you missed the first chapter, be sure to check it out, too.  Chapter 2 features one of my favourite travel pasttimes - food!

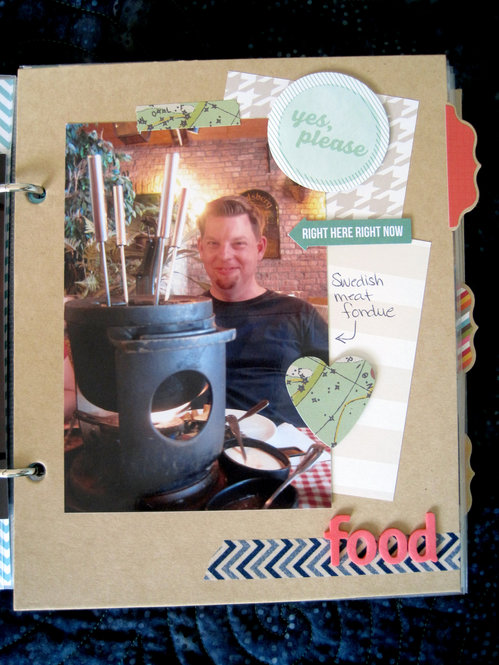
Swedish meat fondue

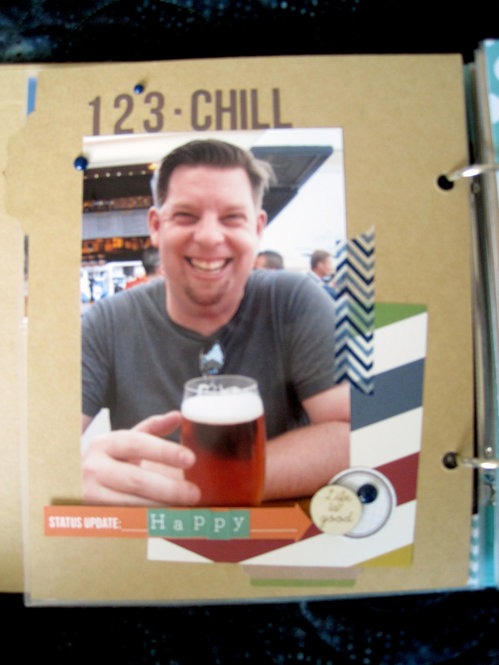
A beer at Lillitorg

Scandinavian food list

Accent page

Plank salmon

I've had these fun crayfish confetti that I've decorated the table with every kräftskriva so I popped a few of them and some star confetti into the side pocket, then closed with some washi tape.

Kräftskriva - crayfish party

Yummy pasta

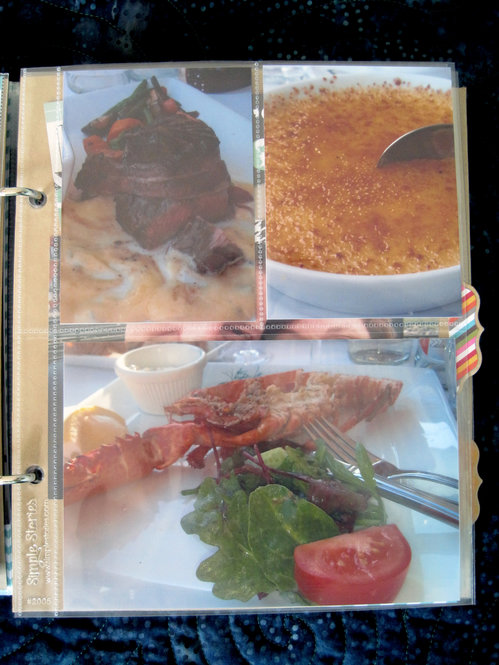
Three course surf & turf in Copenhagen

Curry & banana pizza, plus dinner at Lillitorg

Now, doesn't all that just make your mouth water?  Stay tuned for the next installment of chapter 3!

March 06, 2015

Mini Album: Sweden - Part I

Welcome back!

So over the summer last year my oldest friend growing up, Adam, came to visit me here in Sweden (finally - yeah!).  I had toyed with the idea of making him a mini album of the trip for his Christmas gift and then got busy with work.  As the holidays suddenly landed on top of me, I found a great set of Simple Stories travel themed SNAP! products at the local craft shop; they were even rather masculine colours.  I hemmed and hawed over whether I should buy them, for fear that I wouldn't get the album done in time but I just couldn't resist so I bought them anyway.

And then I dragged my feet in starting the album.  I mean, I really dragged my feet.  The second from last weekend before I was set to fly out, I finally ordered the photos.  Then I fretted over whether they would arrive in enough time for me to actually put together the album.  They did - but only just.  I whipped up this puppy in two days straight!

The album is divided into five chapters and today I'll share with you the first chapter, which features general sight seeing around Malmö, Sweden.  And apologies for the photos - due to having left this project so late to create, I had to photograph it away from home before handing it over so there are weird reflections and stuff that couldn't be helped at the time.

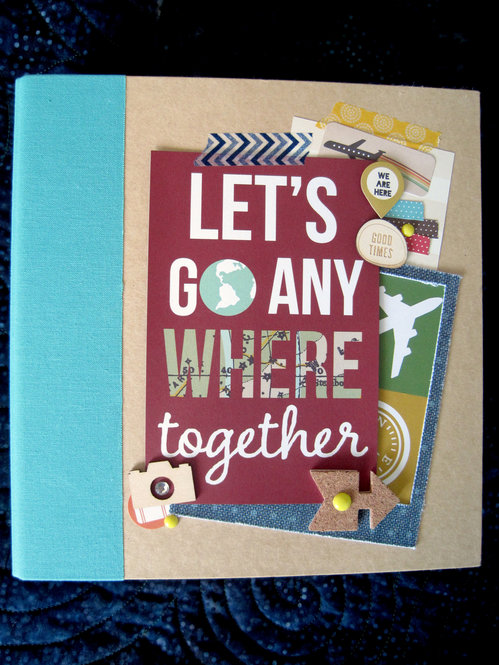
Cover

I love this photo of us together:

Chapter 1

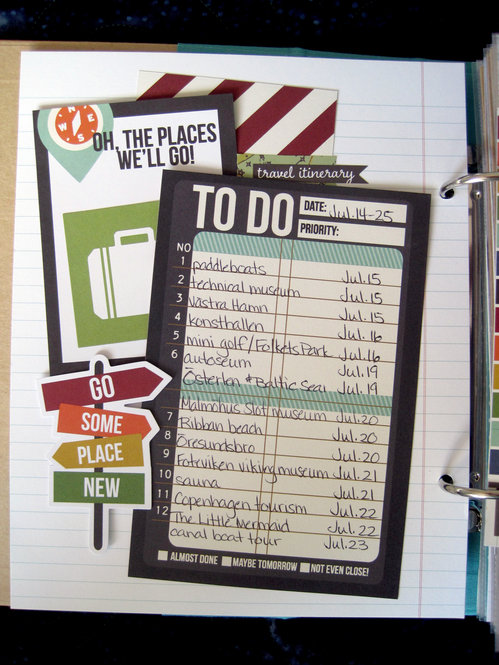
Itinerary

I marked Toronto and Malmö on this world map:

World Map

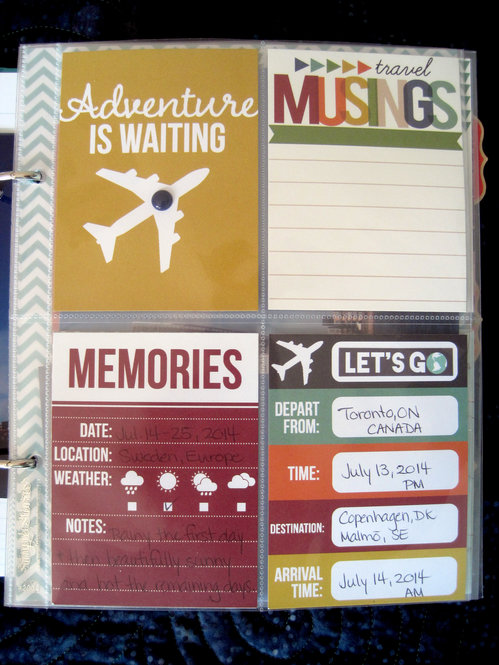
For these journaling cards, I filled in two and left one with space for writing blank for Adam to fill in himself.

Journaling Cards

Accent cards

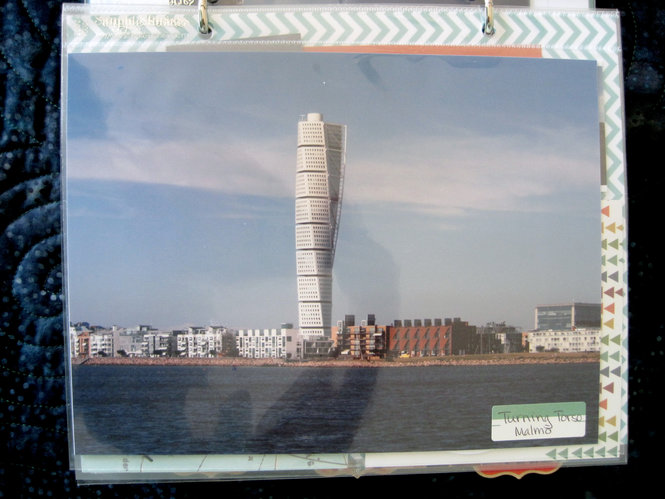
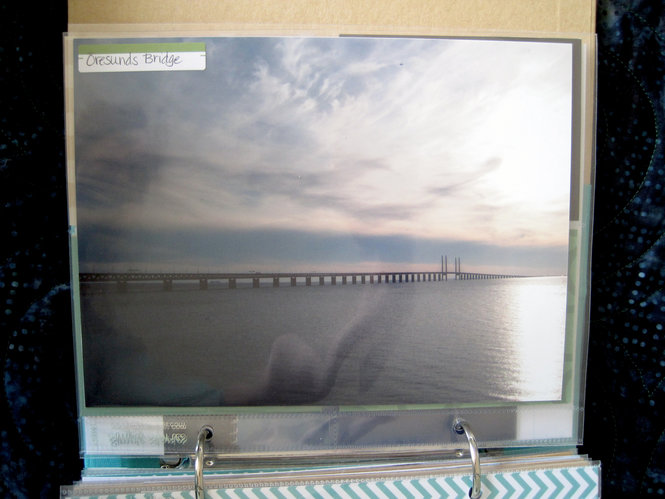
Some photo enlargements of special sights nearby:

Turning Torso

Öresundsbro

And a panoramic of the bridge with a really pretty sunset:

Panoramic

Paddling on the canal

Touring Stortorget

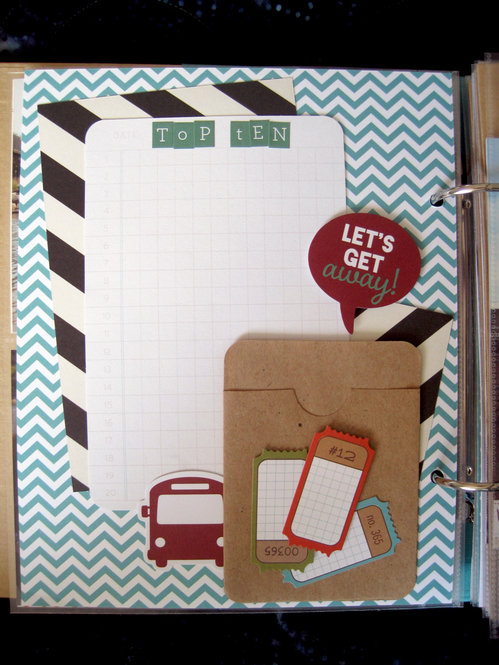
I added a journaling card for a top ten list and a little envelope for tucking away saved tickets:

Top ten & ephemera envelope

Sights of Stortorget

Sights around Malmö

Malmöhus Museum

Whew!  That's all for today; be sure to come back for the remaining chapters.

January 09, 2015

Monochromatic Birthday Card

Hi there!

I have a new card to share with you today.  If I'm entirely truthful, I started this card with the best of intentions and then after deciding on the card base and the tab sticker, didn't know where I was going with it and set it aside...for a few months.  Oops.

But determined as ever to catch myself up on back-logged cards, I dug it out and finished it nonetheless!


The approach I finally decided on to finish it?  Very simple: just keep adding and layering!  Sounds silly, I know but I really enjoyed putting together this hodge podge of emphemera - banner, washi tape, View Master slide reel, mustache sticker, brads, die-cuts, chipboard, staple, letter sticker accents - just go crazy and pile it all on!


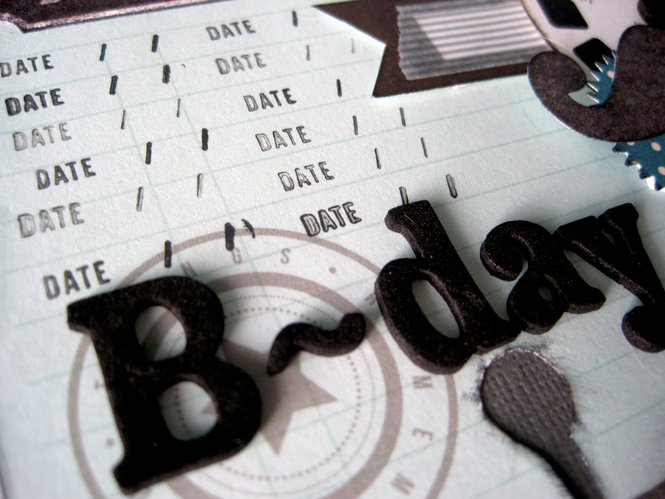
Here's a little close-up of the layering.  And you know, that October Afternoon bear brad in the top right corner up there?  I never really liked it when I first saw it and now, I think it's pretty awesome.  Go figure.


With all the layering on the right side, there was a heavy lack of balance on the left side so I filled up the space with some repeated date stamping.

So the next time you find yourself stuck with what to do for a card, why not try the just add and layer until you can't anymore approach?!  It just might work for you, too.