Showing posts with label black. Show all posts

October 10, 2015

That Cat! Wallhanging

Hello and welcome back!

Today I'm thrilled to share with you my most recently finished project - my That Cat wallhanging (pattern featured in McCall's Quick Quilts).


This project went together so quickly and easily, even despite the half inch wide black grid requiring precis piecing.  It's very striking (please ignore the hideous wallpaper from the previous owners) and I love the rich oranges - it makes me happy every time I look at it.

I put my own little twist on the project with the cat's collar.  In the original project, it's an orange fabric strip but I decided I wanted something a bit more witch-y so I used a metallic silver ribbon and then sewed on a silver and rhinestone star-shaped pendant for a little sparkle and bling.

I shared this project recently at my guild's show and tell and it was very popular and well received.  I've sent a photo off to McCall's Quick Quilts and fingers crossed it might be featured in a future magazine - we'll see.

September 30, 2015

WIP Wednesday

Hello, hello!

Whew!  What a busy few weeks.  I meant to share my latest updates on my That Cat wallhanging last week but it was simply not meant to be.  However, despite the busy work and life events, I have been managing to fit in a sewing day most Sundays, which has been blissful to resetting that work/life balance.

Nearing the end now, I finally have all of the quilting done.  I straight stitch quilted around each of the orange boxes and around the cat.  I also straight stitch quilted in the borders with a 1/4 inch spacing, like in the original featured in the magazine.

Please excuse the cat hair (ironic, right?)

On to the binding - my favourite part!  So looking forward to seeing this project done!


Linking up to Freshly Pieced:

January 09, 2015

Monochromatic Birthday Card

Hi there!

I have a new card to share with you today.  If I'm entirely truthful, I started this card with the best of intentions and then after deciding on the card base and the tab sticker, didn't know where I was going with it and set it aside...for a few months.  Oops.

But determined as ever to catch myself up on back-logged cards, I dug it out and finished it nonetheless!


The approach I finally decided on to finish it?  Very simple: just keep adding and layering!  Sounds silly, I know but I really enjoyed putting together this hodge podge of emphemera - banner, washi tape, View Master slide reel, mustache sticker, brads, die-cuts, chipboard, staple, letter sticker accents - just go crazy and pile it all on!


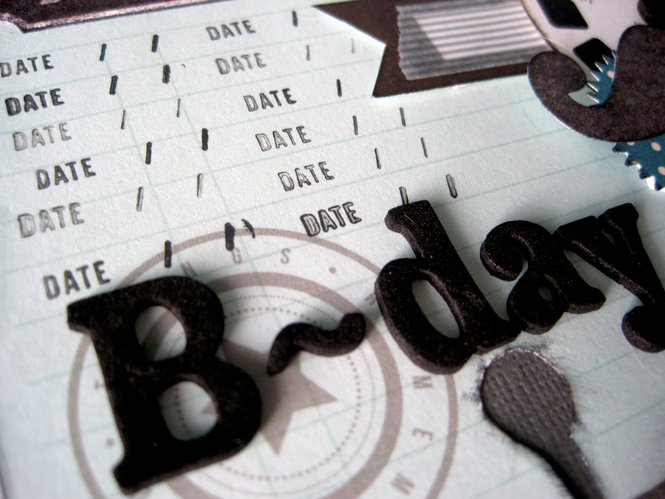
Here's a little close-up of the layering.  And you know, that October Afternoon bear brad in the top right corner up there?  I never really liked it when I first saw it and now, I think it's pretty awesome.  Go figure.


With all the layering on the right side, there was a heavy lack of balance on the left side so I filled up the space with some repeated date stamping.

So the next time you find yourself stuck with what to do for a card, why not try the just add and layer until you can't anymore approach?!  It just might work for you, too.