Showing posts with label sequins. Show all posts

April 03, 2016

HB2U Card

Hello, hello!

I'm terribly behind on birthday cards this year, which is bad enough but especially so with so many people turning milestone birthdays this year.  Anyway, I'm working on catching myself up, starting with a card for a male friend who turned 40 the end of January.


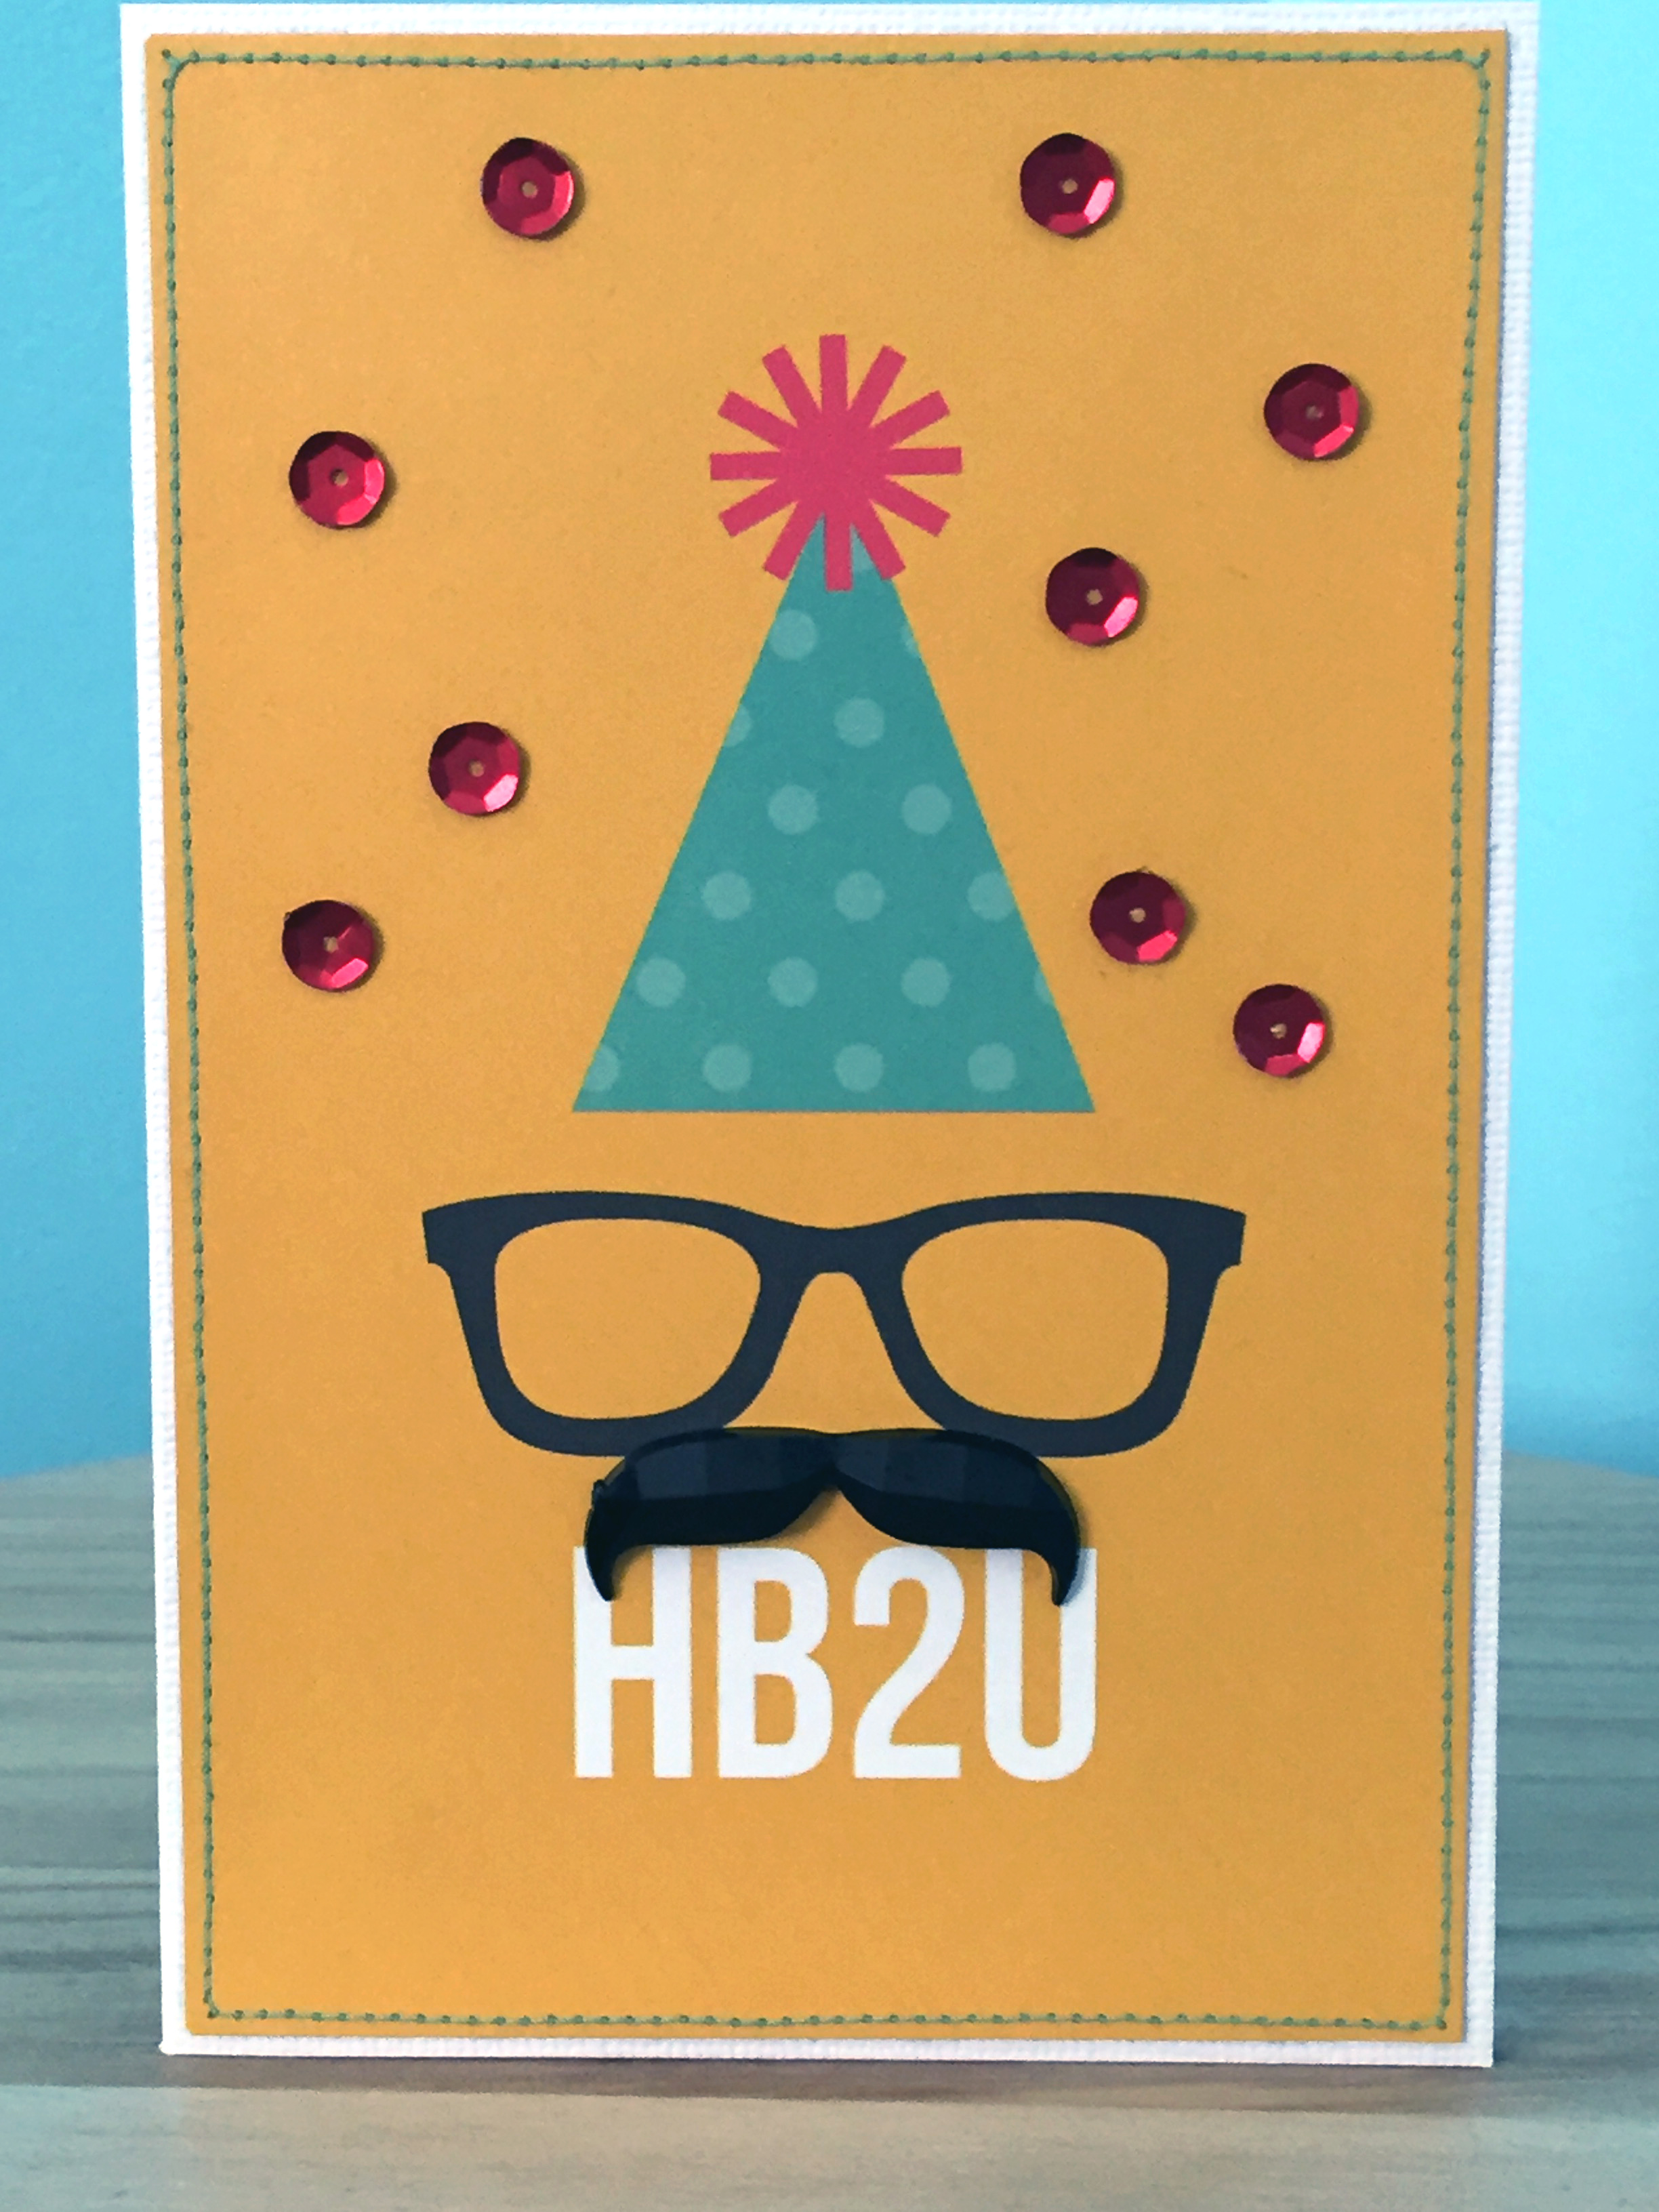
He's certainly not the Hipster type, but I couldn't resist this Simple Stories 4x6 card with the text speech and the opportunity to play with the fab mustache rhinestones I found at the local craft store - how cool is that 'stache?

Just kept it simple with the mustache, a sprinkling of sequins and I ran a line of turquoise stitching around the outside edge, then trimmed it down to show a bit of the white card base underneath.

Then I got a bit cheeky on the interior for the sentiment, putting Shimelle's first stamp set to some fun use.


Hehe, you have to have a little fun with these things, after all.

That's it for today - short and sweet - but stay tuned for some more recent makes again soon.

November 24, 2014

Wish Patchwork Birthday Card

Hi, there!

Last month I made up a set of patchwork thank you cards and decided as my mum has been a professional quilter, it would only be fitting to make a similar patchwork card for her birthday this year.  As I still had many tiny little triangles left over from the first batch of cards, it was a very quick and easy make.

Wish Patchwork Birthday

Like the original set, I used a small doily and a die-cut, this time scalloped, and a sprinkling of gold sequins.  I also added some of the pink thread I used for the stitching between the doily and the die-cut.  I had intended on layering up some other elements but I didn't want to detract from the patchwork background so I decided to just keep it simple.

And thankfully, while this card won't make it to her on or before her birthday, it won't be months late like her Mother's Day card was - whew!

November 17, 2014

Celebration Tea Bag Pinwheel

Welcome back!

Recently I decided to try a new technique.  I was reading through a back-logged issue of Papercraft Inspirations and came across a Masterclass article for tea bag folding and thought I'd give it a whirl - if you like origami (and I do), then tea bag folding is just the thing for you, too.

Celebrate Pinwheel

As with origami, using a thin paper is helpful with the folding and obtaining crisp edges so I dug out some of the free 6x6" paper gifts from Papercraft Inspirations (as these are always thin quality paper) and got started making my pinwheel.  It was super quick and easy, although it turned out larger than I had anticipated.  I decided to mount it on a regular A6 card blank anyway, rather than a square, to give it some interest and really make it the focus of the card.  Similarly, I used a layer of vellum to diffuse the background pattern so it wasn't so overwhelming.


I dressed up the center of the pinwheel with a swirl of twine and two layered buttons, then sprinkled some pink/purple sequins around like a sparkling fireworks display, ran another length of twine along the fold and stamped a very simple sentiment onto the pinwheel itself.

This little message of cheer will be going to a colleague who is celebrating her 25th birthday and I hope it will put a sparkle in her eye.

October 18, 2014

Quilted Triangles Thank You Card Set

Whew!  I survived the crazy week leading up to Thanksgiving, then managed to throw (if I do say so myself) a fantastic Thanksgiving dinner with my closest friends, followed by another - although slightly less crazy - work week.  So, I think that calls for a much-needed blog update.

So with my guild's 10-year anniversary exhibition now over and done with, my friend Ingrid and I decided that the amazing ladies who organised the exhibition should receive some sort of recognition and thank you, if only just from us.  We decided to get them some miniature orchids and that I would make some thank you cards, so that's what we did.


As you can see, I decided to have some fun making little patchwork-like backgrounds from my scrap papers.  I used my still-new Fiskars hexagon punch to create many (many, many) hexagons, which I then cut down into triangles.  They were a lot smaller triangles than I had originally intended but by this point I was committed and honestly, there was something strangely therapeutic about sticking down tiny triangles onto cardstock.  Must just be me.  Yup.


Once glued, I then machine stitched the triangles down.  Then I layered up a small doily and die-cut circle onto each background and used either red/orange or green Thickers to spell out 'tack' (Swedish for 'thank you') as my sentiment.  Finally, a small sprinkling of gold sequins in a visual triangle to finish off the toppers.


Each card in the set is a little different, as I changed up the background base paper and card base colours and all of the die-cut circles were different.  And on the inside of each card I stamped 'thank you, thank you, thank you' in a vertical column.  Needless to say, they went over very well with the recipients.


I've been wanting to do this sort of 'Paige Evans'-style punched shape backgrounds for ages but I don't have a very large selection of punches to use so this was the perfect opportunity.  And while it was a bit fiddly cutting down all of the hexagons into triangles, it didn't actually take very long in the grand scheme of things and wasn't very onerous at all.  I think it all comes down to your own personal level of acceptance on fiddly tasks.


The triangle shapes could also work well for birthday-themed cards, as they give a bunting banner sort of effect.  You could also try this technique with a monochrome colour palette or an ombre effect would also be cool.  You could even add more stitching for a different effect and more texture, too.


Last one!  Cheers, everyone.
September 08, 2014

Happy B-Lated B-Day Card

Hello, hello!

I recently bought a fantastic new punch - Fiskars' large hexagon punch, which was the inspiration for this rather belated birthday card.  I knew I wanted to have some fun playing around with my new toy and naturally when one thinks of hexagons, one tends to think of honeycombs.  A little play on words with the bee theme and I was off!


I kept the background a simple cream with some mist and gold lame spatters and a machine stitched, wobbly border.  For the hexies I used a bold geometric print paper.  Next I stamped the sentiment directly onto the background and finally layered up my bee sticker plus some gold sequins and rhinestones to suggest glittering honey.  And of course the little bee needed some whimsical flight lines.

Oh, and I couldn't resist adding in a little 'Hope you had a 'sweet' birthday' in the sentiment.  ;)

August 08, 2014

Vintage Bliss Cards II

Before going on holiday, I shared with you two cards I made using an older Simple Stories Vintage Bliss sticker sheet.  I actually made an additional two cards using those stickers, which I'm happy to share with you today.

Having shared with you previously my extremely belated Mother's Day card for my mum, I'm sure you won't be surprised to hear that I also had an equally belated Mother's Day card for my granny.

Happy (Mother's) Day

Again, I went unconventional on the sentiment; I quite liked the quirkiness of it.  My gran has always been into gardens and loves flowers so I knew I wanted to work in this seed chart journaling card from OA's Woodland Park line.  I pulled out the matching 12x12 patterned pattern and fussy-cut matching flowers as additional embellishments, then used the little phrase banners to fill the empty space on the card.

Next I made a birthday card for a friend who's had a really difficult go of it the last six months.

SMILE Birthday Card

I really wanted this card to brighten her day so I kept things clean and simple and focused on that message of hope and encouragement.  And of course nothing makes me smile quite like beautiful, glittery gold sequins.  A simple doodled border added to the light and airiness while keeping everything grounded.

And in case you're wondering, my to-do list of cards hasn't shortened any recently...

January 31, 2014

Oh Snap! Birthday Card

Hello and welcome back!  I'm sharing another recent card creation today; this time for a dear male friend whose birthday is today (Jan. 31).  As many of us will agree, somehow masculine creations can be tricky - you often don't want it too sentimental and many guys just aren't cool about 'girly' icons (hearts, butterflies, flowers, etc.), although to be fair, I wouldn't be thrilled about receiving a card with monster trucks and hunting motifs so fair enough.

However, all of that was *not* a problem with this card.  In fact, this card basically designed itself and was super quick and easy!  Don't you just love when that happens?


So since I haven't scrapped for a month, I decided I would look for inspiration by rooting through my scrap basket.  The "oh snap!" Simple Stories strip jumped right out at me - the humour would be a perfect start to this card.  Then the scrap of diagonal stripe paper, also by Simple Stories, which happened to be the exact size of an A6 card base - it was like these pieces were meant to make this card.  Zigzag stitched them together and I was half way home.

So I grabbed the rest of my Simple Stories leftovers from the Barcelona album I made Alice.  There is nothing birthday or celebratory related in this line of papers but I thought the month tiles and little calendars would be perfect for highlighting my friend's birthday so popped and layered them on top and circled the correct day on the calendar.  Finally, a cute red arrow clip and a few sequins later and I called this card done.  Easy peasy!

December 11, 2013

Christmas Cards 2013

Ho ho ho!

So every year I make my own Christmas cards; any where between 30-50 cards.  Normally I start this process in November but if I'm absolutely honest, I didn't get around to starting mine this year until just last week - eek!  Thankfully, I already knew exactly (okay, roughly) what I wanted to do.

You see, I had some inspiration much earlier in the year during the CHA-S previews.  I saw these adorable cameos by Webster's Pages and the Santa moustache totally stole my heart.  I thought to myself, "That's my Christmas card this year."

Totally cute, right?

But I wanted to kick it up a notch and really, what's a moustache without some tickle to it?  So the hunt was on to find just the right 'stach fixins' and after a lot of pain-staking clipping, here's what I came up with:

Yup, Santa Claus is comin' to town!

Crinkly white faux fur for the moustache!  The sentiment is heat embossed in white.  Then to add some magic sparkle, I splattered some white mist, sprinkled some silver star sequins and added some Stickles glitter glue in silver along the diagonal.  The edges are also rubbed with white stamp ink to help ground the design and give the impression of a frosted window.

I have to say, I don't think I've ever come up with a quicker design in previous years and although cutting out the moustaches was tedious and time-consuming, the rest of the card came along quite quickly thereafter - I reckon three days total, plus some time tonight to paste in the interior plaque and DONE!

And incidentally, ever since a friend told me last year that her family rates the Christmas cards they receive and mine is always the winner, it's been a bit intimidating deciding on a design - heh.  I'm feeling pretty confident with this 'entry', as it were.  Fingers crossed!