Showing posts with label masculine. Show all posts

April 03, 2016

HB2U Card

Hello, hello!

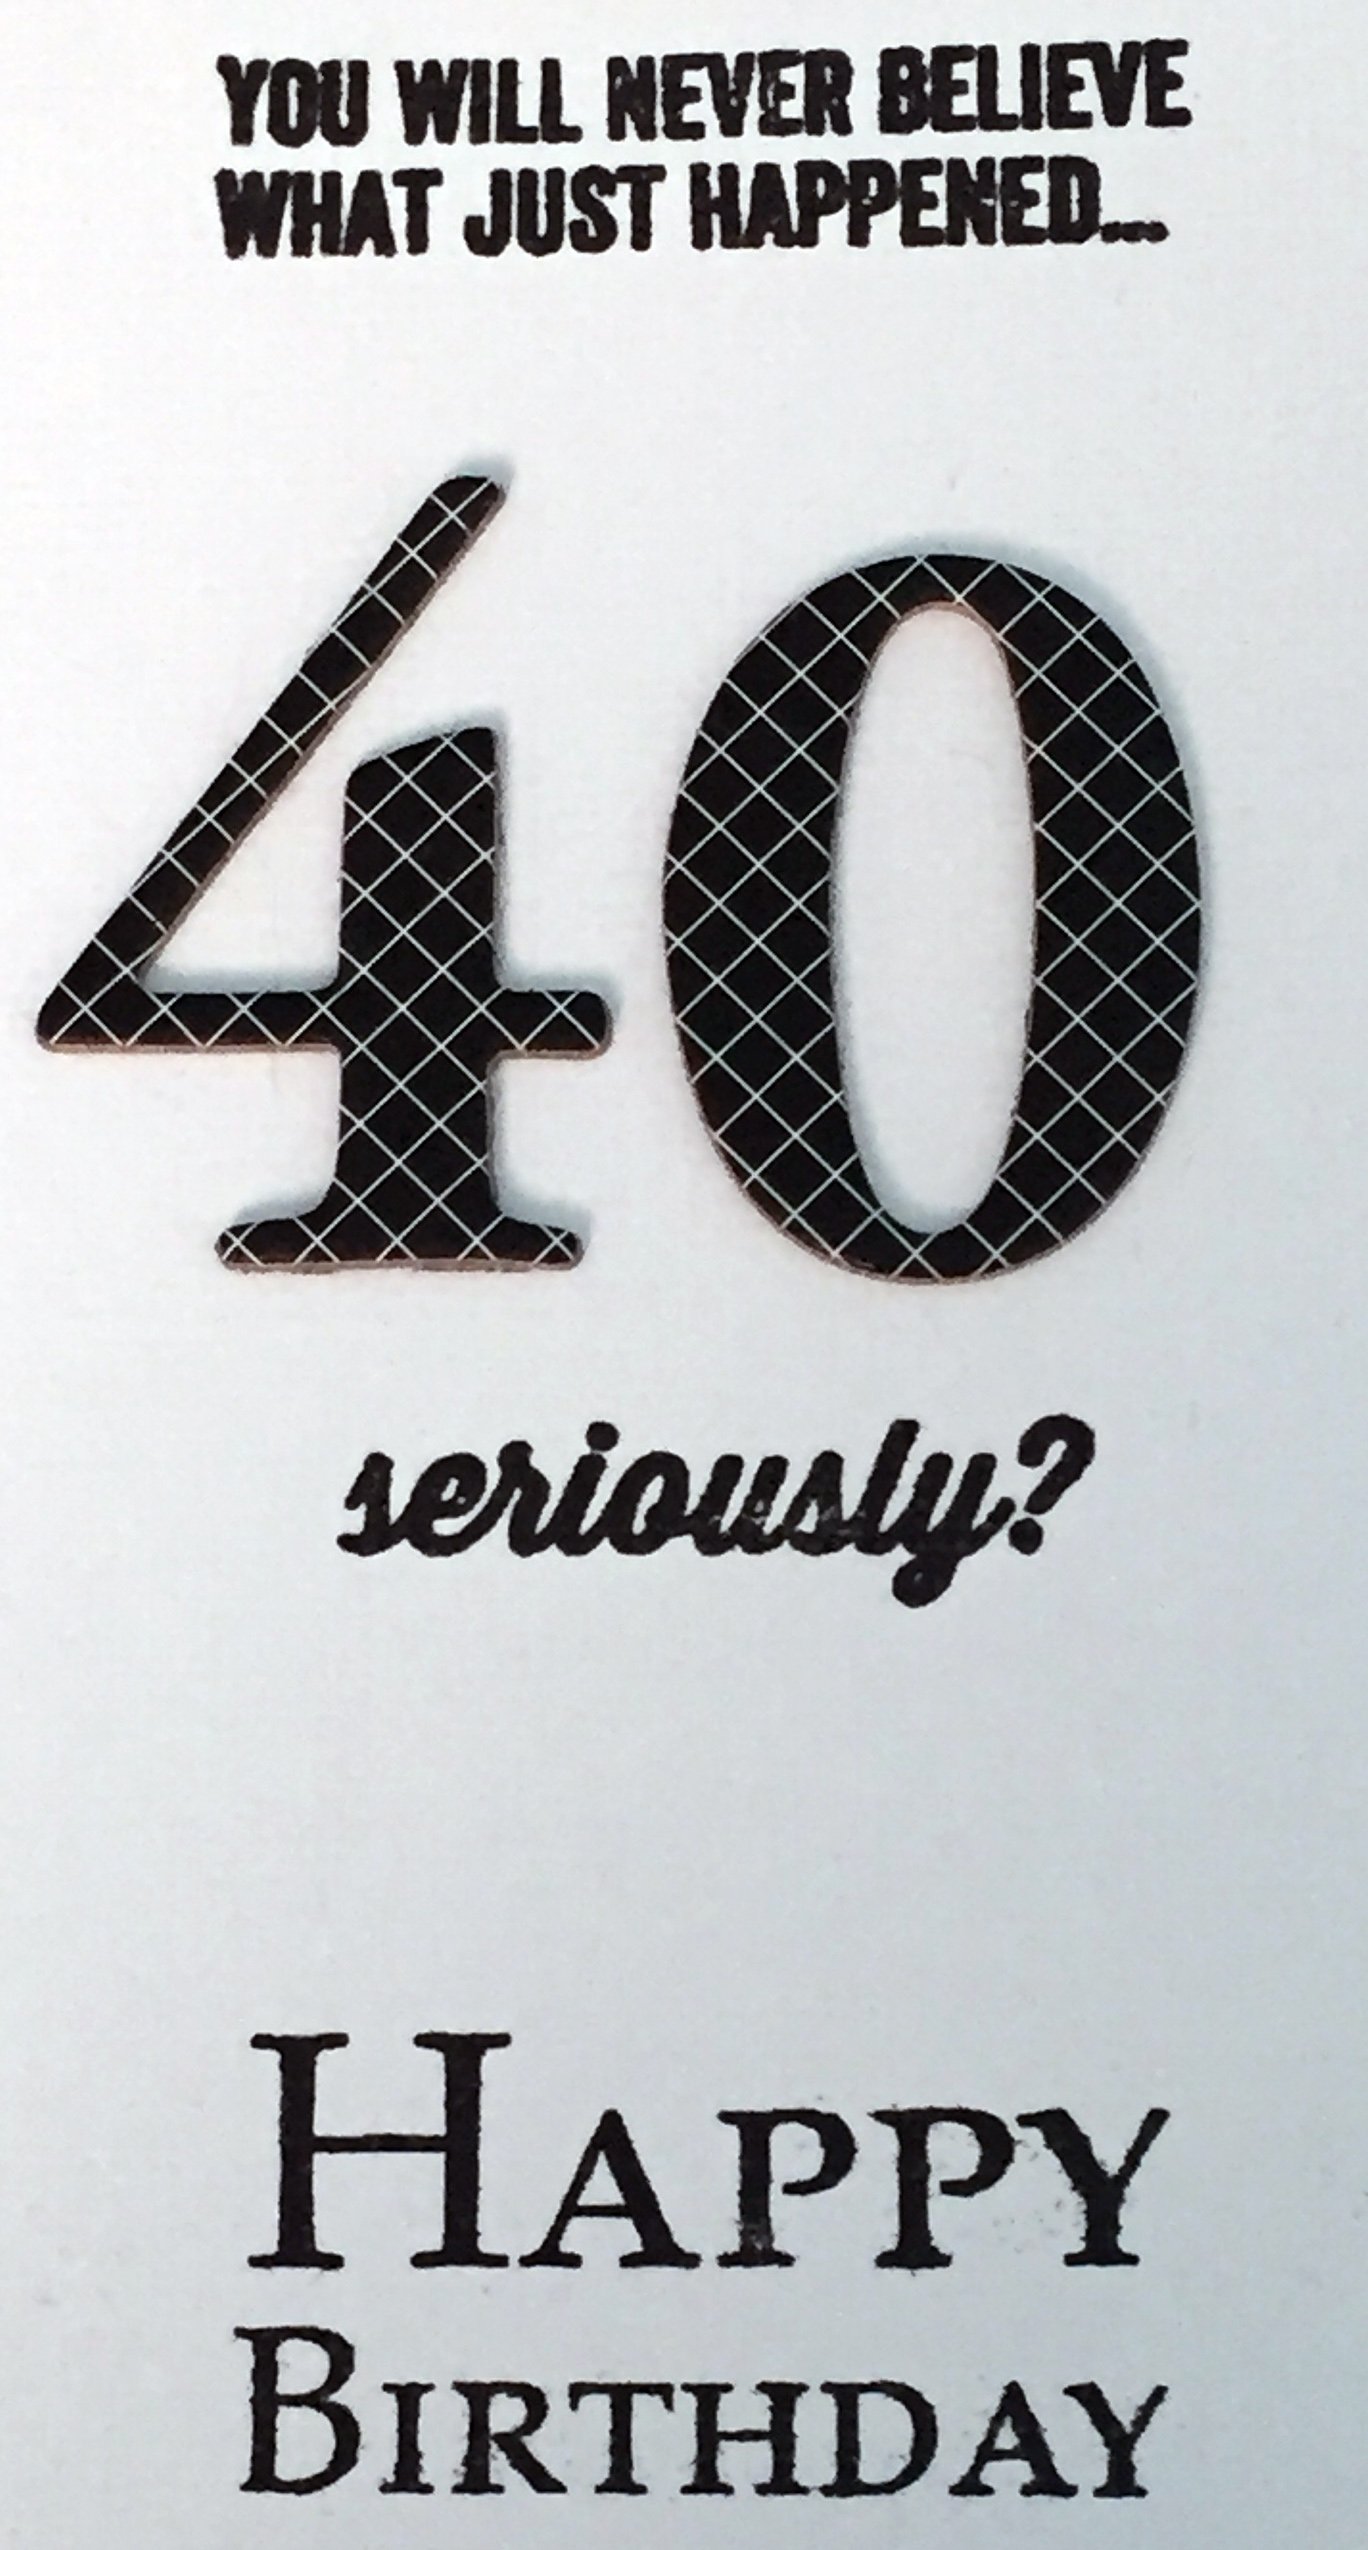
I'm terribly behind on birthday cards this year, which is bad enough but especially so with so many people turning milestone birthdays this year.  Anyway, I'm working on catching myself up, starting with a card for a male friend who turned 40 the end of January.
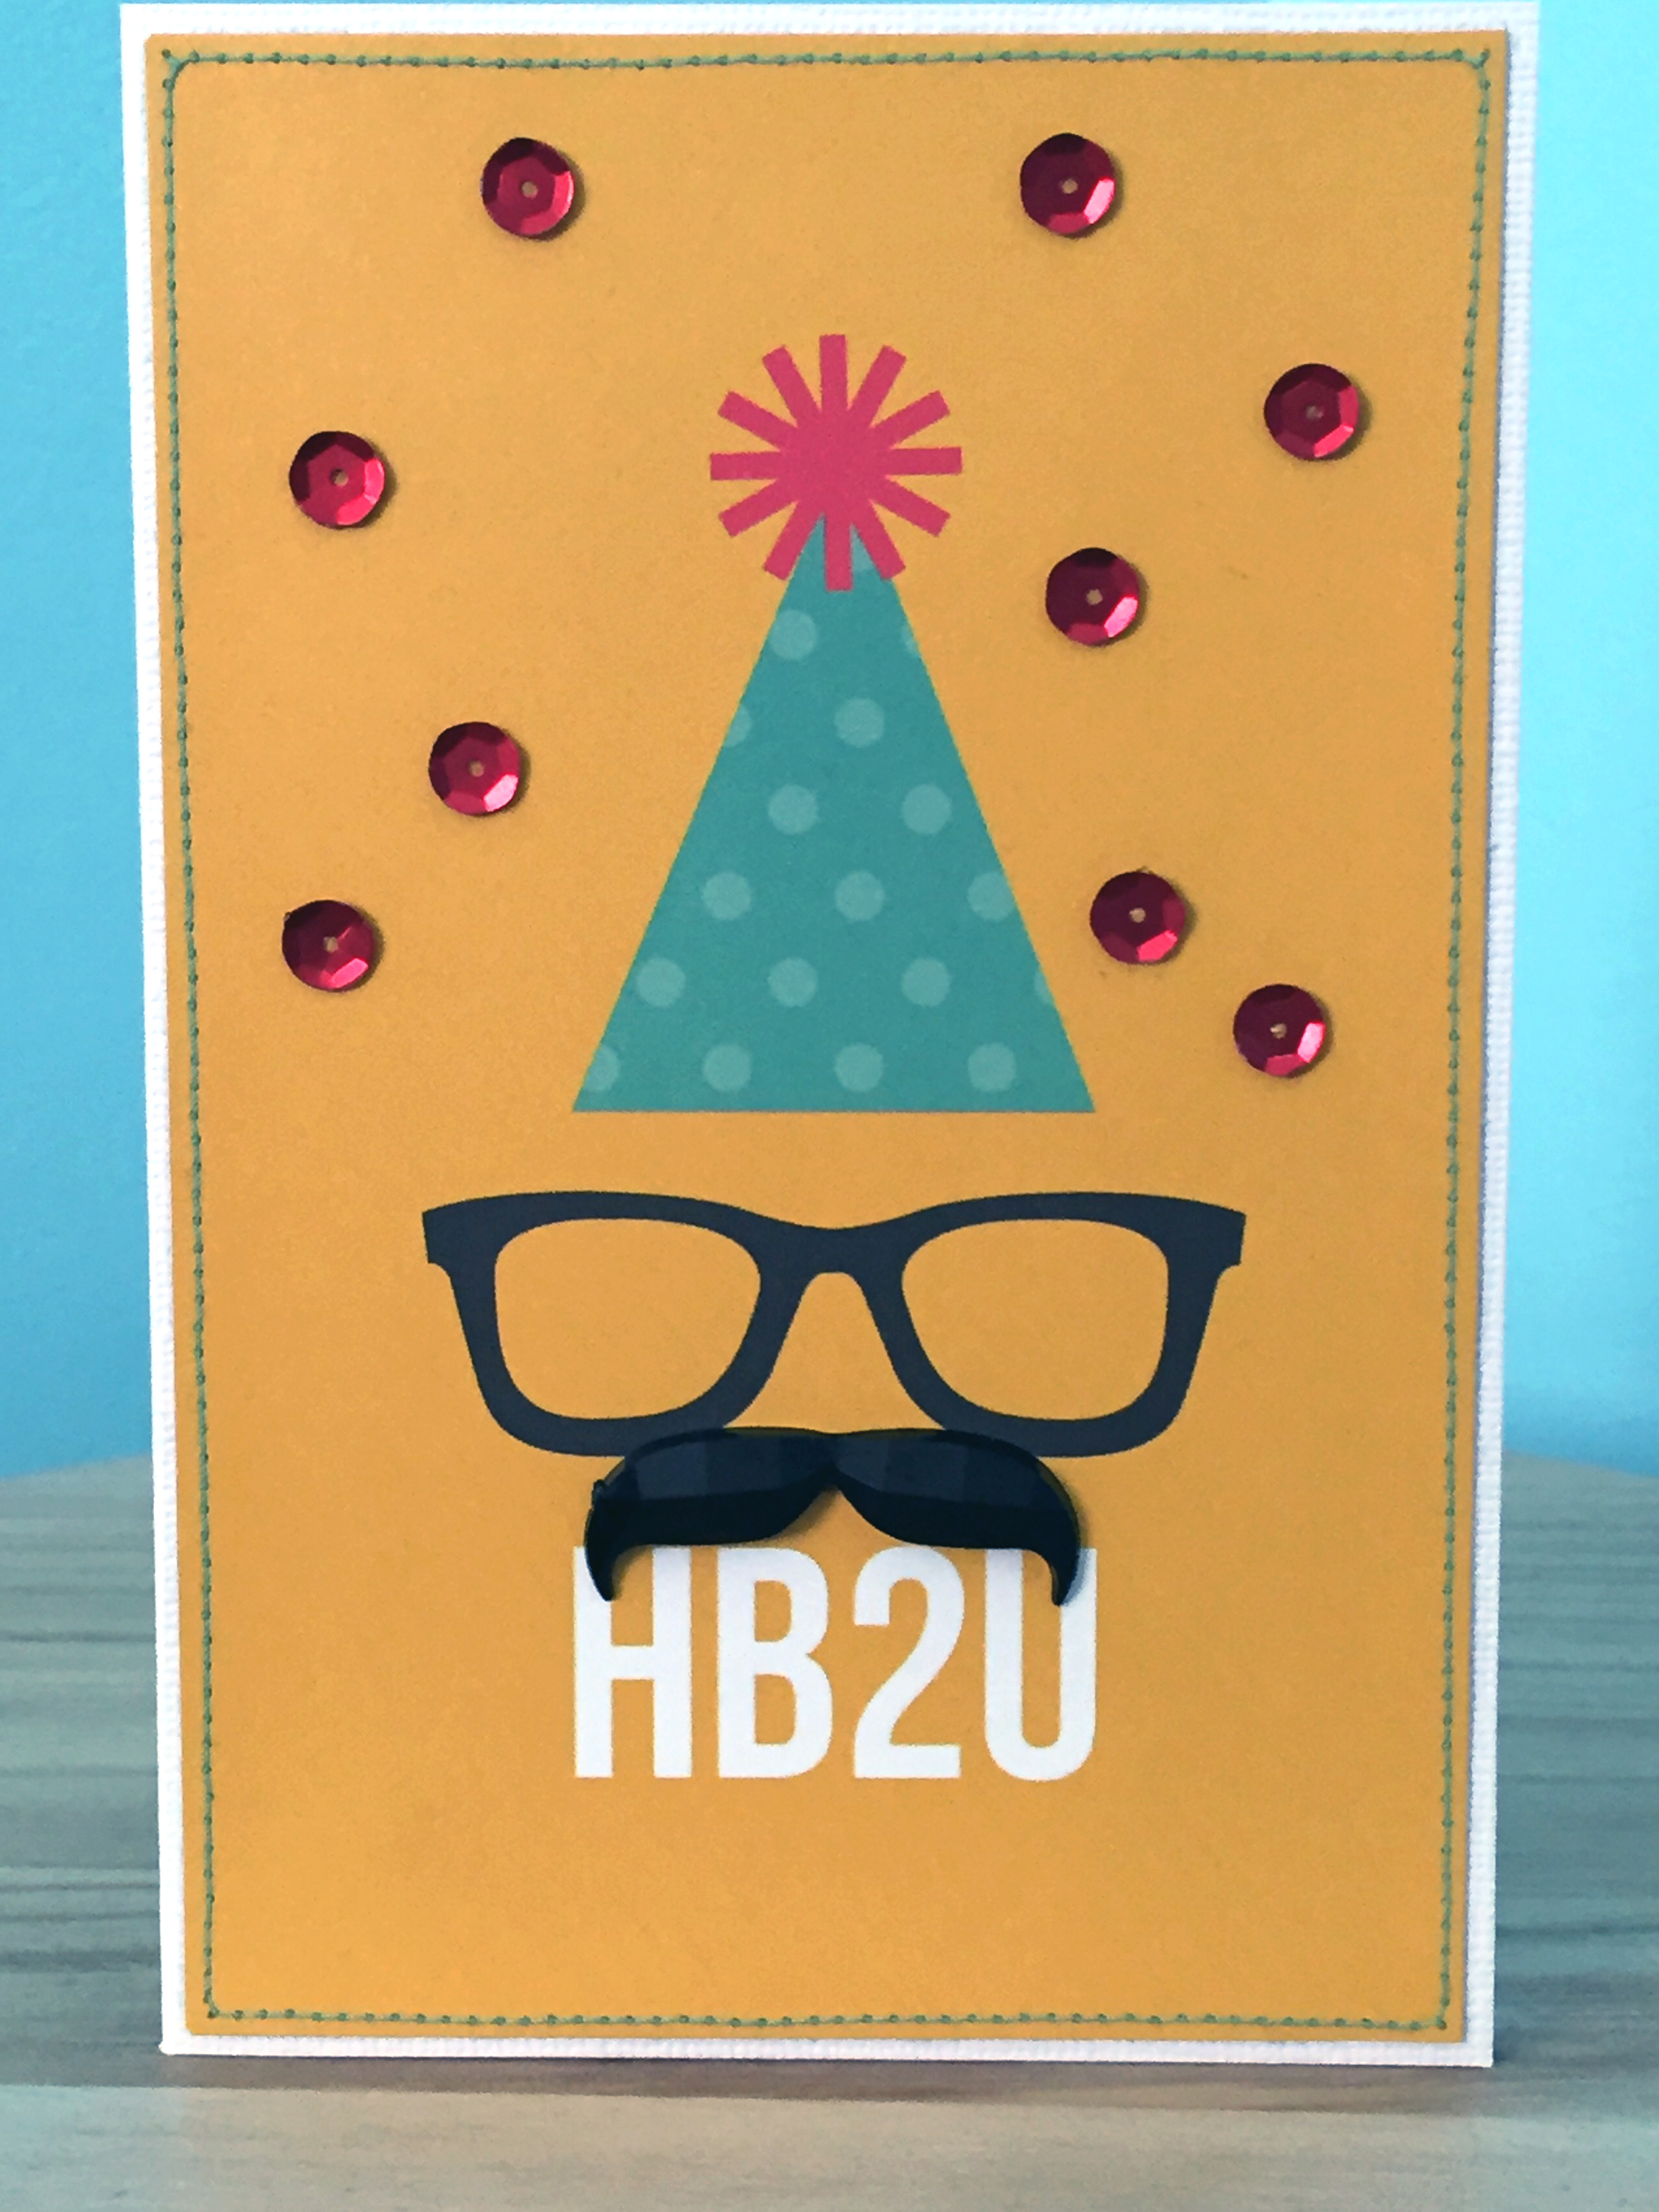

He's certainly not the Hipster type, but I couldn't resist this Simple Stories 4x6 card with the text speech and the opportunity to play with the fab mustache rhinestones I found at the local craft store - how cool is that 'stache?

Just kept it simple with the mustache, a sprinkling of sequins and I ran a line of turquoise stitching around the outside edge, then trimmed it down to show a bit of the white card base underneath.

Then I got a bit cheeky on the interior for the sentiment, putting Shimelle's first stamp set to some fun use.

Hehe, you have to have a little fun with these things, after all.

That's it for today - short and sweet - but stay tuned for some more recent makes again soon.

May 14, 2015

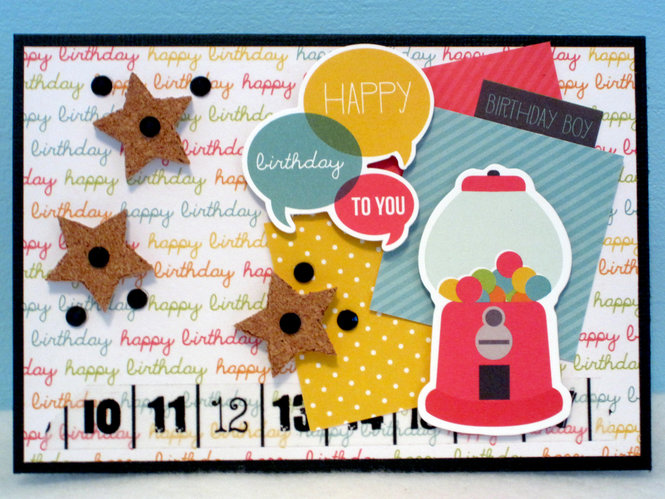
Happy Birthday to You - Birthday Boy

Welcome back!

Have you ever had a situation where it dawned on you that a friend's birthday was sometime this month - but you weren't sure when - and then Facebook kindly reminds you that the birthday is that very day?  Well, that happened to me recently so I whipped up this quick little card.


I once again turned to my Simple Stories SNAP! birthday kits and it wasn't long before the basic design started to take shape.  I really liked this script 4x6 card and thought it would pop nicely on a black card blank.  I added a white interior inside so that I could easily stamp in black ink.


I layered up some 2x2 cards on top of a numbered washi tape line and popped this cute gumball machine die cut on top with some foam pads and the same with the little speech bubbles.  I also added in the little 'birthday boy' sticker.


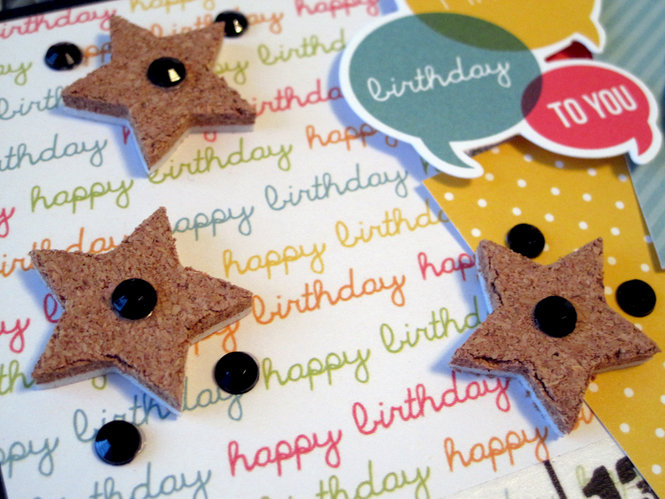
Finally, a few cork stars and black rhinestones to balance out the design.  Signed, sealed and delivered!

January 09, 2015

Monochromatic Birthday Card

Hi there!

I have a new card to share with you today.  If I'm entirely truthful, I started this card with the best of intentions and then after deciding on the card base and the tab sticker, didn't know where I was going with it and set it aside...for a few months.  Oops.

But determined as ever to catch myself up on back-logged cards, I dug it out and finished it nonetheless!


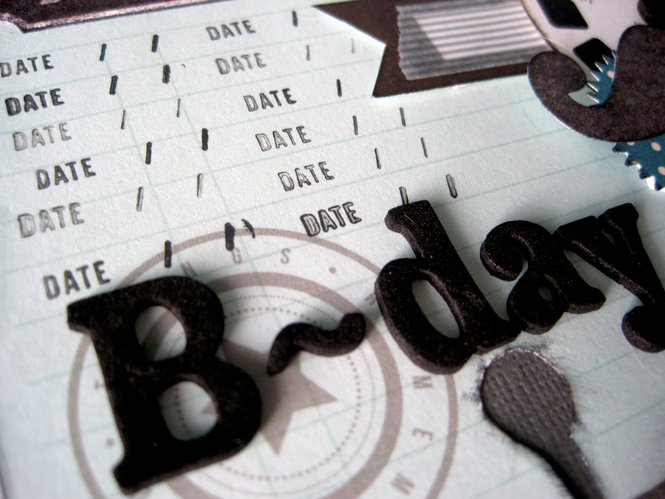
The approach I finally decided on to finish it?  Very simple: just keep adding and layering!  Sounds silly, I know but I really enjoyed putting together this hodge podge of emphemera - banner, washi tape, View Master slide reel, mustache sticker, brads, die-cuts, chipboard, staple, letter sticker accents - just go crazy and pile it all on!


Here's a little close-up of the layering.  And you know, that October Afternoon bear brad in the top right corner up there?  I never really liked it when I first saw it and now, I think it's pretty awesome.  Go figure.


With all the layering on the right side, there was a heavy lack of balance on the left side so I filled up the space with some repeated date stamping.

So the next time you find yourself stuck with what to do for a card, why not try the just add and layer until you can't anymore approach?!  It just might work for you, too.